


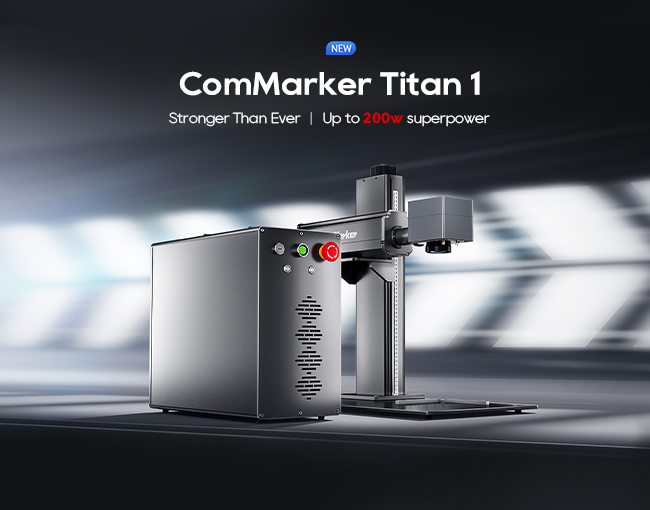

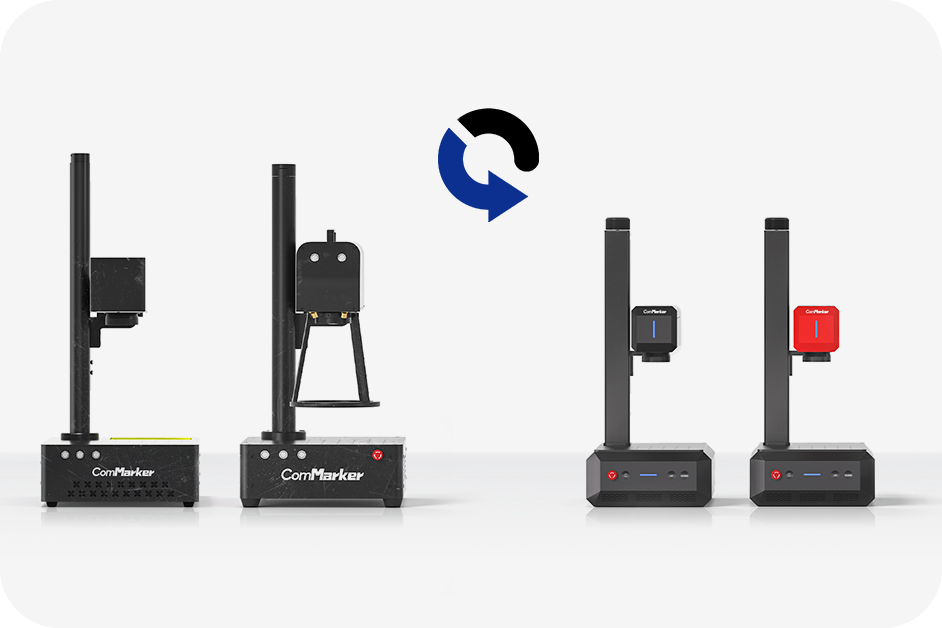


If you’re a serious maker, Schlosser, or small business owner looking for a high-performance MOPA fiber laser for deep engraving, Schneiden, and even color marking—look no further than the ComMarker Titan 1. With models ranging from 60W to a whopping 200W, this machine is built for 24/7 operation and designed to meet industrial-grade expectations.
In diesem Blog, I’ll walk you through my first-hand tests with the Titan 1, show what it can do with different metals (Aluminium, Kupfer, Messing, Edelstahl), and help you decide whether this powerful beast deserves a spot in your workshop.

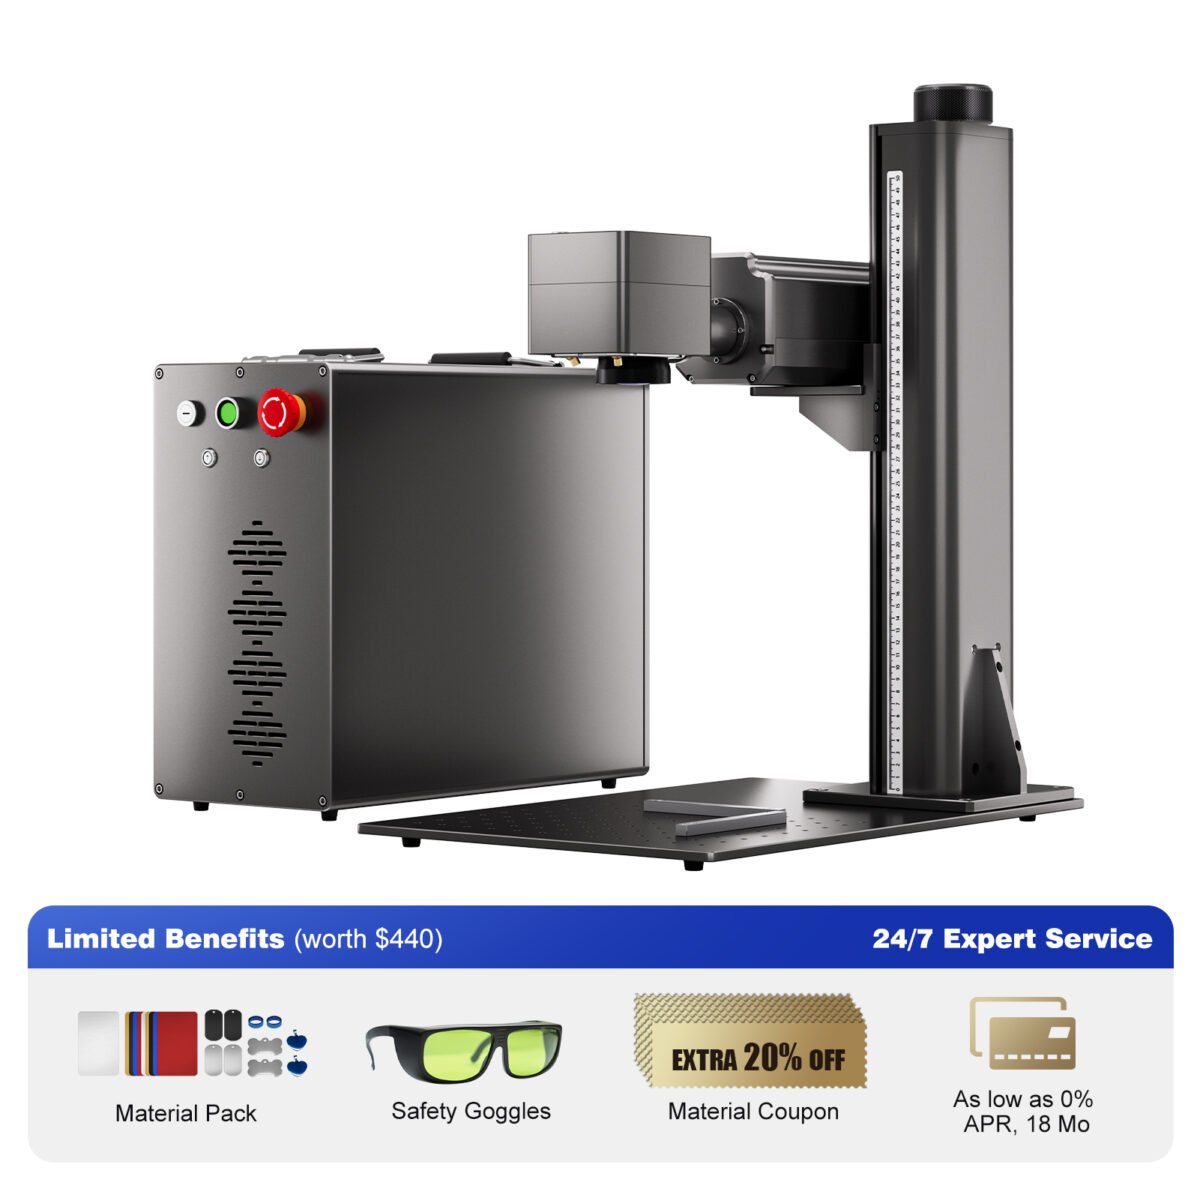
Aufstellen & Erste Eindrücke
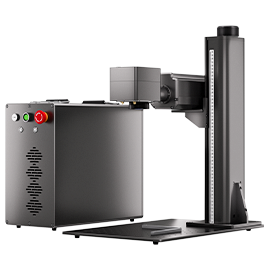
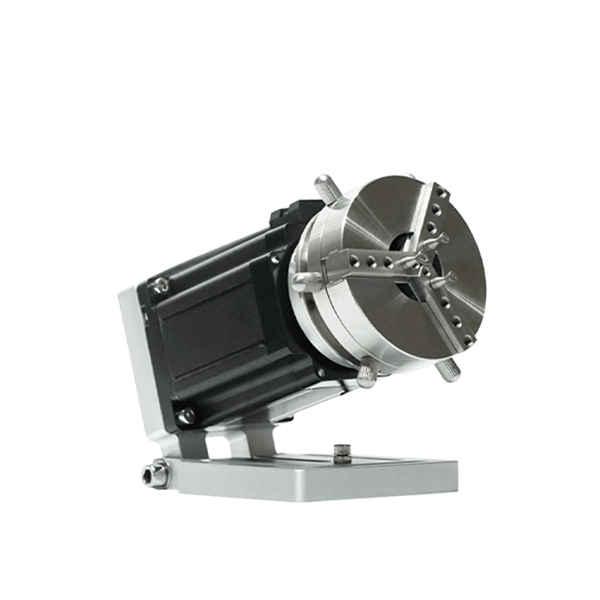
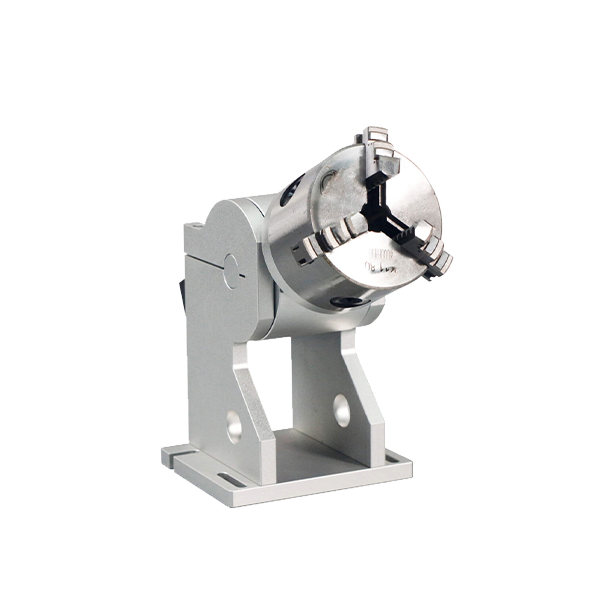
Straight out of the box, der Titan 1 comes in two well-packaged parts: the laser base and the tower. Assembly was straightforward—it took me about 5 Protokoll. Der Titan 1 is sleek, solide, and engineered for real work. It includes:
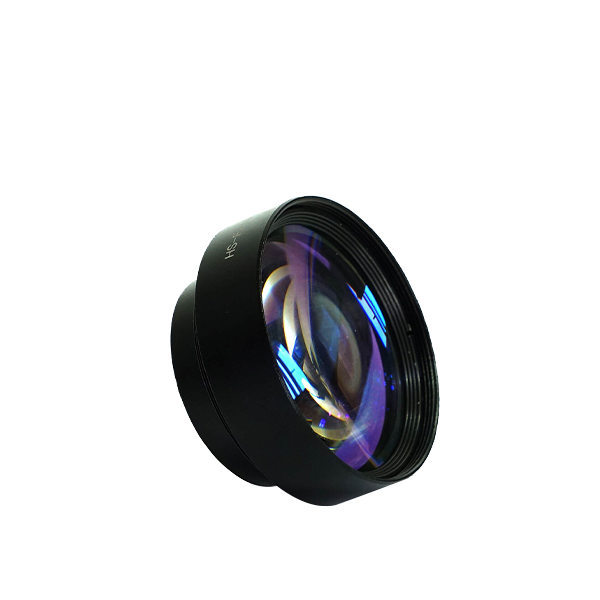
- Two lenses (110mm and optional 200mm)
- A foot switch for mass production
- Black laser-safe calibration board
- Electronic Z-axis height adjustment (huge time-saver)
Für die Spitze: Mount the entire setup on a mobile platform. I used a 60×60 cm rolling cart—it keeps the heavy base accessible and stable.

Metal Cutting Test: Aluminum and Brass
Material: 0.5mm aluminum plate
Ergebnis: One pass = clean cut
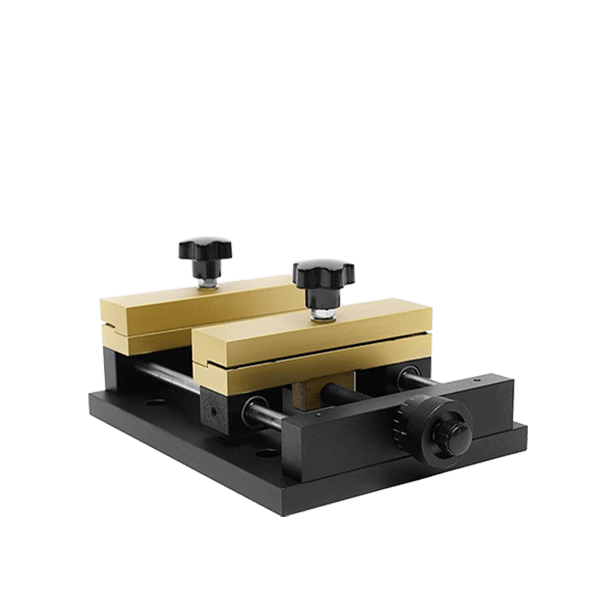
With a material holder from ComMarker, I secured the metal tightly. Even so, ultra-thin sheets tend to flex slightly when cut, so I recommend placing something underneath to avoid damaging rails or rods.
Then I moved on to 3mm brass for a deep-engraved tag featuring a stylized frog design. I engraved a border first, then cut the interior—great trick to avoid uneven cut edges. The Titan sliced through without hesitation.

Cutting Takeaway:
If you’re working with metal tags, coin blanks, oder Schmuck, der Titan 1 eats through aluminum and brass with ease—even thick sheets.
Recommended for heavy-duty metal cutting and engraving – Visit ComMarker Titan 1

Color Marking on Stainless Steel
Material: Stainless steel coins, Stichworte
Goal: Rich color gradients (Blau, purple, Bronze, usw.)
With the Titan 1’s adjustable Q-pulse width and frequency, I was able to pull a beautiful range of colors—sometimes accidentally! Zum Beispiel, one tag had a slightly tilted base, which led to a dynamic color gradient from blue to orange. It turned out better than expected.
The laser produces intense color changes by modulating heat without damaging the steel surface, which is perfect for branding, Auszeichnungen, oder benutzerdefinierte Geschenke.
My Parameters (example):
- Leistung: 50W–100W
- Q Pulse: 100 ns
- Freq: 30–60 kHz
- Geschwindigkeit: ~300 mm/s
Ideal for advanced color marking on stainless steel – Erforschen Sie Titan 1 Hier

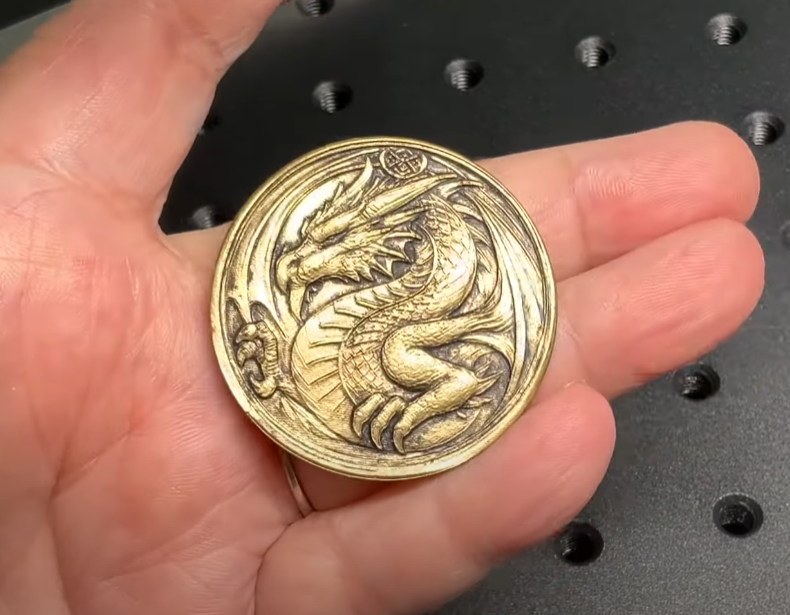
Deep Engraving Performance: Kupfer, Messing, Stahl
Testen 1mm copper Und 3mm brass, I pushed the Titan to its limits. Using 100W power, I achieved clean, deep engravings in fewer passes compared to 50–60W models.
While I wouldn’t say engraving time was cut in half, there was a noticeable boost in speed and sharpness. Using STL 3D conversion, I created dimensional engravings—like a snake-wrapped sword and a mini 3D frog.
Für die Spitze: To avoid leaving a residual ridge, engrave a border area around your graphic before cutting. It helps create a cleaner finish.
Perfect for deep metal engraving and 3D relief work – Check Specs on Titan 1

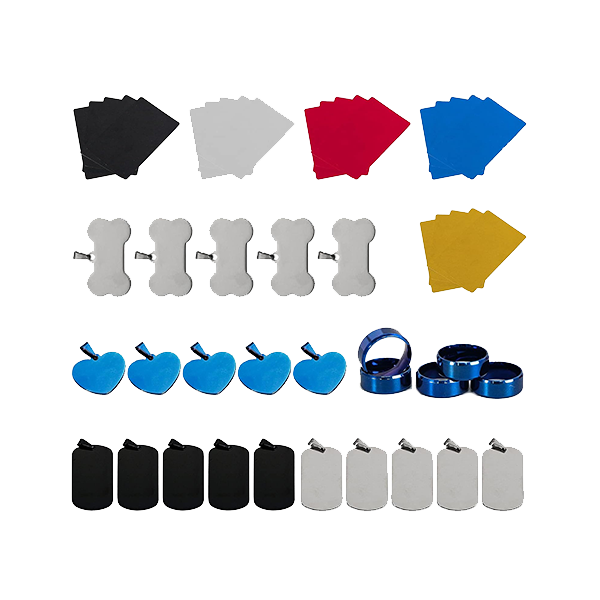
Real-World Projects Tested
- Münzen: Deep engraved + blackened using acrylic paint (for patina look)
- Emergency Whistles: Dauerhaft, personalized engraving—ideal for products that need to last
- Visitenkarten: Silber, Chrom, or black finish—thanks to precise control over pulse and frequency
- Schiefergravur: Good results for deep engravings; cutting was possible but brittle in spots
- Copper Pipes: Engraved and cut with ease—great for HVAC tags or plumbing identifiers
Engineered for small batch production, metal crafts, and industrial marking – See Titan 1 in Action
Bonus: 3D Graphic Workflow for Advanced Projects
If you’re into depth engraving or relief-style work, here’s a simple workflow:
- Use AI (like Midjourney) to generate artwork
- Convert image to grayscale → import into 3D software
- Generate STL → use depth mapping tools
- Slice it into light/dark layers in LightBurn
- Apply two engraving passes for max clarity
This process made my sword/snake pendant shine with depth and detail—even with only 3mm thickness.
Sicherheit & Software Tips
- Always use safety glasses rated for 1064nm wavelength
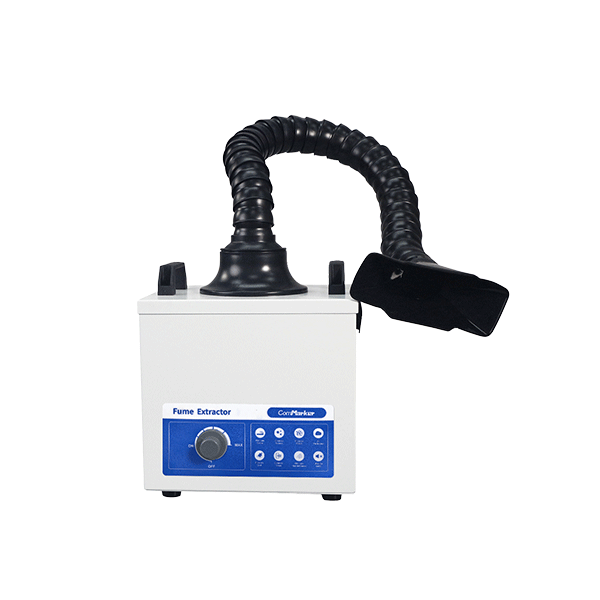
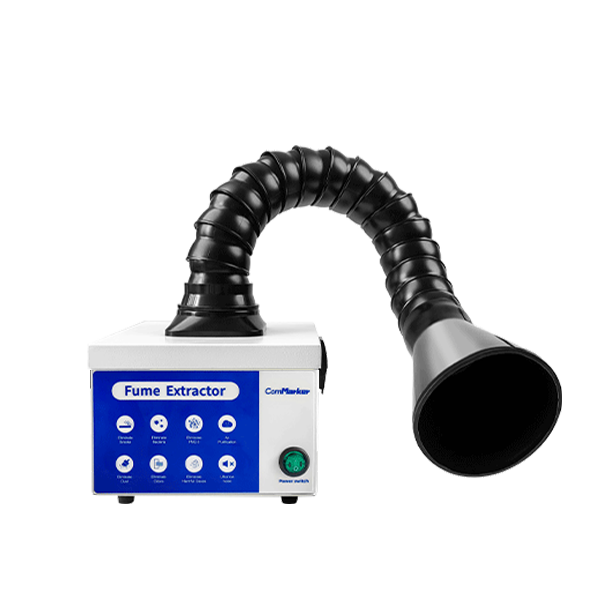
- Add exhaust ventilation or a localized fume enclosure
- Software: I use LightBurn with Galvo plugin for best workflow
- The included configuration files (mark.cfg, correction data) make setup smooth
LightBurn makes advanced parameter control intuitive – View Titan 1 Einzelheiten
ComMarker Titan 1 JPT Mopa Faserlasergravierer
Stärker als je zuvor. Entwickelt für Hochleistungen bis zu 200 W Superpower Electric -Hebe mit 2 Optionale Linsen Farbmarkierungsfähigkeit Super 3D -Gravur & Schneidfähigkeit 15.000 mm/s Speedmax ™ Gravur 8K HD -Genauigkeit kompatibel mit EZCAD und LightBurn
Abschließende Gedanken: Is the ComMarker Titan 1 Worth It?
Der Titan 1 isn’t for hobbyists—it’s a professional tool built to handle demanding workloads across materials like stainless steel, Messing, Kupfer, and even stone. Mit bis zu 200W, you’ll slash engraving times, expand your capabilities, and unlock next-level precision.
This machine isn’t cheap, starting around €4800 for 60W, but you get rock-solid performance, smart engineering, and support from a team that understands real-world production needs.
My Recommendation:
If you’re scaling your laser business or need deeper, Schneller, more colorful metal engraving—Titan 1 is the pro’s pick.