


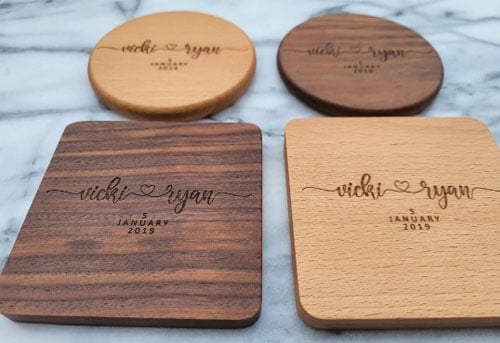
Le bois est l'un des matériaux les plus populaires pour la gravure laser. Des panneaux personnalisés aux cadeaux personnalisés, c'est polyvalent, naturel, and always in demand. But there’s one common frustration: burn marks and charring.
If you’ve ever tried to engrave a wooden piece only to see dark edges or scorched surfaces, Tu n'es pas seul. La bonne nouvelle? Avec la bonne approche, you can achieve croustillant, clean engravings on wood without burning.
Dans ce guide, we’ll break down the best paramètres, techniques, and pro tips to help you master the art of wood engraving.

Why Does Wood Burn During Laser Engraving?
Before fixing the problem, it’s important to understand why it happens. Burning usually occurs because:
- Too much power: High wattage burns rather than engraves.
- Low speed: The laser spends too long on the same spot.
- Resin and oils: Some woods (comme le pin) naturally darken or burn more easily.
- Lack of airflow: Smoke and debris accumulate, scorching the surface.

Choosing the Right Wood for Engraving
Not all woods engrave the same way. Picking the right material makes a huge difference.
✅ Best woods for engraving: Érable, Alder, Birch, Cherry — light-colored, fine-grained woods.
⚠️ Woods to avoid: Pin, Chêne, and oily hardwoods — they burn or char more easily.
👉 Pour la pointe: Test a small sample piece first. Even within the same species, wood density can vary.

Laser Settings for Clean Wood Engraving
Dialing in your settings is key to avoiding burn marks.
- Pouvoir: Start low (10–30%) and increase gradually.
- Vitesse: Higher speeds (300–600 mm/s on diode, faster on CO₂) reduce scorching.
- Fréquence (if adjustable): Lower frequencies minimize heat buildup.
- Laissez-passer: Use multiple light passes instead of one heavy pass.
👉 Pour la pointe: Every laser engraver behaves differently. Keep a log of test settings for each type of wood you use.

Techniques to Reduce Burning on Wood
1. Masking Tape Method
Cover the wood with painter’s tape or transfer tape before engraving. It absorbs excess heat and prevents smoke stains. Après gravure, peel off the tape for a clean finish.
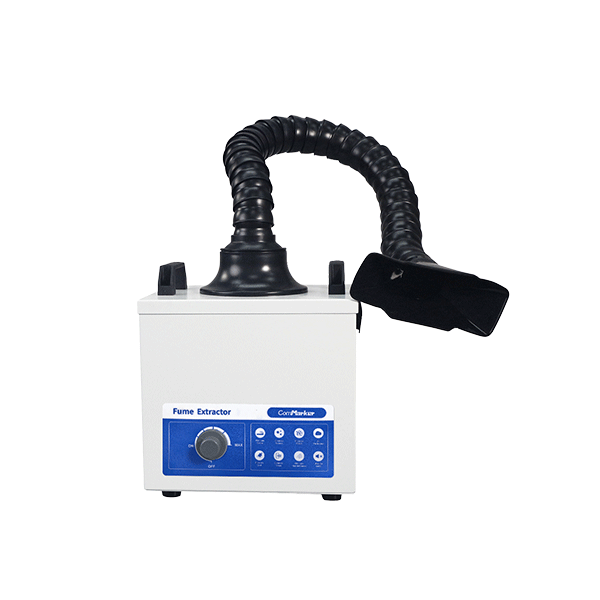
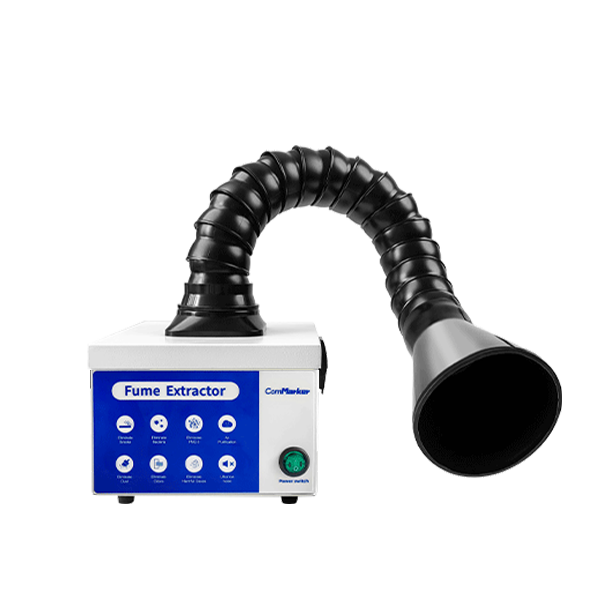
2. Utiliser l'assistance aérienne
Air assist blows away smoke and debris while cooling the engraving area. This reduces charring and improves line sharpness.
3. Proper Focus
Ensure your laser is properly focused. A blurred beam creates wider burns and less precision.
4. Clean Your Optics
Dirty lenses and mirrors scatter the beam, causing overheating and burn marks. Regular cleaning is essential.
5. Sand and Finish
Light sanding after engraving removes minor scorch marks. Applying finishes like clear coat, beeswax, or mineral oil can enhance contrast without burning.

Advanced Pro Tips for Flawless Engraving
- Defocus Slightly: Move the focus a bit above the surface (0.5–1 mm). This spreads the heat and prevents overburn.
- Engrave in Multiple Layers: Shallow engravings layered gradually give better detail and less burn.
- Directional Engraving: Change the engraving angle (par exemple., 45° instead of horizontal) to reduce heat lines.
- Pre-treat with Baking Soda Spray: Lightly spraying wood with a baking soda solution can help achieve cleaner marks (test first!).
Erreurs courantes à éviter
- Running your engraver at full power on wood.
- Using dark, oily, or resin-heavy woods.
- Skipping air assist.
- Engraving without testing on a scrap piece first.
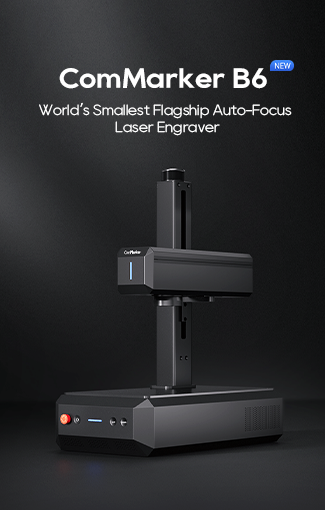
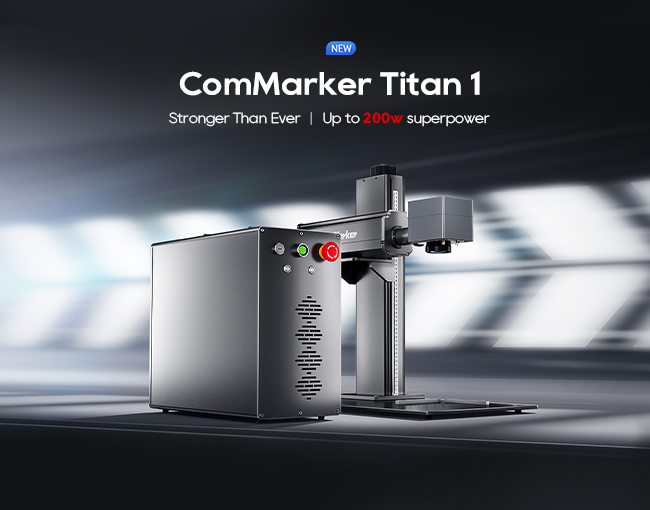
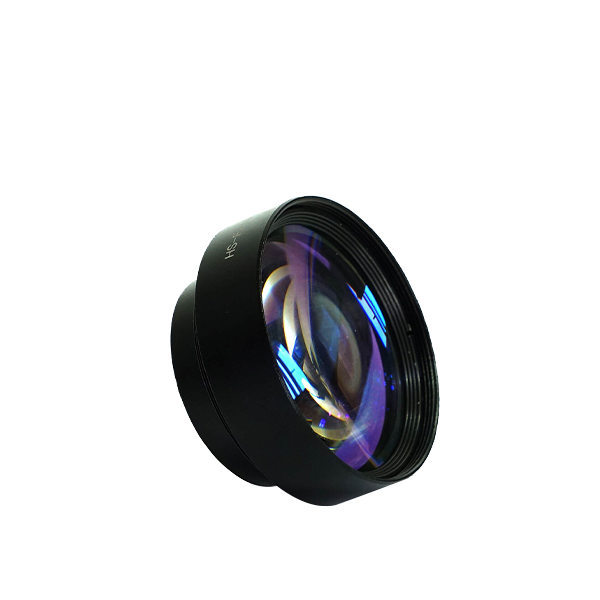
ComMarker Omni 1 Graveur laser
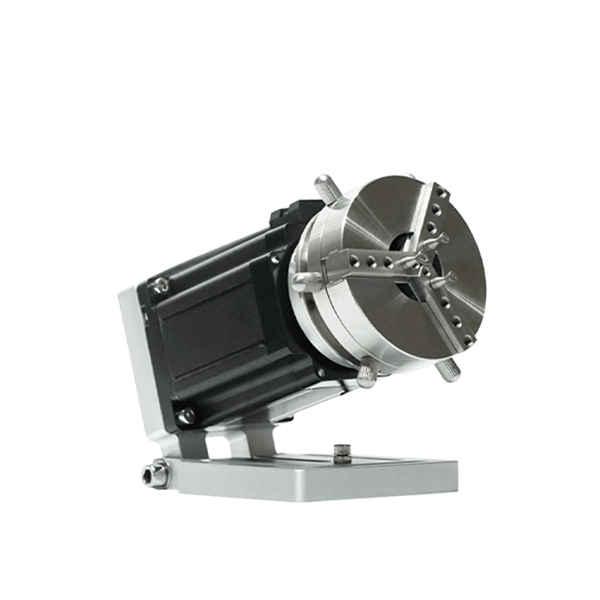
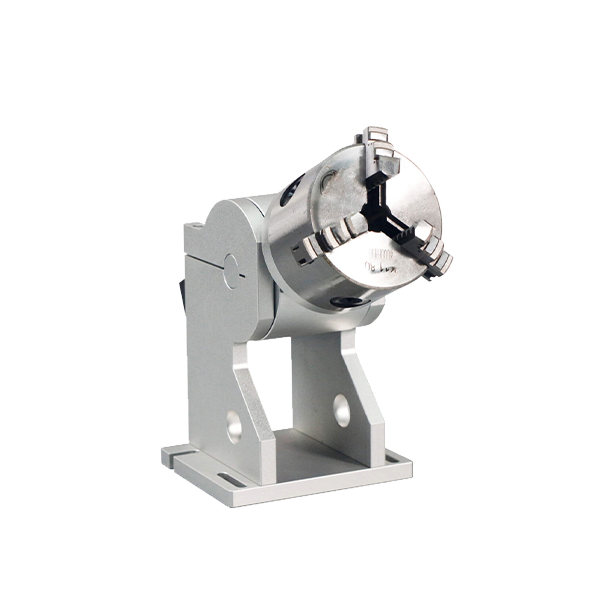
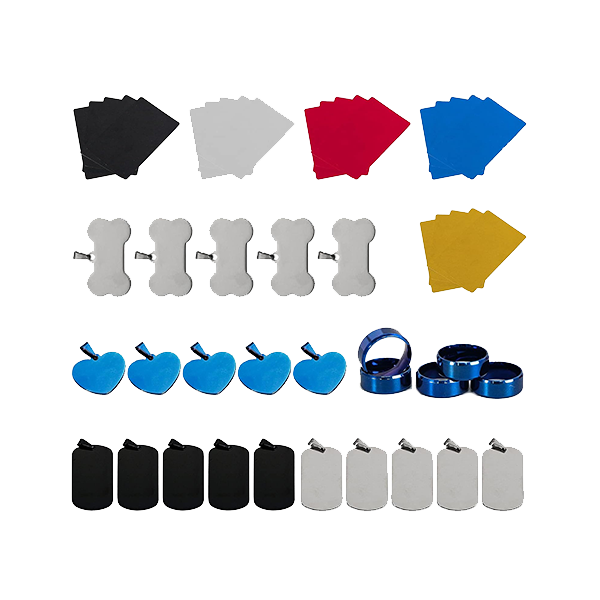
Laser de nouvelle génération pour débloquer tous les matériaux. Technologie de gravure ZeroBurn™ Le premier graveur laser HD 16K au monde Système de gravure SpeedMax™ 10 000 mm/s Déverrouillez tous les matériaux avec le laser UV Technologie thermique ColdFront™ Levage électrique avec 2 Objectifs en option compatibles avec le système de gravure rotative EZCAD et LightBurn à 360°
Conclusion
Apprentissage how to engrave wood without burning comes down to the right combination of matériaux, laser settings, et techniques de gravure. With masking tape, assistance aérienne, and multiple light passes, you can achieve clean, professional results every time.
Whether you’re making signs, ornements, ou cadeaux personnalisés, ces pro tips and tricks will help you engrave like a professional — no burn marks included.