


Okay, confession time: I almost gave up on laser-engraved nails. My first attempt looked less like delicate lace and more like I’d held a tiny blowtorch to a Barbie accessory. Melted, warped, smelling faintly of regret and burnt plastic. But hey, that’s the beauty (and sometimes frustration) of laser crafting, Giusto? You learn by spectacularly failing… and then figuring outwhy.
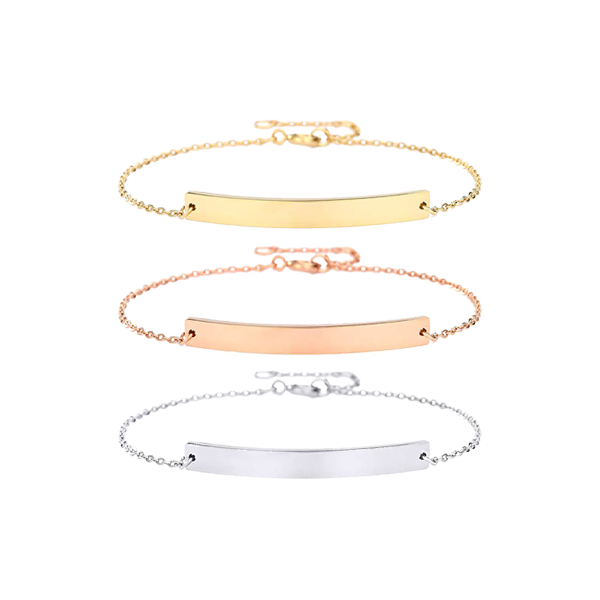
If you’re like me, staring at your laser engraver and wondering, “Could this magical beam machine… do my nails?” – the answer is a resoundingYES! And no, before you ask (because everyone does!), this does NOT involve putting your actual fingertips under the laser. Please, please don’t try that. We’re talking aboutpre-made press-on nail blanks – those little plastic canvases waiting for your creativity.
Let me take you through my messy, rewarding journey of turning blank plastic tips into stunning, custom nail art using my laser. I’ll share thereal wins, the face-palm fails, and everything I desperately wish someone had told me upfront.

IL “Aha!” Moment: Wait, These Nails Work?
Picture me, slightly bleary-eyed at 2 SONO, surrounded by failed experiments with wood coasters and leather tags. I glanced at a pack of cheap, matte-finish press-on nails I’d bought on a whim. “Hmm,” Ho pensato, “It’s just acrylic plastic… lasers love acrylic…” Lightbulb moment!
The Magic Material: Most press-on nails are made from eitherPlastica ABS OPMMA (acrilico). Both arefantastic candidates for laser engraving. Think of them as tiny, curved plastic sheets perfect for etching intricate designs. Gel tips? Forget it – they turn into sad, melty puddles. Pre-painted ones? Risky business – the paint can bubble or burn unpredictably.
My Material Cheat Sheet (Learned the Hard Way):
| Materiale | Laser Result | Real Talk & Lessons Learned |
|---|---|---|
| Plastica ABS | Croccante, linee taglienti | My GO-TO! Feels sturdy.But be gentle: Too much power = warped edges. Lower & slower wins. |
| PMMA (Acrilico) | Beautiful contrast (whitens) | Looks super professional! Warning: Go too deep or hot = brittle nails that snap when applying. Ouch. |
| Gel Tips | Melty, gloopy mess | Just… non. Save your sanity and materials. |
| Pre-Painted | Unpredictable results | Sometimes works, often bubbles or chars the paint. Stick to blanks for reliable art. |
💡 My Pro-Tip That Saved My Sanity: MATTE OVER GLOSSY, ALWAYS. Glossy nail tips? Nightmare fuel. The laser beam reflects or scatters, blurring your design like a bad photocopy. Matte surfaces grip the laser perfectly for sharp, visible engravings. Trust me on this.

Dialing It In: My Laser Settings & IL “Test Nail” Gospel
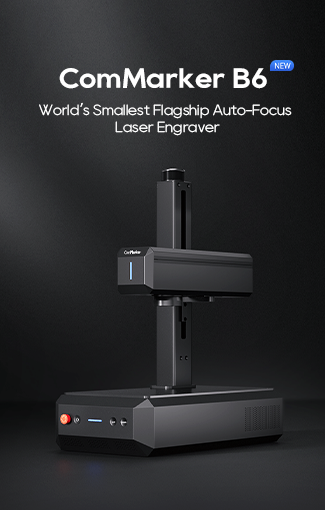
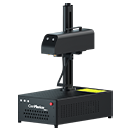
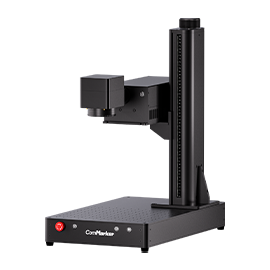
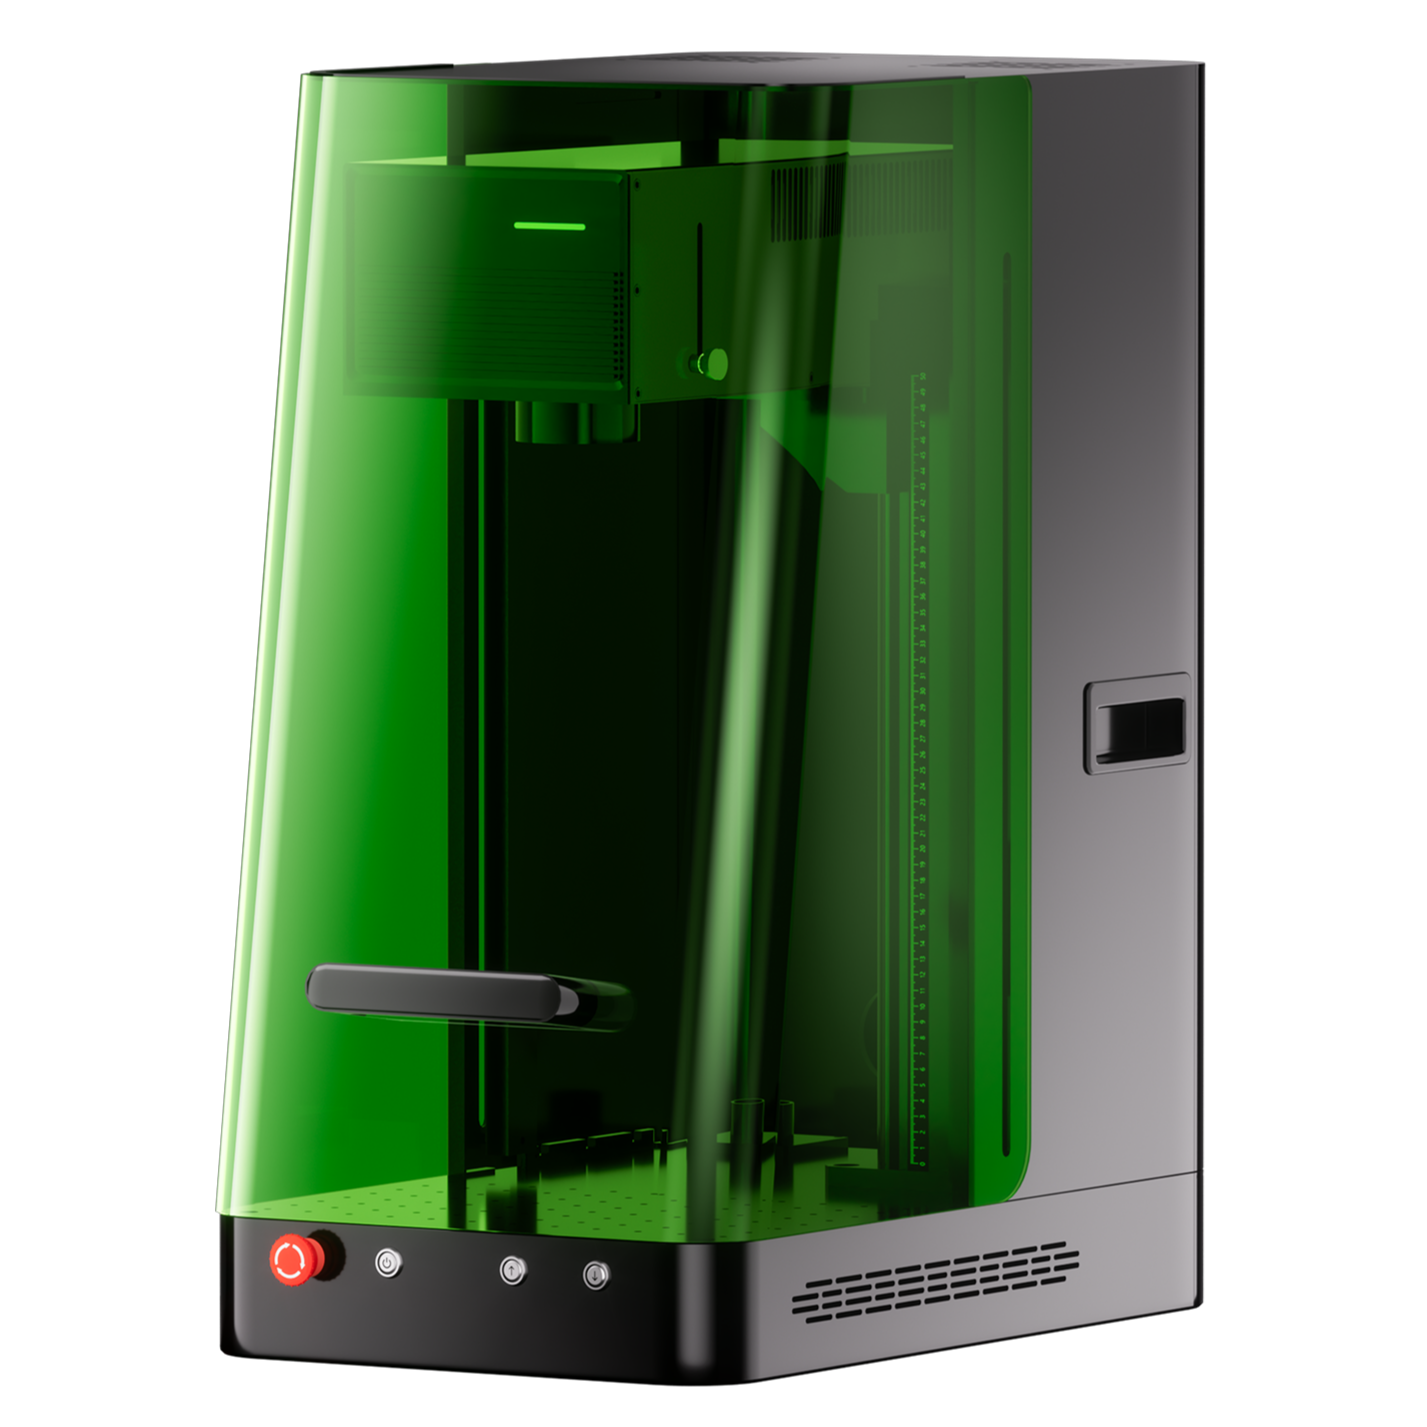
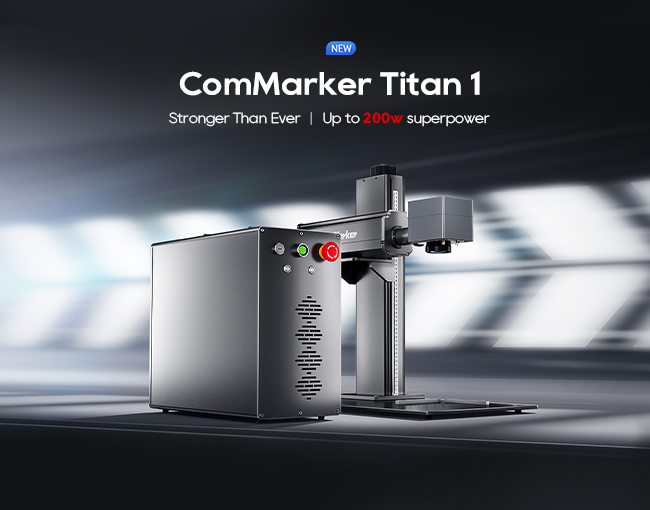
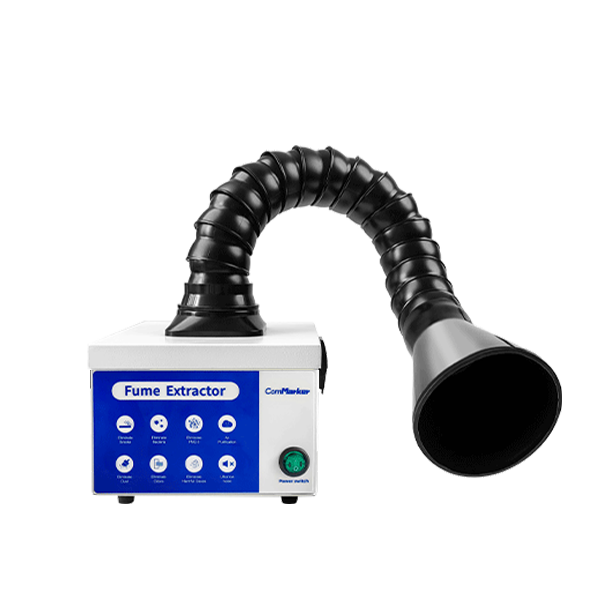
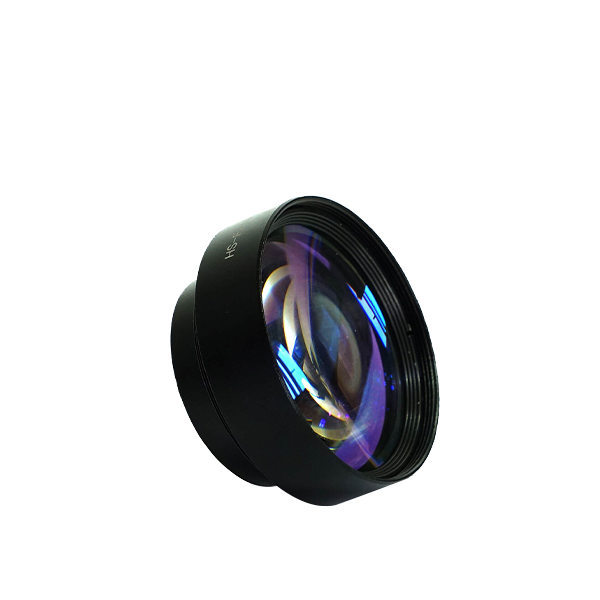
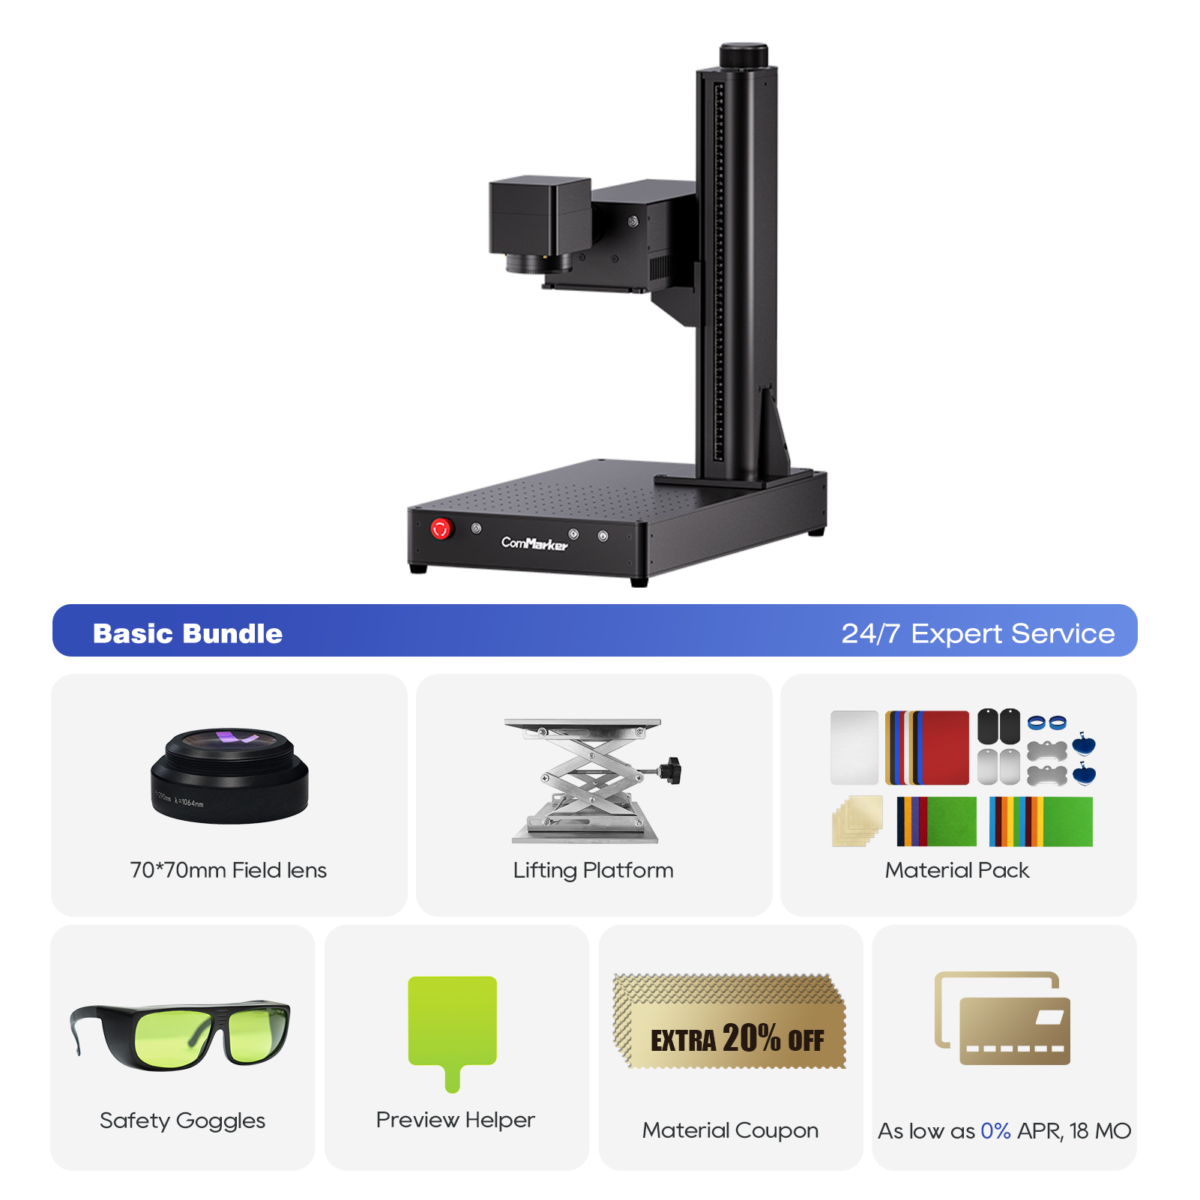
I use aComMarker Omni 1 Laser UV for this – its pinpoint precision ischef’s kiss for tiny details on plastic. But the principles apply to other lasers too (more on that in a sec).
Here’s my current sweet spot aftermany sacrificial nails:
- Velocità: 1500 mm/s (Veloce! UV lasers work quick)
- Frequenza: 80 kHz
- Impulso Q: 5 (Helps control heat on delicate plastic)
- DPI/Scan Gap: ~800 (Fine enough for detail, fast enough for production)
- Orientation: FACE UP! Seems obvious, but double-check. Engraving theback makes for a very confusing manicure.
⚠️ If You’re Using a Diode Laser: Friend, you need tochill. Letteralmente. Diode lasers generate more heat.Dramatically reduce speed AND power compared to UV settings. We’re talking maybe 200-400 mm/s max andvery low power (start at 10-15% and creep up). ABS melts like butter on a hot pan if you’re too aggressive. Test, test, TEST!
🙏 The Sacred Rule: ALWAYS RUN A TEST ON A SPARE NAIL FIRST. My most spectacular fail? A gorgeous, intricate floral pattern… etchedright through an entire expensive sheet of nails because I got cocky and skipped the test. The smell haunts me. Learn from my expensive mistake.

What Designs Make Nails Sing? Less is More!
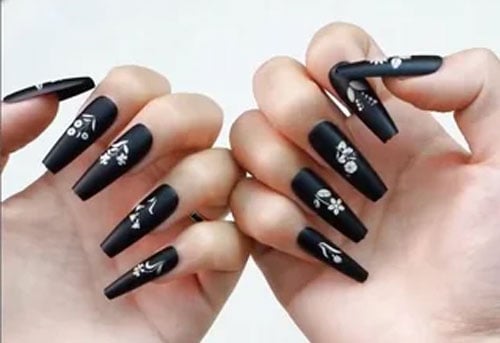
This isn’t the place for ultra-fine photorealistic portraits (unless you have a super high-res galvo laser and infinite patience!). Laser-engraved nails shine withbold, clean vector art:
- Delicate Florals: Single-line roses, ferns, minimalist branches.Pure magic.
- Motivi geometrici: Chevrons, triangles, abstract lines. Modern and chic.
- Tiny Symbols & Initials: Hearts, stelle, moons, your monogram. Simple elegance.
- Short Words or Mantras: “Breathe,” “OM,” your name. Keep it short & impactful.
- Mini Mandalas: Focus on the core structure, not microscopic detail.
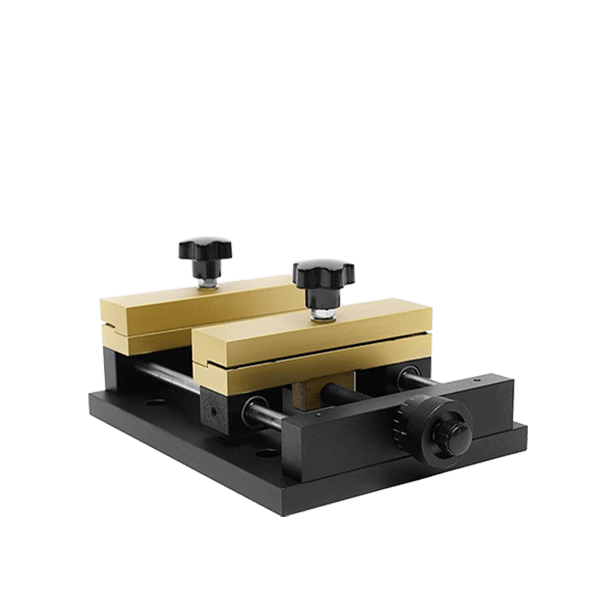
🖋️ My Design Workflow: LightBurn is my BFF. I design or import vector art, scale it perfectly to fit the tiny nail canvas (measure twice, engrave once!), and center it meticulously.Build a simple jig! Tape down a sheet of blanks onto a sacrificial board, or create a little frame to hold them in place. Consistency is key, especially if you’re making sets.

Beyond the Burn: Sigillatura & Painting Your Masterpieces
The laser leaves a beautiful etched pattern, often whitened on acrylic. Ma ilreal fun starts here! You don’thave to add color, but oh, the possibilities…
- Acrylic Polish Fill: My favorite technique! Dab white, nero, oro, or colored polishinto the engraved lines. Let it sit for 30 secondi, Poigently wipe the excess off the smooth surface with a lint-free wipe dipped in polish remover. The color staysIn the grooves. Looks incredibly professional.
- Matte Top Coat: Just a swipe of matte top coat over the whole engraved nail makes the design pop against the slight sheen of the base plastic. Effortlessly chic.
- UV Gel Top Coat: For maximum durability (like if you’re selling them), seal with a UV gel top coat and cure. Makes them super tough and glossy.
- ✨ Get Creative! ✨ Remember my lunar phase disaster turned triumph? After engraving the phases, I filled the lines withglow-in-the-dark polish. At that Halloween party? Under blacklight, my fingertips were tiny constellations. Worth every melted nail that came before!

Mistakes I Made So You (Fiduciosamente) Won’t
Let my pain be your gain:
- 🛑 The Great Meltdown: Dropped power? Nah, Ho pensatoDi più power =better incisione. Spoiler: It equals melted, unusable blobs.Start LOW and increase slowly. Heat is the enemy.
- 🛑 Brittle Snap: Engraved too deeply on acrylic trying to get “more contrast.” Applied the nail… snap. Heartbreak.Poco profondo, crisp engraving > profondo, fragile etching.
- 🛑 The Wandering Heart: Didn’t tape down the blanks or use a jig. Hit start. Came back to find a beautifully engraved heart… halfway off the edge of the nail.Secure. Tuo. Spazi vuoti.
- 🛑 The Ghostly Residue: Finished engraving, thought they looked perfect. Applied top coat… and saw a weird white, powdery haze trapped in the design.Always wipe engraved nails gently with isopropyl alcohol before sealing or painting to remove any residue.
COSÌ… Is It Worth the Fuss? My Honest Take
Remember those first melted monstrosities? Assolutamente, 100% YES, it’s worth it. Ecco perché:
- Uniqueness: You will have nailsliterally no one else on the planet has. That’s powerful stuff.
- Velocità (Once Dialed In): Once your settings are golden and you have a jig? Engraving a full set takesminuti. Painting/sealing takes a bit longer, but it’s relaxing.
- Creative Satisfaction: There’s a deep joy in wearing art youphysically created from scratch. It feels like magic you control.
- Gift/Etsy Gold: Handmade, laser-personalized nails? People LOVE these as gifts. They sell like crazy on platforms like Etsy. Low material cost, high perceived value.
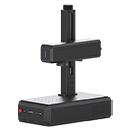
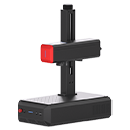
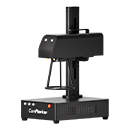
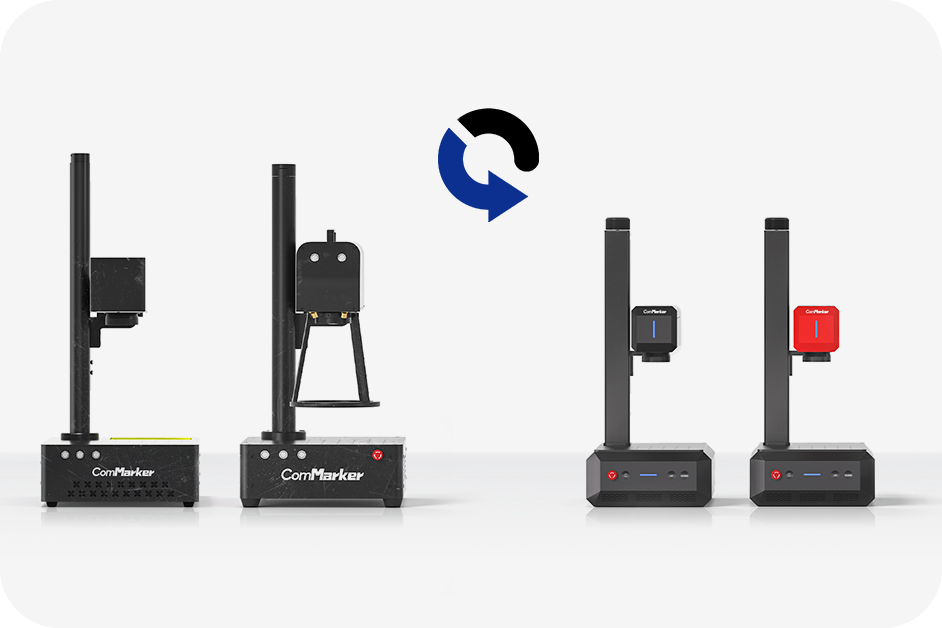
ComMarker Omni 1 Incisore laser
Laser di nuova generazione per sbloccare tutti i materiali. Tecnologia di incisione ZeroBurn™ Il primo incisore laser HD 16K al mondo Sistema di incisione SpeedMax™ da 10.000 mm/s Sblocca tutto il materiale con il laser UV Tecnologia termica ColdFront™ Sollevamento elettrico con 2 Lenti opzionali compatibili con EZCAD e il sistema di incisione rotativa a 360° LightBurn
👉 Final Thought & Gear Love: If you’re serious about exploring laser crafts on plastics, pelle, bicchiere, e altro ancora (like nails!), I can’t recommend the ComMarker Omni 1 Laser UV enough. Its precision, velocità, and relatively cool operation are perfect for delicate projects like this. It made the difference between frustrating failure and joyful success for me. It’s surprisingly approachable for beginners too!