


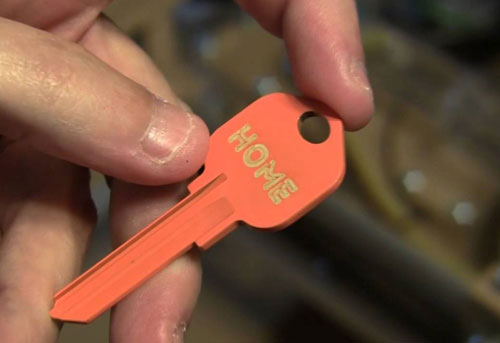
Personalized keys are a surprisingly powerful way to add both style and function to something we use every day. Whether you want to mark your house keys for easy identification, create branded key blanks for a business, or offer custom engraved keys as a side hustle, modern incisore laser technology makes it easier and more precise than ever.
In this in-depth guide, we’ll cover everything you need to know about how to engrave keys—from choosing the right machine and materials, to step-by-step engraving instructions, to design and safety tips.

1. Why Engrave Keys?
Engraving keys isn’t just about looks—it’s about functionality, marchio, and even security. Here’s why people do it:
- Personalizzazione: Add initials, nomi, or unique patterns so keys are instantly recognizable.
- Marchio: Locksmiths and property managers can engrave company logos or contact details.
- Functionality: Engrave labels like “Front Door” or “Office” to avoid confusion.
- Gift or Collectible Value: Customized key designs for events, souvenirs, or promotional giveaways.
- Security Tracking: Numbering keys for inventory or restricted access systems.

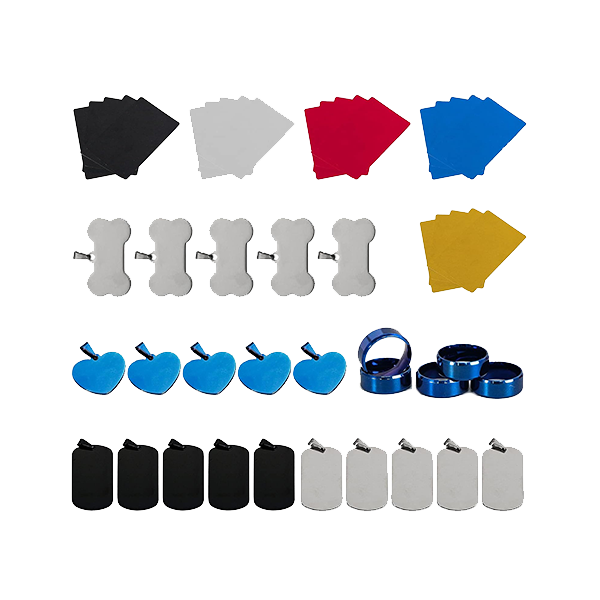
2. What Materials Are Keys Made Of?
The first step in engraving keys is understanding their material composition—this determines the best engraving method.
| Key Type | Common Materials | Engraving Notes |
|---|---|---|
| Household Keys | Ottone, nickel-plated brass | Brass engraves cleanly; nickel plating requires fine-tuned settings. |
| Automotive Keys | Ottone, acciaio, or aluminum; sometimes coated | Steel needs higher-power fiber lasers; coatings may need removal first. |
| Decorative / Novelty Keys | Alluminio, acciaio inossidabile, plastic tops | UV lasers excel on coated or plastic parts; MOPA fiber works for color marking on metal. |

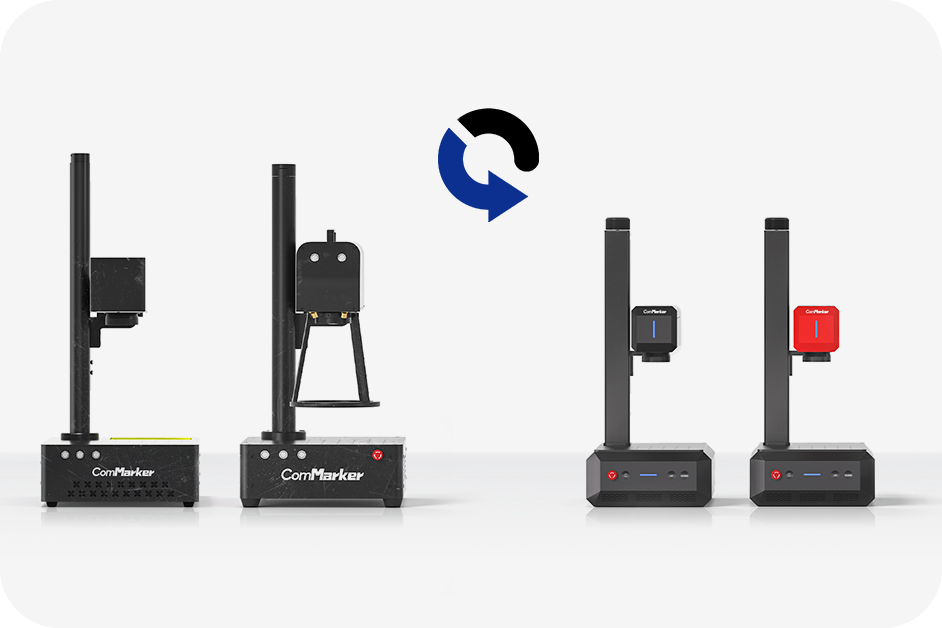
3. Choosing the Right Engraving Technology
When engraving keys, your choice of incisore laser matters. Different machines excel with different materials:
Incisori laser CO₂
- Meglio per: Legna, acrilico, metalli rivestiti (but not raw metal)
- Can mark metal only with marking spray or anodized coating
- Not ideal for deep metal engraving
Incisori laser a fibra
- Meglio per: Ottone, acciaio inossidabile, nickel-plated brass, alluminio
- Can engrave deep or perform color marking (with MOPA fiber lasers)
- Perfect for locksmiths or industrial marking
Incisori laser UV
- Meglio per: Plastic-topped keys, coated surfaces, alluminio anodizzato
- Produces ultra-fine detail with minimal heat impact
- Great for intricate logos or QR codes on keys
💡 Raccomandazione:
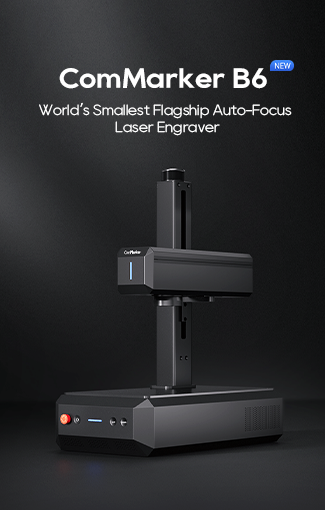
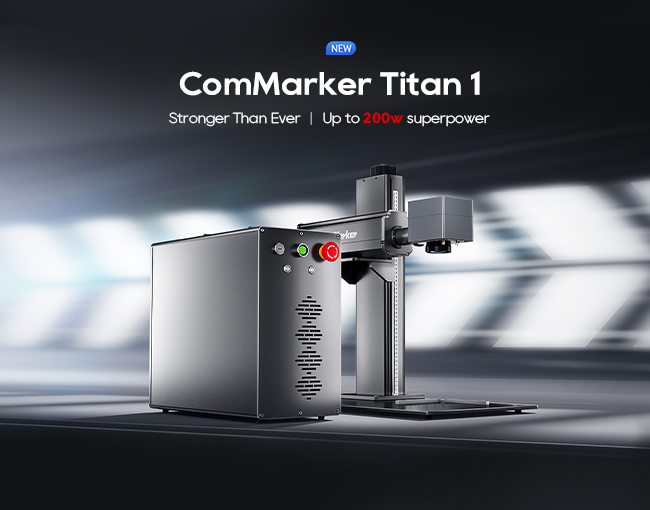
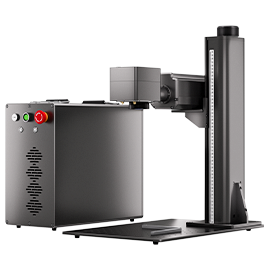
- For all-metal keys (ottone, acciaio, alluminio): ComMarker B4 or B6 MOPA Fiber Laser
- For plastic-coated or decorative keys: ComMarker Omni 1 Laser UV

4. Preparare il tuo progetto
Before you engrave, you’ll need a vector design file. Popular software options include:
- LightBurn – Highly recommended for laser engraving
Design Tips for Keys:
- Keep text above 0.5 mm height for readability
- Use high-contrast designs for maximum clarity
- For logos, simplify details to avoid tiny unreadable elements
- If using QR codes, test scanability before engraving production batches
5. How to Engrave Keys with a Laser Engraver
Here’s a complete workflow for engraving keys with a incisore laser in fibra O Incisore laser UV:
Fare un passo 1: Clean the Key Surface
- Wipe the key with isopropyl alcohol to remove oils and dirt.
- For used keys, lightly sand or polish to remove scratches.
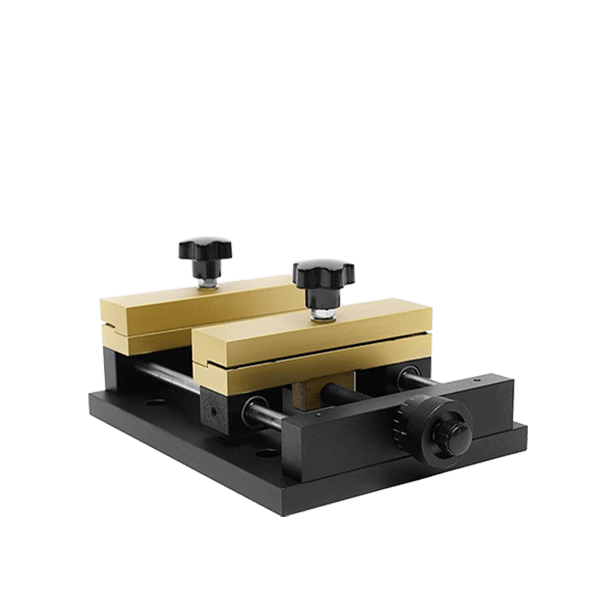
Fare un passo 2: Secure the Key in Place
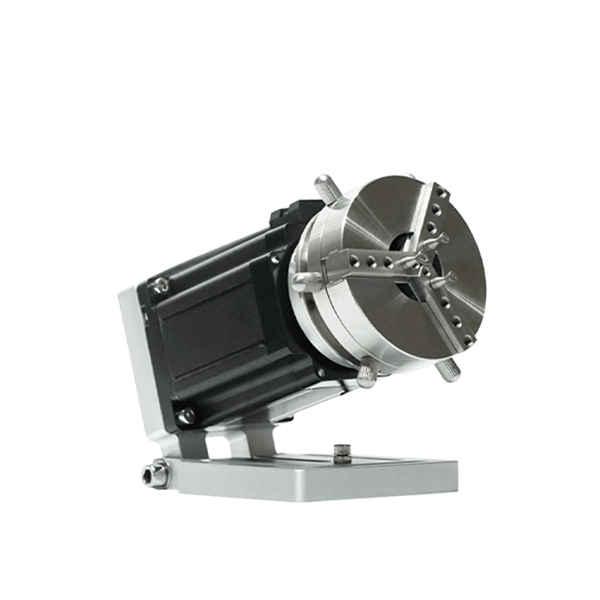
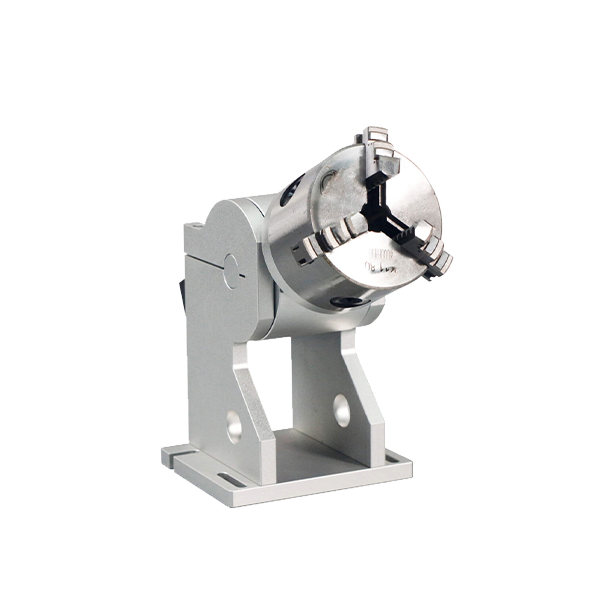
- Use a small rotary fixture or jig to hold the key steady.
- Ensure it’s level to the laser focus plane for consistent results.
Fare un passo 3: Load Your Design into the Software
- Import your vector design (DXF, SVG, or AI file).
- Scale and position it to fit the engraving area on the key.
Fare un passo 4: Set Engraving Parameters
For Brass Keys (Laser a fibra):
- Velocità: 800–1200 mm/s
- Energia: 30–50% (for shallow marking)
- Frequenza: 20–60 kHz
- Passa: 1–2
For Plastic-Coated Keys (Laser UV):
- Velocità: 1000–1500 mm/s
- Q-Impulso: 200
- Frequenza: 30–40 kHz
- Intervallo di linea: 0.05 mm
💡 Suggerimento: Always test on a spare key before running production.
Fare un passo 5: Run a Preview Pass
- Use the frame function to confirm alignment.
- Adjust positioning if necessary before starting the job.
Fare un passo 6: Inizia l'incisione
- Begin with one pass and inspect the result.
- Per un'incisione più profonda, repeat with reduced speed or increased power.
Fare un passo 7: Post-Engraving Cleanup
- Brush away debris with a soft brass brush.
- Wipe with alcohol to restore a clean, sguardo lucido.
6. Considerazioni sulla sicurezza
- Protezione agli occhi: Always wear laser safety glasses matched to your laser wavelength.
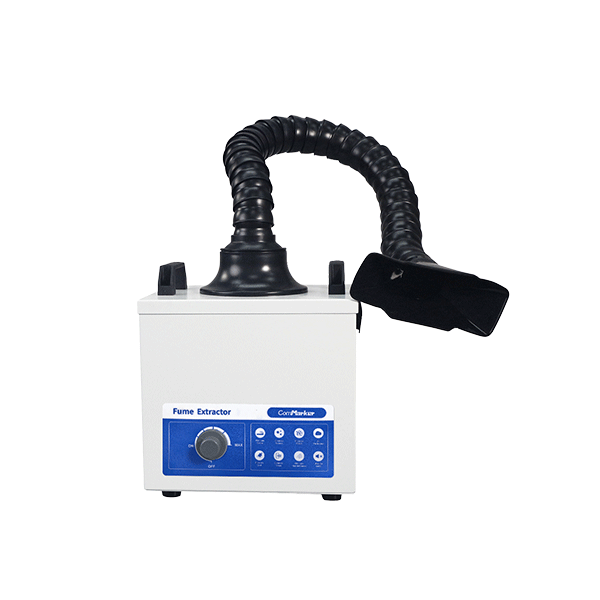
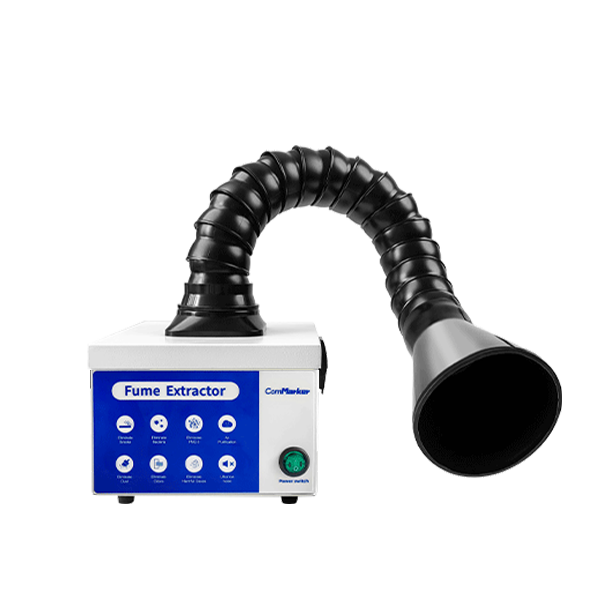
- Ventilazione: Use proper exhaust to remove fumes from metal engraving.
- Evitare il surriscaldamento: Especially on plastic-coated keys to prevent warping.
- No Unauthorized Key Duplication: Respect local laws regarding restricted key designs.
7. Tecniche Avanzate
Deep Engraving for Long-Lasting Marks
Use lower speeds and multiple passes to create engravings that won’t wear off with time.
Marcatura a colori (Fibra di ropa)
By adjusting frequency and pulse width, you can add colors to stainless steel keys.
QR Codes and Serial Numbers
Engrave scannable QR codes linking to online lock info or customer service contacts.
8. Business Opportunities in Key Engraving
Engraved keys can be a profitable niche for locksmiths, gift shops, and online sellers.
Potential Markets:
- Real estate agents (housewarming gifts with branded keys)
- Auto dealerships (custom keychains + engraved keys)
- Promotional products for companies
- Personalized gifts for weddings and events
Example Pricing Model:
- Blank key cost: $1–$2
- Engraving time: ~1–2 minutes
- Selling price: $8–$20 depending on design complexity
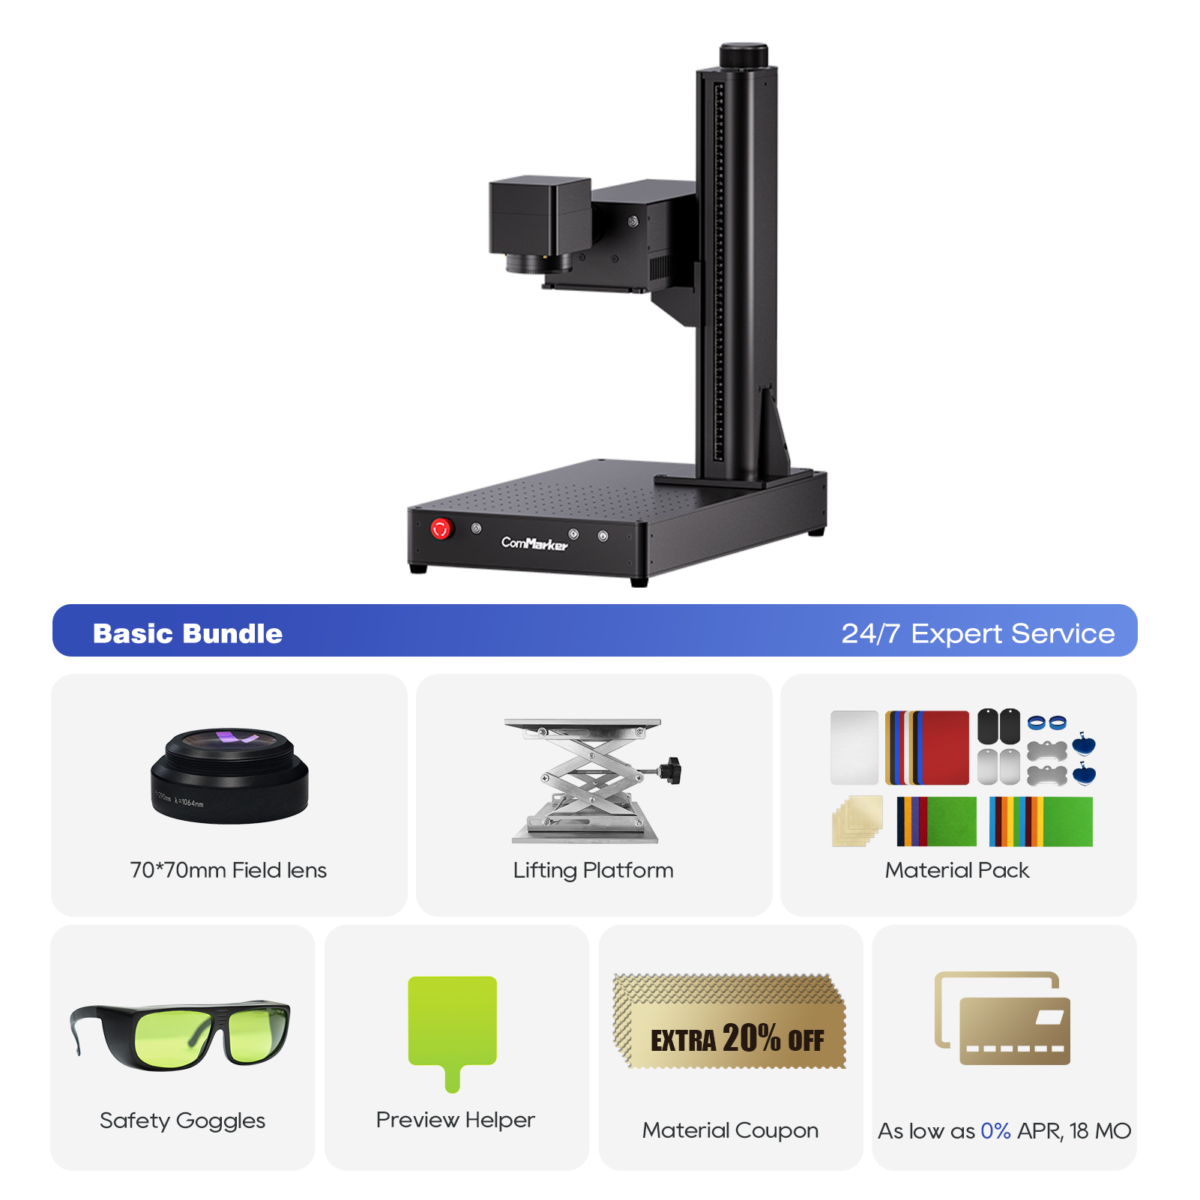
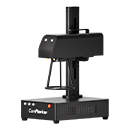
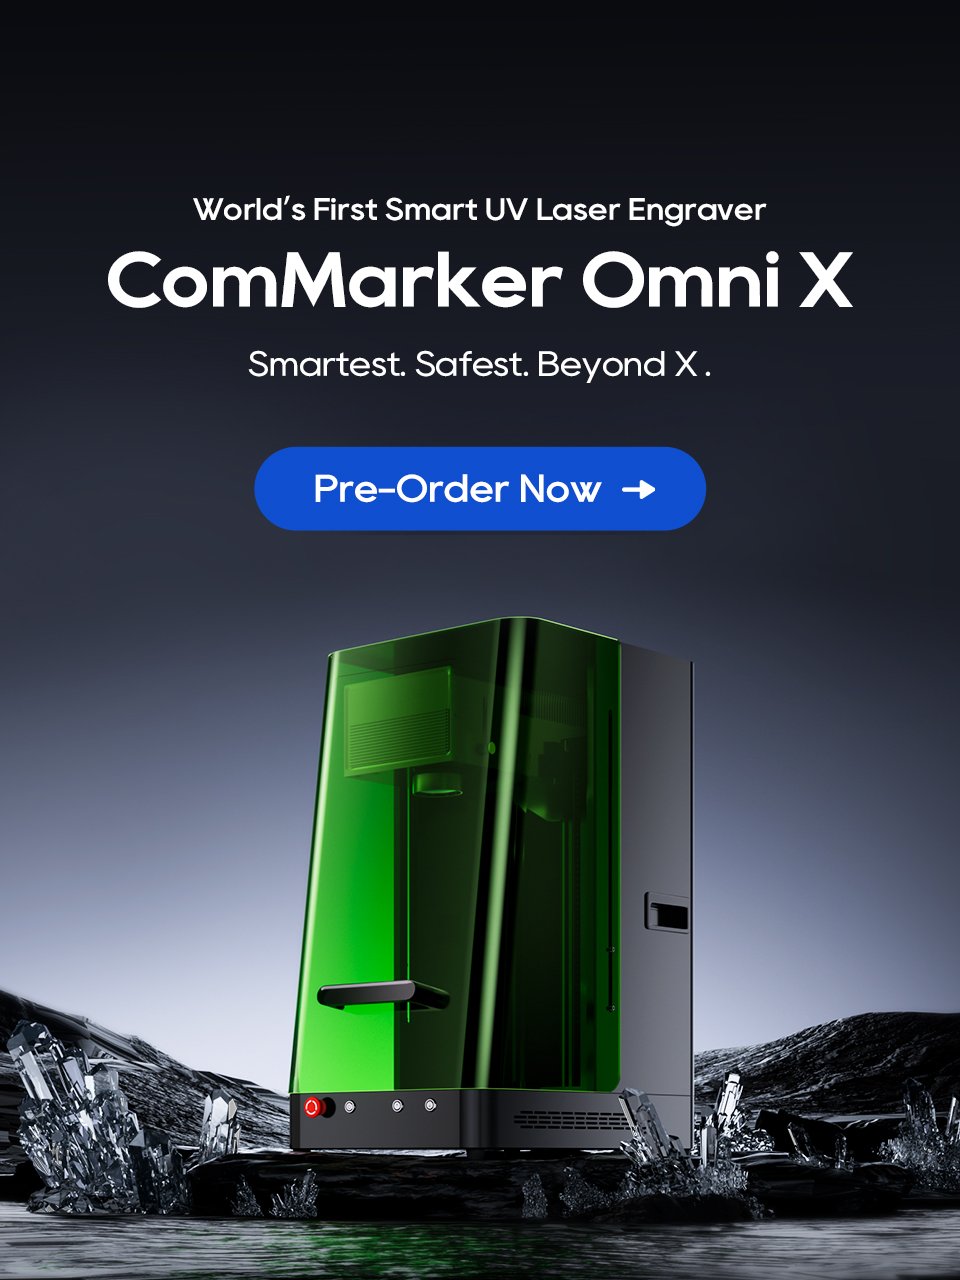
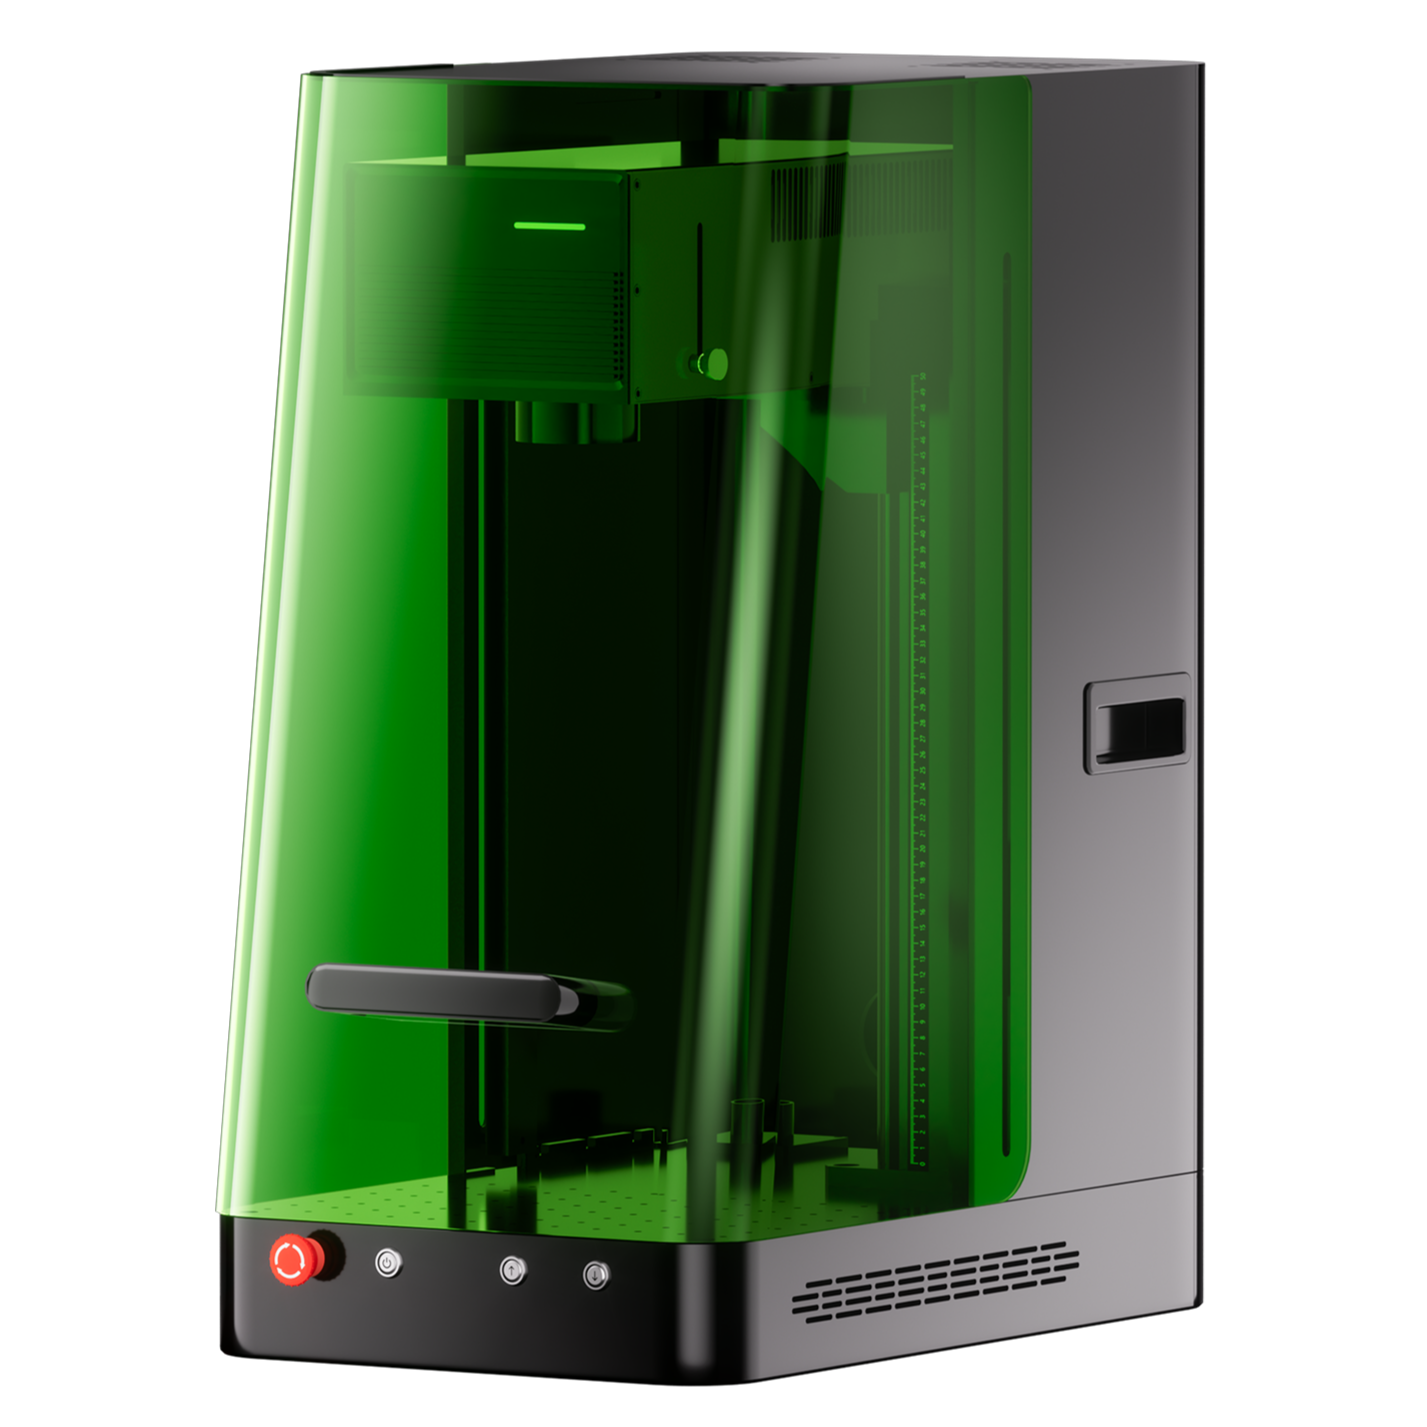
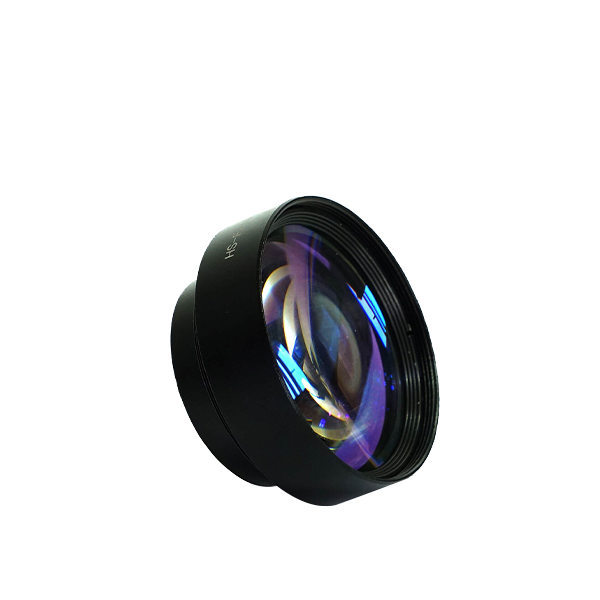
ComMarker Omni 1 Incisore laser
Laser di nuova generazione per sbloccare tutti i materiali. Tecnologia di incisione ZeroBurn™ Il primo incisore laser HD 16K al mondo Sistema di incisione SpeedMax™ da 10.000 mm/s Sblocca tutto il materiale con il laser UV Tecnologia termica ColdFront™ Sollevamento elettrico con 2 Lenti opzionali compatibili con EZCAD e il sistema di incisione rotativa a 360° LightBurn
Learning how to engrave keys opens up a small but highly versatile customization niche. Con la destra incisore laser, proper settings, and a bit of creativity, you can produce professional-grade results quickly and profitably.
Whether you’re a hobbyist making personalized gifts, a locksmith adding branding, or a small business looking for a profitable new product line, engraved keys can be your next success story.