


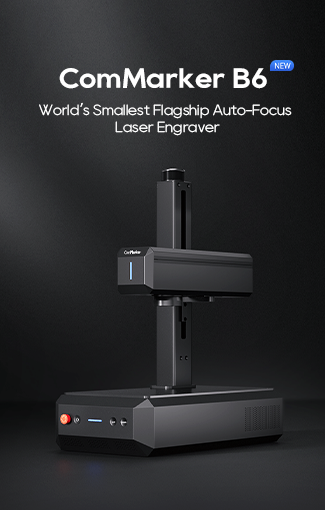
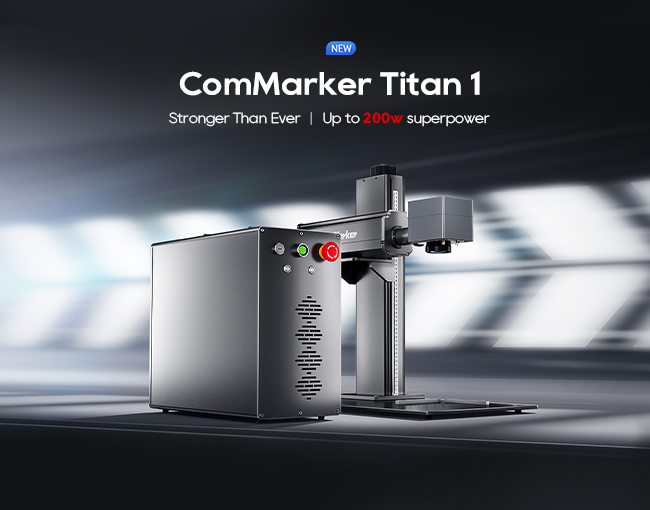


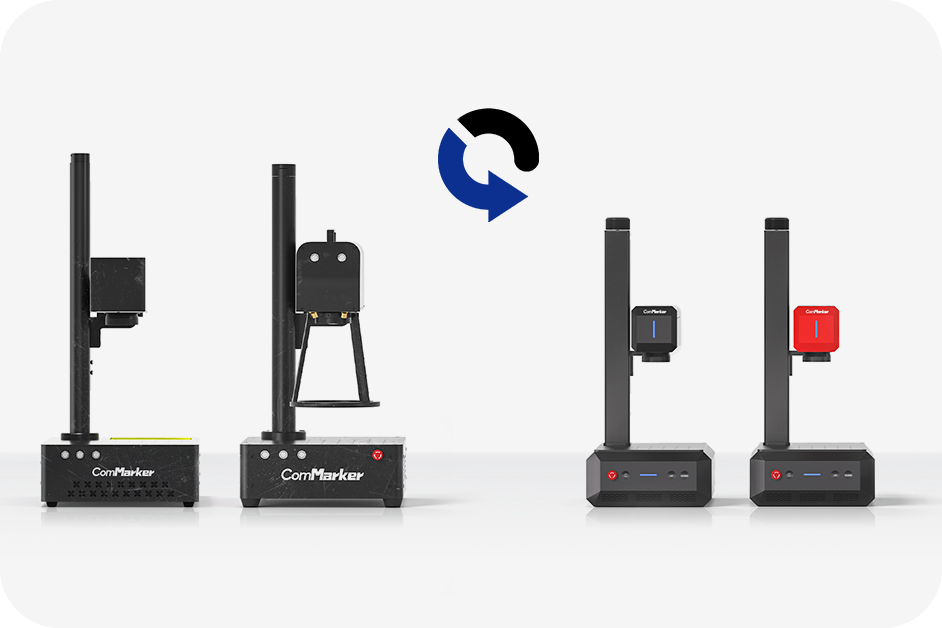


If you’re looking to push the limits of your incisore laser and work on larger materials, IL ComMarker Slide Extension Kit is exactly what you need. Designed for seamless integration with ComMarker machines, this accessory expands your maximum engraving area up to 150× 400mm, unlocking new potential for signs, long tumblers, wood panels, e altro ancora.
In questa guida, we’ll walk you through how to install the slide extension, set up the software, and safely operate your laser with this upgraded setup.
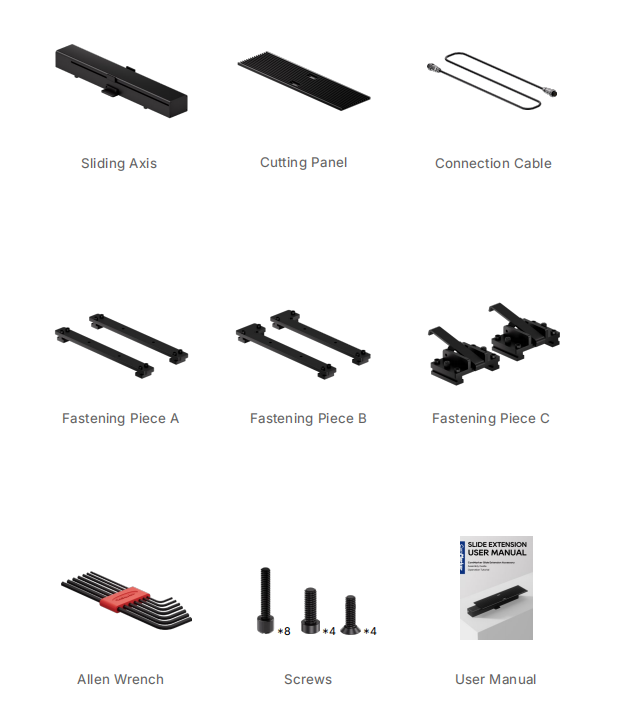
What’s in the Box?
The Slide Extension Kit includes everything needed for a quick install:
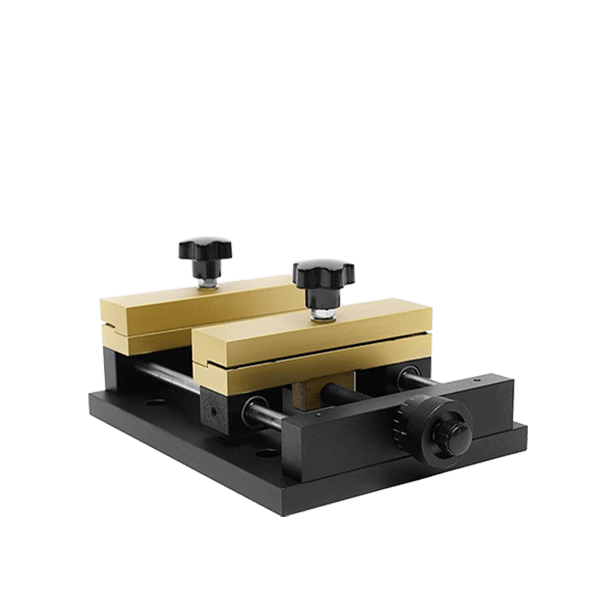
- Sliding Axis
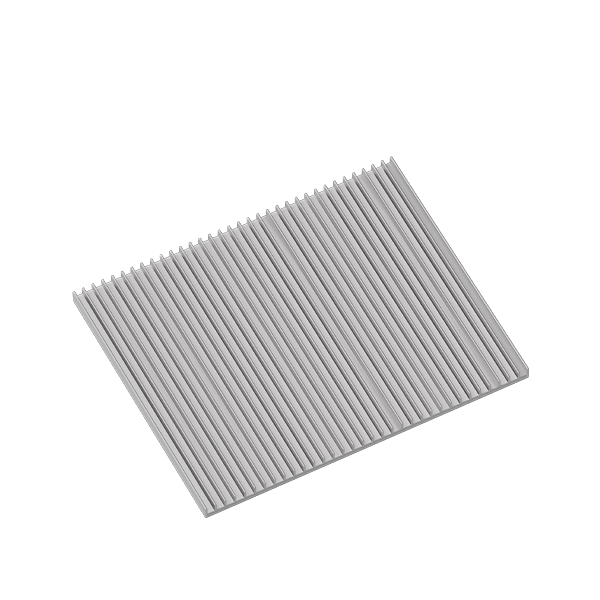
- Cutting Panel
- Connection Cable
- Fastening Pieces A, B, and C
- Screws (M410 & M58)
- Allen Wrench
- Manuale d'uso
Everything is precision-engineered to work perfectly with your ComMarker laser engraver.

Step-by-Step Installation Guide
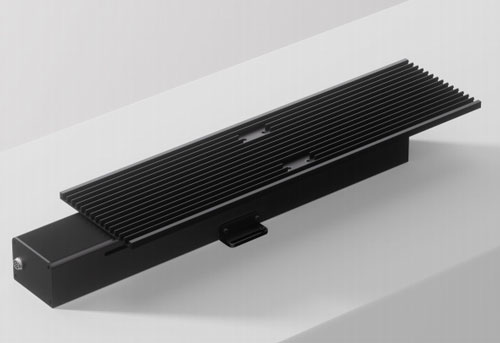
1. Mount the Slide Extension
Start by lifting the safety door and carefully engaging the sliding axis with the machine’s work base. Assicurati che connection cable port faces left.
Usa il 4pcs M4*10 countersunk screws to attach the cutting panel onto the sliding axis.
2. Connect the Cable
Allega il connection cable to link the slide extension with your laser engraver.
If your material requires custom positioning, slide Fastening Pieces A, B, or C into place and secure them with the thumb screws provided.

How to Use Extension Mode in the Software
Once installed, using the Slide Extension Kit is just as easy:
Fare un passo 1: Activate Extension Mode
In the bottom-right corner of the laser software UI, select “Extension Mode."
Input the required parameters:
- Velocità
- Frequenza
- Larghezza di impulso
- Intervallo di linea
- Passa
Fare un passo 2: Place and Focus the Material
Place your material on the cutting panel and align it under the red laser sensing dot.
Clic “Focus” to activate auto-focusing.
Mancia: Make sure the material lies flat and is aligned within the new 150× 400mm zona di lavoro.
Fare un passo 3: Preview and Start Marking
Usa il preview helper to visualize the engraving area. Once confirmed, remove the helper and lower the safety door to within 5mm of the material.
Clic “Start (F2)" and let the laser engraver do the rest.

Why Choose the Slide Extension Kit?
✔ Boost Productivity: Engrave larger designs without repositioning.
✔ Perfect Alignment: Red sensing dot and auto-focus make setup effortless.
✔ Safe Operation: Integrated safeguards ensure worry-free engraving.
✔ Ideal for Long Projects: Wine boxes, segnaletica, wood slats, e altro ancora.