


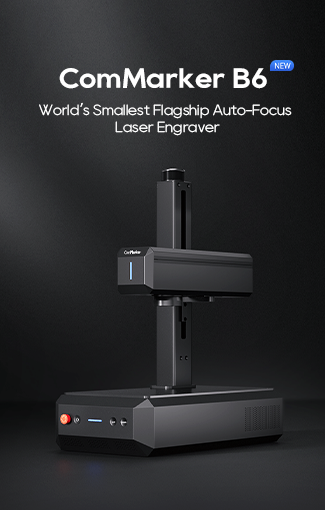


You don’t need to spend $20,000 to achieve professional-grade results with your laser engraver. If you’re using a ComMarker OMNI 1 UV or a B6 fiber laser, you already have a powerful machine. With just a few simple upgrades and DIY tweaks—most costing under $50—you can significantly enhance your engraving results.
このガイドでは, we’ll walk you through budget-friendly improvements that are easy to implement at home or in a small workshop. These upgrades will improve your output quality, enhance safety, and give you better control over your projects—even if you’re just starting out.
Let’s dive into the best low-cost laser engraver modifications for beginners and hobbyists, complete with step-by-step tips, material recommendations, and pro-level insights.

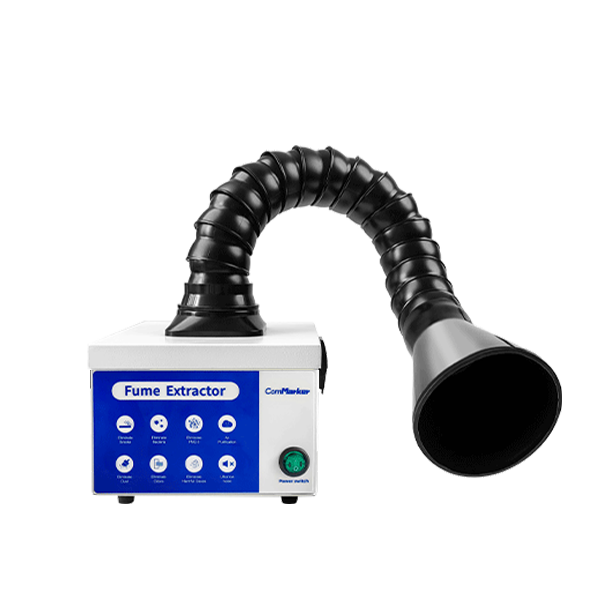
1. Airflow Upgrades: Clear the Smoke for Cleaner Results
Laser engraving involves burning or vaporizing materials, which creates smoke, fumes, and fine particles. These can obscure the laser beam, leave residue, and reduce engraving detail. Poor airflow is one of the main causes of blurry edges and inconsistent burns.
What You’ll Need:
- Inline Duct Fan (4″ or 6″) – A high-CFM fan (25–40 CFM) can greatly improve smoke removal. Pair it with flexible aluminum ducting to vent fumes outside or into a filter.
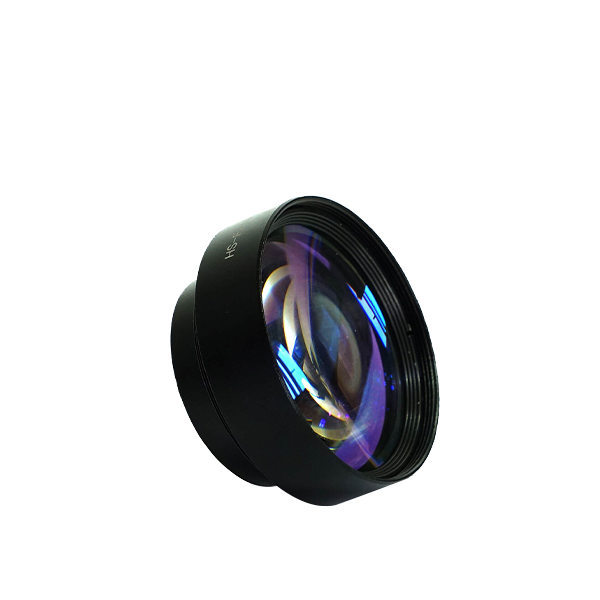
- Loc-Line Air Assist Arm – This modular hose ($15–30) directs a stream of air from a compressor or air pump right to the laser’s focal point. It keeps the lens clean and prevents debris buildup—especially on glass or acrylic.
- Quiet 12V PC Fan + 3D-Printed Bracket – Mount a Noctua PC fan ($10) near the laser head using a custom bracket (free STL files are available on Thingiverse) for focused airflow.
Installation Tips:
- Place the inline fan after the laser’s exhaust port to maximize suction.
- Set air assist pressure to 15–20 PSI. Too much airflow may move lightweight materials like paper.
- Use silicone sealant to seal any ducting gaps and prevent smoke leaks.
💡 ヒントの場合: When engraving dark anodized aluminum or glass, smoke residue can reflect the beam and reduce contrast. Clean airflow helps maintain sharp, crisp lines.

2. Carbon Filter Add-ons: Protect Your Lungs & Workspace
Materials like PVC, アクリル, and even certain woods release toxic fumes when engraved, including benzene and formaldehyde. A carbon filter system helps neutralize odors and trap harmful VOCs (volatile organic compounds), keeping your workspace safer—especially indoors.
DIY Filter Solutions:
- Activated Carbon Sheets – Cut to size and place over the exhaust port. Replace every 20–30 hours of use (その周り $10 per sheet).
- DIY Filter Box – Build a sealed box from plywood with two chambers: one with a pre-filter (例えば, a furnace filter) and another filled with activated carbon ($25 のために 5 ポンド).
- Inline Carbon Canister – Repurpose a large PVC pipe, fill it with carbon pellets, and place it between your laser and exhaust fan.
安全のヒント:
- Always wear an N95 mask when engraving plastics—even with a filter in place.
- Check filter efficiency by holding a tissue near the exhaust. If it flutters strongly, your suction is sufficient.

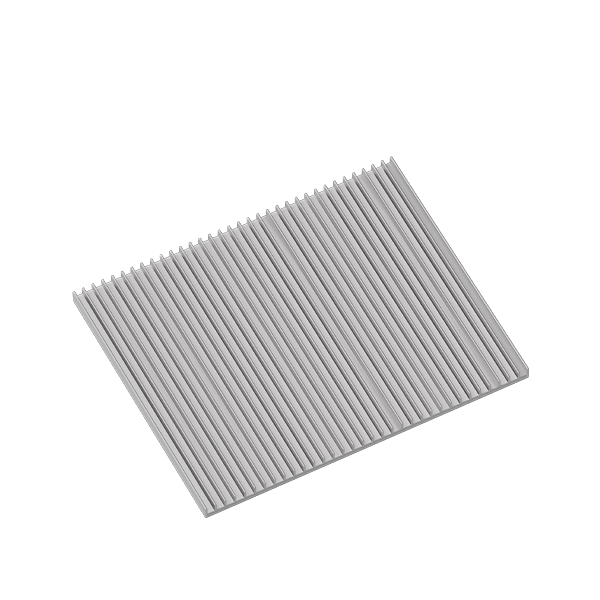
3. Dampening Mounts: Say Goodbye to Vibration Wobble
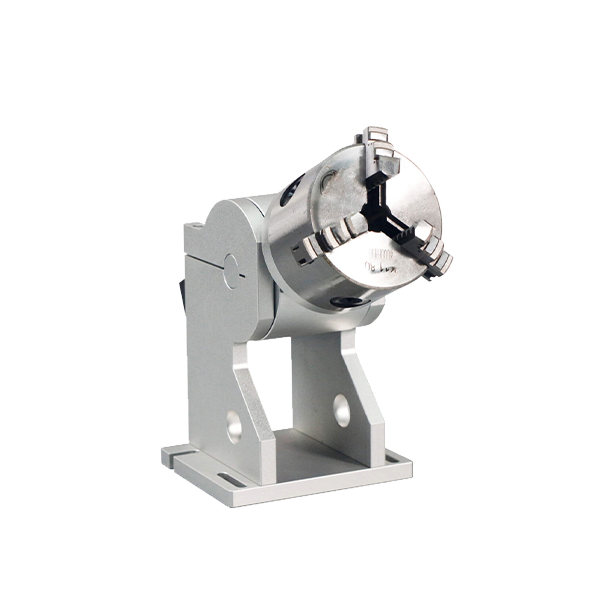
Entry-level laser engravers often suffer from vibration-related issues, especially during fast raster engraving or when using rotary attachments. These vibrations can cause “ghosting” or distorted lines.
Budget-Friendly Fixes:
- Rubber Anti-Vibration Pads – Place under your laser’s feet ($8 for a 4-pack). For heavier machines, try Sorbothane pads ($15), which absorb up to 90% of vibrations.
- Concrete Paver Base – A $5 slab from the hardware store adds mass and reduces resonance. Add foam underneath for extra damping.
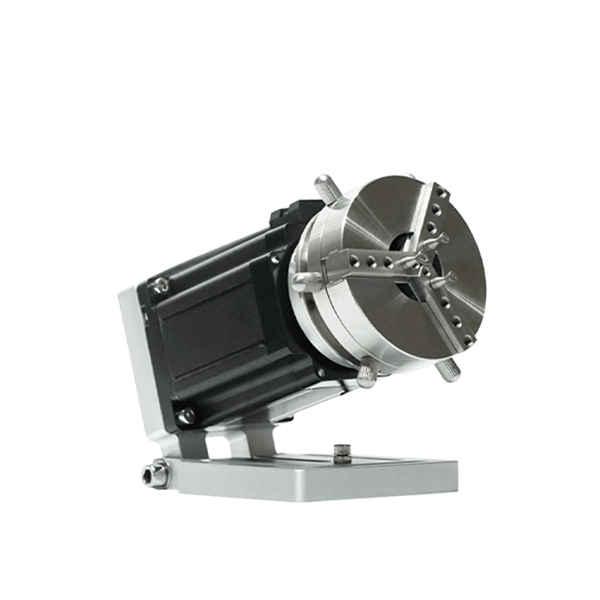
- Magnetic Clamps – Use neodymium magnets ($12) to secure rotary tools and prevent shifting during cylindrical engraving.
Test Your Setup:
Engrave a grid of fine lines. If the lines appear wavy, vibrations are still present. Adjust your pads or add weight until the lines are straight and consistent.

4. Beam Path Alignment Jig: Stay Focused, 文字通り
Misaligned mirrors or a tilted laser head can cause uneven burns and fuzzy edges. A DIY beam alignment jig ensures that the laser beam travels straight and accurately to the material.
Build a Beam Alignment Kit:
- Mirror Alignment Tool – Use a small mirror mounted in a 3D-printed holder to check beam consistency through all mirrors.
- Acrylic Focus Gauge – Laser-cut a stepped tool to measure the ideal focus height (例えば, 2 mm for metal, 5 mm for wood).
- Laser Pointer Crosshair – Attach a cheap laser pointer to visually verify the center alignment of your laser bed.
Calibration Steps:
- Fire the laser at low power onto masking tape on Mirror 1. Adjust until the beam hits dead center.
- Repeat the process for Mirrors 2 そして 3.
- Test on scrap material. Clean corners and even depth mean your alignment is on point.

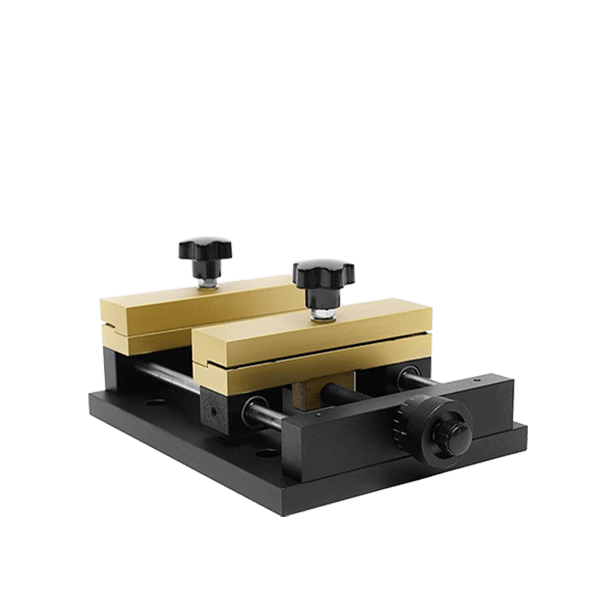
Bonus: Material Holding Hacks That Don’t Cost a Fortune
Even slight movement—just 0.5 mm—can ruin a design. Here are low-cost ways to secure your materials during engraving:
- Double-Sided Tape + 段ボール – Stick thin materials to a cardboard base for extra grip.
- Custom 3D-Printed Fixtures – Create reusable holders for items like keychains or phone cases using free software like Tinkercad.
- Vacuum Table Hack – Convert a picture frame into a simple vacuum bed. Seal the edges with foam tape, attach a shop vac hose, and cut airflow channels in the back.
最終的な考え: Upgrade Strategically
Start with the basics: airflow and vibration control. These give the biggest immediate improvements in quality. 次, focus on fume filtration to protect your health. Then move on to beam alignment and material-holding solutions for repeatable precision.
Beginner Upgrade Plan:
- Week 1 – Install an inline fan and air assist setup.
- Week 2 – Add anti-vibration pads and test your engravings.
- Week 3 – Build a carbon filter box and align your beam path.
By making small, smart upgrades, you can turn a basic laser engraver into a reliable, high-performance tool that rivals systems costing ten times as much. 覚えて: great results don’t come from spending more—they come from working smarter.