


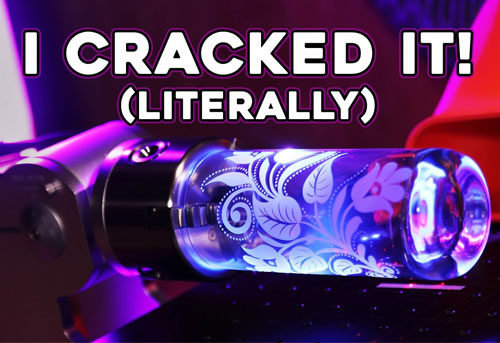
ガラスは刻印するのが難しいことで有名です. 容赦ない, 予測不可能であり、しばしば亀裂で終わります, チップ, or outright disaster. I learned that the hard way when one of my test panes exploded into what felt like a million glittering shards.
But that accident was just one part of a much bigger journey: 30,000+ individual UV laser test runs across multiple glass types.
What started as a quest for clean results quickly turned into a deep dive into laser behavior, physics, and tolerances. The good news? You don’t need to burn thousands of hours or panes—I’ve done the legwork for you.
下に, I’ll walk you through the six most critical engraving variables, the exact settings that consistently delivered the best results, and a few powerful pro tips that can turn your average engraving into a showpiece.
Why UV Lasers Beat CO₂ for Glass Engraving
Both UV and CO₂ lasers can engrave glass, しかし、 difference in quality is stark.
- CO₂ レーザー work by thermal fracturing. They deliver powerful infrared heat that causes micro-cracks and chips—acceptable for industrial uses, but rarely pretty.
- UVレーザー, by contrast, はるかに短い波長で動作します (355nm), which allows them to interact with glass at a photochemical level. This means:
- Smoother, frosted finishes (similar to sandblasting)
- Sharper lines and better definition
- Reduced risk of fractures or thermal stress

の 6 Essential UV Laser Settings for Glass
To get pro-level results, there are six key settings you need to understand and optimize:
- スピード
- Qパルス
- 頻度
- ライン間隔
- Number of Passes
- 集中
Let’s break down each one and see what the tests revealed.

1. スピード
Speed controls how fast the laser moves across your design. You’d think faster is better—but on glass, slower usually wins.
- Block (Filled) Engravings:
Stick to 200–300 mm/s for a solid, consistent frost. - Outline Work:
Drop to 60–80 mm/s to ensure full marking along thinner paths. - Glass Type Variation:
- 強化ガラス: Handles speeds up to 400 mm/s without losing fidelity.
- Standard Window Glass: Often requires 100–250 mm/s for optimal clarity.
ヒント: Always test on a scrap first. Speed tolerance can vary based on your specific glass composition and any coatings.

2. Qパルス
Think of Qパルス as controlling the intensity of the energy burst delivered with each laser pulse.
- Lower values (1–2): Sharper, deeper engraves.
- Higher values (>5): Softer, more delicate touch.
🛠 Recommended Setting: Q-Pulse = 1 また 2
These settings gave the most consistent and frosted results across all my test samples.
3. 頻度
This refers to how many pulses per second your laser delivers (measured in kHz). It directly affects how smooth the engraving appears.
- Low Frequency (20–25 kHz): Strong but rough results—prone to “dotted” texture.
- High Frequency (35–40 kHz): Smooth tones, but risk of weak, patchy engraving.
Ideal Range: 30–35 kHz
This sweet spot balances power and finesse for clean, sandblasted finishes without overburning or skipping.

4. ライン間隔
This determines how tightly packed your scan lines are during a fill.
- Too Wide (>0.01 んん): Inconsistent coverage, banding, or patchiness.
- Too Tight (<0.002 んん): Beautiful results—but extremely slow jobs.
Best Range: 0.008–0.002 mm per line
Pro Trick:
で 0.001 んん, the engraving creates a raised, embossed effect with a solid white finish—almost like etched milk glass. しかし, it’s 4× slower than standard settings. Use for high-end projects.
5. Number of Passes
More passes = deeper engrave. But it doesn’t always mean better.
- 1 合格: Sufficient for most applications if your other settings are dialed in.
- 2–3 Passes: Useful for deeper texture or touchable depth, but not necessary for clarity.
Caution: On 強化ガラス, too many passes can structurally weaken the pane and lead to breakage—like my poor, shattered test piece.
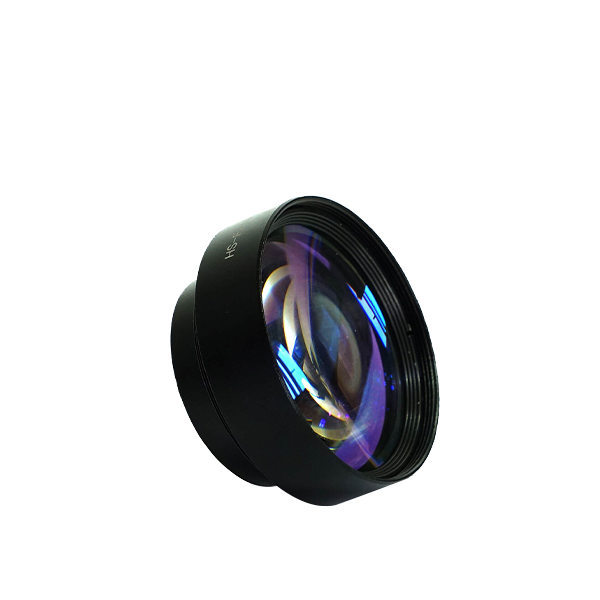
6. 集中
Getting your focus distance right is crucial.
- Optimal Focal Distance: Sharpest, cleanest engraving
- ±2 mm Offset: Still workable, but edges start to soften.
- ±4 mm or more: Expect patchy or faded results.
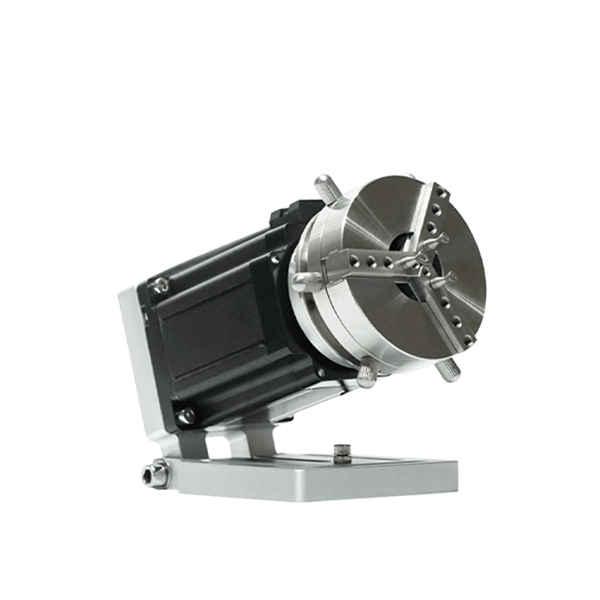
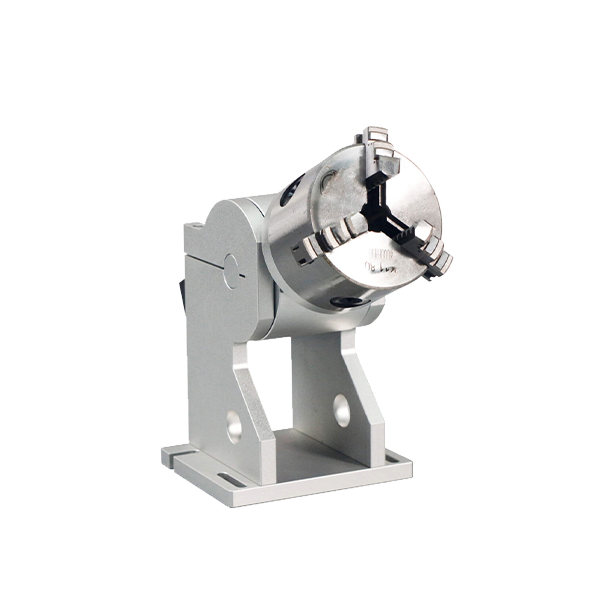
For Cylindrical Objects (Without a Rotary):
Set your focal point about 1 んん below the surface. This allows more vertical reach around the curve for better coverage.

Pro Tips to Save Time and Glass
1. Elevate Flat Pieces
Always lift flat glass slightly off the bed. If the beam passes through, it might engrave the underside of your piece—or worse, your machine bed.
Use small spacers, coins, or scrap acrylic.
2. Fix Mistakes Without Re-engraving the Whole Job
Made a tiny flaw or missed a section?
- Select the area in ライトバーン
- Rotate the scan angle 180°
- Run that piece again
Since glass doesn’t darken with more passes, これ refresh pass blends in seamlessly.
3. Account for Glass Warp
Large glass panes aren’t perfectly flat. In LightBurn, use the Z-offset tools また split your design into segments with varied focal distances.
This helps maintain consistent quality edge-to-edge.

Cold-Start Settings (When You Only Get One Shot)
If I had zero time to test and only one attempt, these are the settings I’d go with:
| パラメータ | 価値 |
|---|---|
| スピード | 300 mm/s |
| Qパルス | 1 |
| 頻度 | 32 kHz |
| ライン間隔 | 0.005 んん |
| パス | 1 |
| 集中 | At exact focal point (±0 mm) |
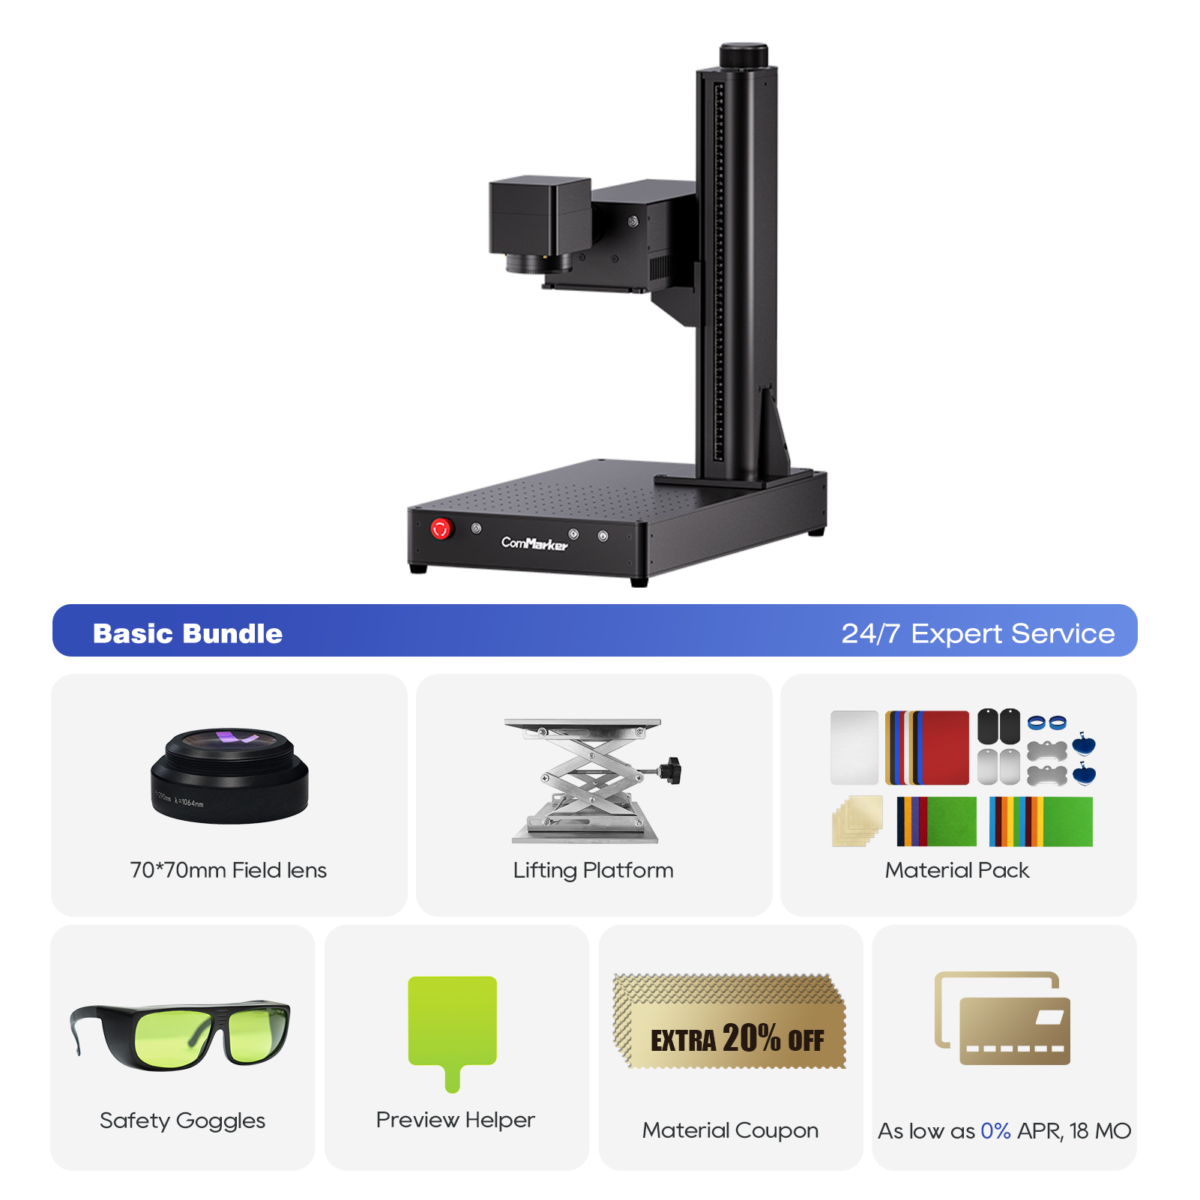
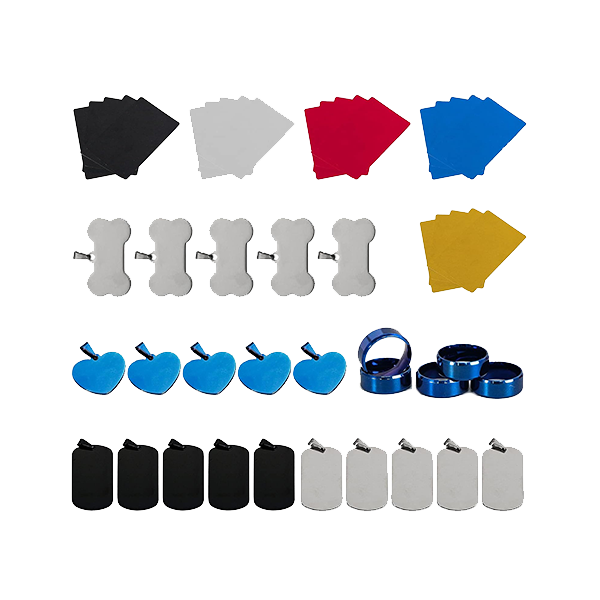
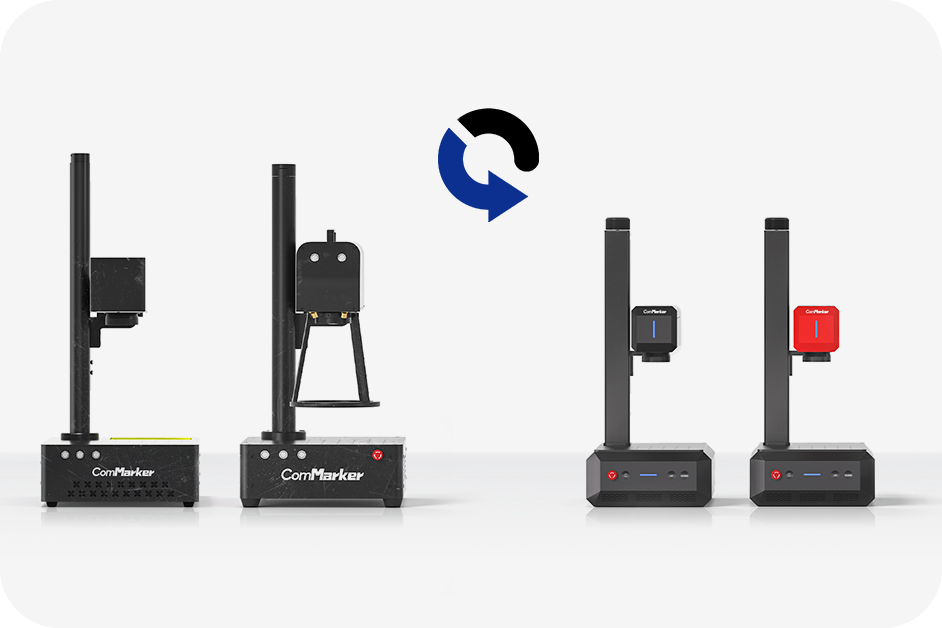
コムマーカーオムニ 1 レーザー彫刻機
あらゆる素材を解き放つ次世代レーザー. ZeroBurn™ 彫刻テクノロジー 世界初の 16K HD レーザー彫刻機 10,000mm/s SpeedMax™ 彫刻システム UV レーザーですべての素材のロックを解除 ColdFront™ サーマルテクノロジー 電動リフティング 2 EZCADおよびLightBurn 360°回転彫刻システムと互換性のあるオプションのレンズ
Glass engraving doesn’t have to be a painful guessing game. With the right UV laser and properly tuned settings, you can produce clean, professional-quality work—even without specialized sandblasting gear or rotary attachments.
Every piece of shattered glass I went through was worth it if it saves you time, material, and frustration.
Interested in the UV laser I used for testing?
私が使用したのは、 Omni One UV Laser, and you can find discount links and codes in the description if you’re thinking of adding one to your shop.