


Understanding the Basics of Clear, Crisp Laser Engraving
If you’ve ever wondered, “Why does my laser engraver suddenly produce blurry or uneven results?」 — you’re not alone. Whether you’re using a beginner-friendly diode engraver or a high-precision system like the コムマーカーオムニ 1 また タイタン 1, blurry engraving usually points to a fixable issue—not a faulty machine.
あ レーザー彫刻機 works by focusing a beam of light onto the surface of a material to vaporize or ablate it with precision. But when something is off—focus, スピード, optics, or the material itself—that crisp precision turns into fuzzy lines, 焼けた端, or faded text.
Let’s break down the seven most common causes of blurry laser engraving and how to troubleshoot them.

上 7 Causes of Blurry Laser Engraving (and How to Fix Them)
1. Out-of-Focus Laser Beam
の #1 culprit. If your laser isn’t perfectly focused, the beam spreads wider than intended, leaving a blurry or charred mark.
- Symptoms: Wide or soft lines, low contrast, scorched edges
- 解決: Refocus the laser to the correct focal distance.
- For ComMarker machines, this is easily done via electric autofocus or a manual gauge.
- Use a ramp test to find the sharpest point (especially helpful if you’re unsure of the factory focus spacer).
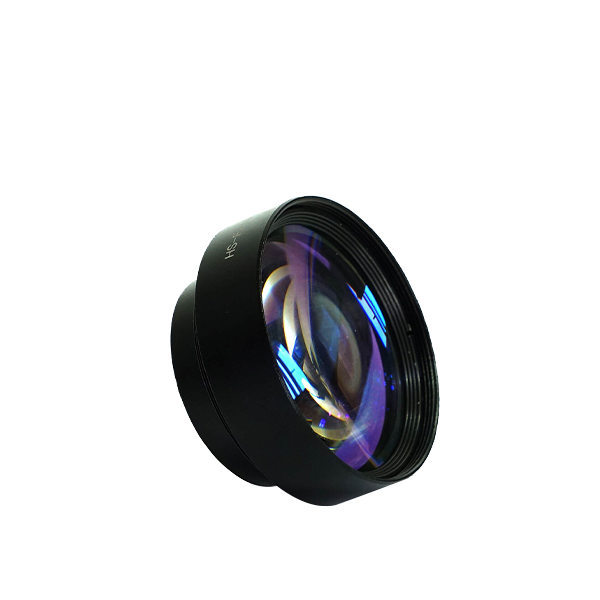
2. Dirty or Fogged Lens
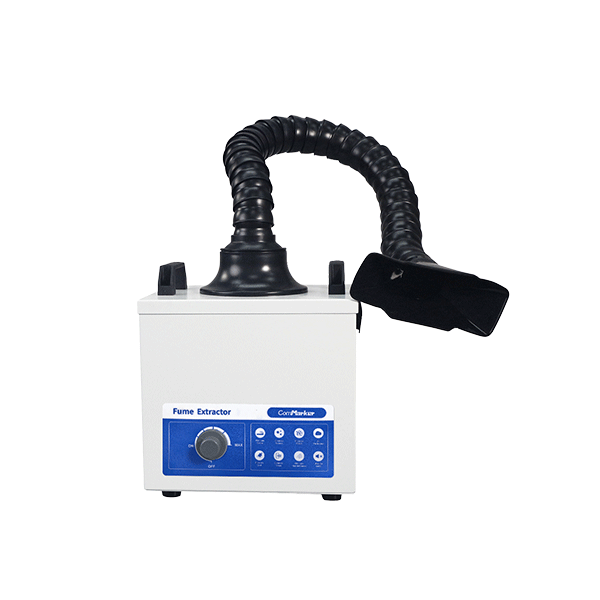
ほこり, 煙, and oil can build up on your lens—even with enclosed machines like the オムニ 1. A dirty lens scatters the beam and reduces engraving accuracy.
- Symptoms: Faded marks, heat spots, inconsistent lines
- Fix:
- Use a microfiber cloth with isopropyl alcohol
- Clean the lens and mirrors every 10–20 hours of use
- Replace scratched or discolored lenses
3. Wrong Speed or Power Settings
Balance is everything. Too fast? You’ll get shallow engravings. 遅すぎる? You risk overburn and blurred details.
- Quick Fixes:
- Run a LightBurn Material Test Grid to dial in the best settings
- For wood: Start with 600 mm/s @ 30% 力
- For acrylic: Try 500 mm/s @ 35–50% power
- For metal: Use a ファイバーレーザー like Titan 1 with pulse-width control for best clarity
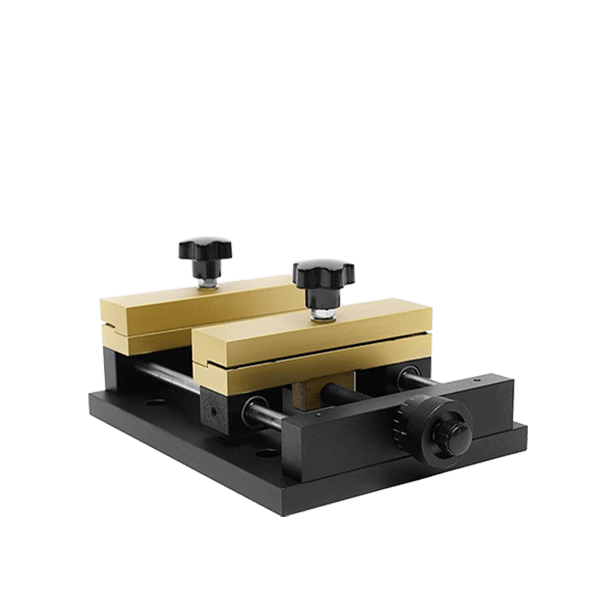
4. Material Movement or Shift
If your material wiggles mid-job, you’ll get ghosting or double images.
- Common Causes:
- Loose clamps, inadequate jigs, air assist turbulence
- Solutions:
- Use strong magnets, corner brackets, or a honeycomb bed
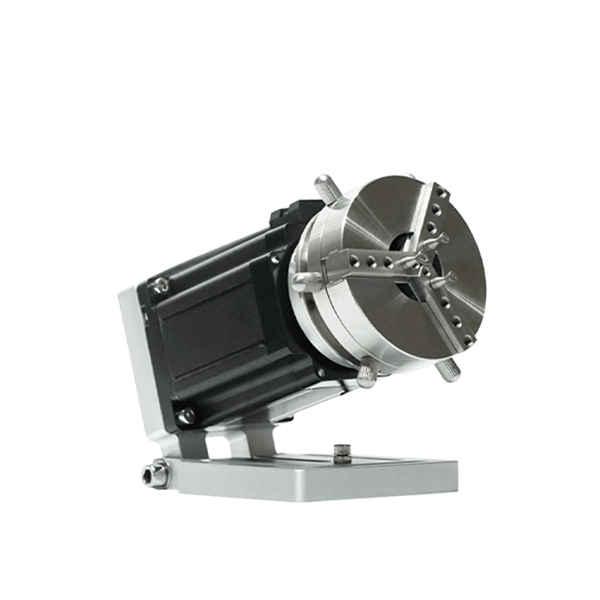
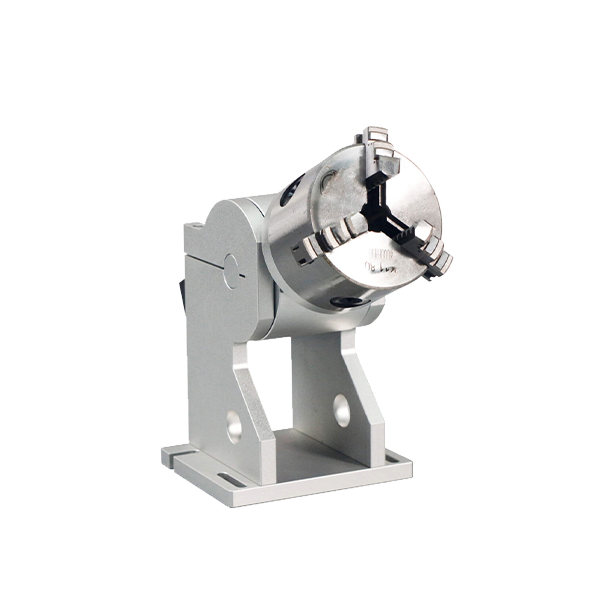
- For mugs, タンブラー, and curved objects, use a ロータリーアタッチメント like ComMarker’s 360° fixture
5. Loose Belts, Rails, or Mounts
Even a slight mechanical wobble causes misalignment—especially during fine raster engravings.
- チェック:
- X and Y axis belts (should feel taut, not floppy)
- Linear rails (clean with dry brush and re-lube monthly)
- Fix: Follow your engraver’s maintenance guide or contact ComMarker support for service tips.
6. Vibration from Table or Nearby Devices
You wouldn’t engrave on a trampoline—so don’t put your laser on a wobbly desk. Even a nearby 3D printer or fan can introduce vibration.
- Fix:
- Place your laser on a 頑丈, heavy table
- 追加 anti-vibration feet or foam dampeners
- Avoid placing engraver near heavy foot traffic or machinery
7. Low-Resolution Artwork or Software Errors
Not all files are created equal. A low-res PNG will never look as sharp as a properly prepped vector or 600 DPI bitmap.
- Optimize Your Files:
- Use SVG or AI for text and logos
- Convert images to grayscale with high contrast
- Set DPI between 300–600 in LightBurn or EZCad
- Avoid using images with less than 72 DPI—they’ll always look pixelated

Diagnosing Laser Engraving Problems by Symptom
| Symptom | Likely Cause |
|---|---|
| Burned or soft edges | Out of focus, slow speed, or overpowered |
| Double lines | Loose belts or unstable material |
| Weak engraving | Dirty lens or incorrect height |
| Wavy lines | Table vibration or belt slippage |
| Misaligned design | File issue or material shifting mid-job |
Pro Tips for Sharp Laser Engraving
- Run test grids every time you switch materials
- Refocus when engraving thicker items or switching substrates
- Clean optics and rails every 10–20 hours
- Save settings per material (LightBurn libraries make this easy)
- Use jigs to align repeat jobs and batch runs
ComMarker Users: Easy Clarity Wins
- オムニ 1 紫外線: Use ZeroBurn™ mode for crisp lines on plastics and glass
- タイタン 1 ファイバ: Set pulse width for darker blacks or color variations
- Use LightBurn’s Focus Tool to visualize and correct off-focus areas before engraving
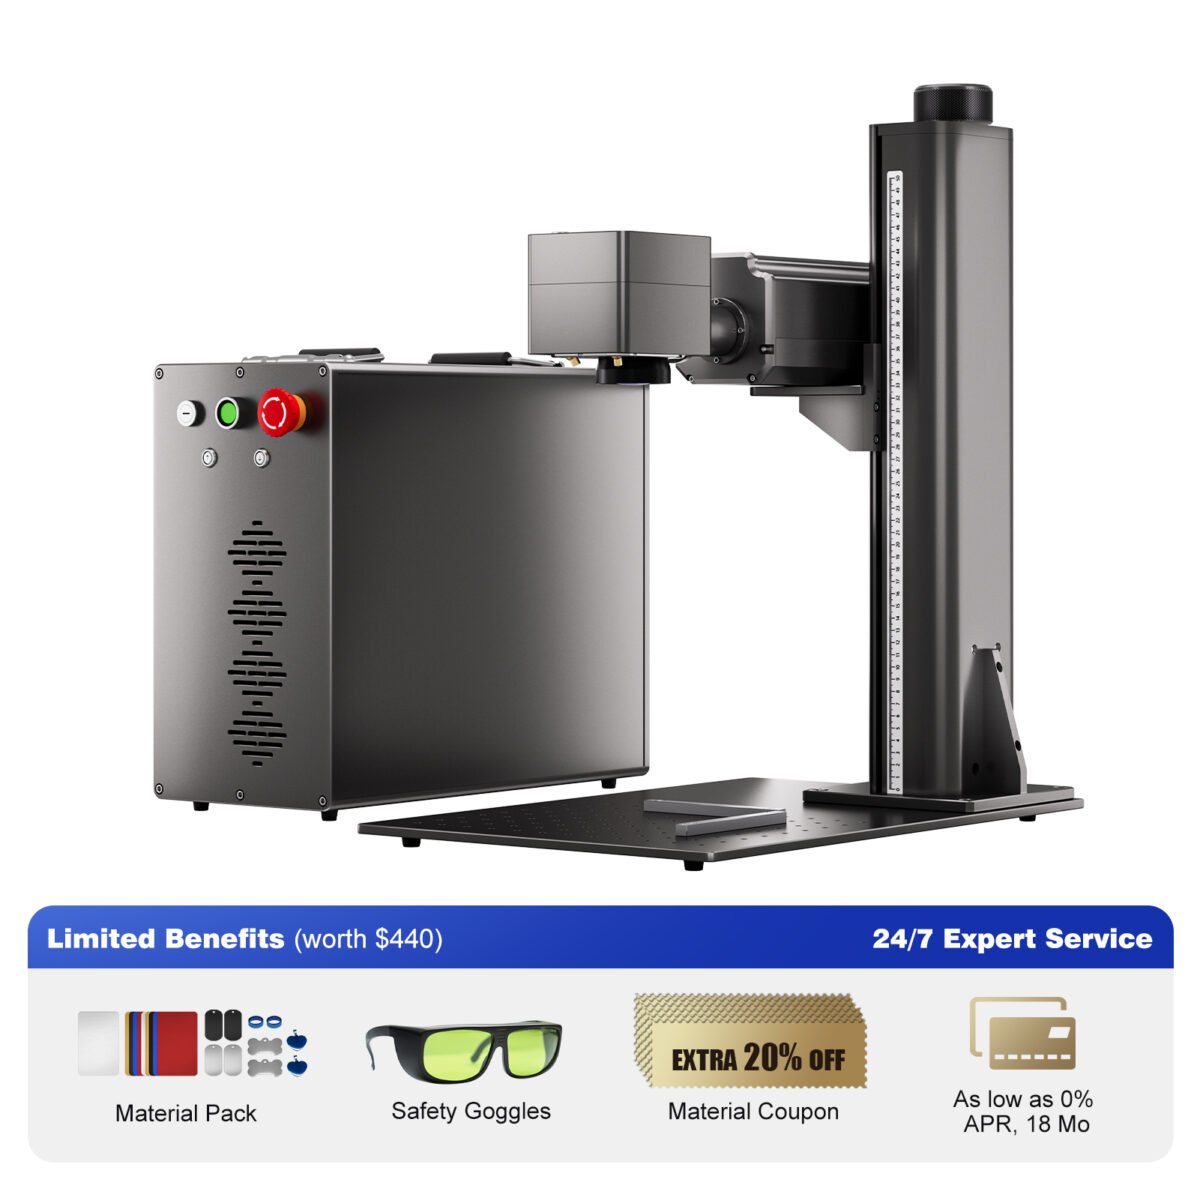
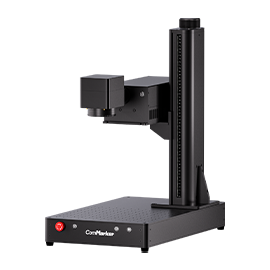
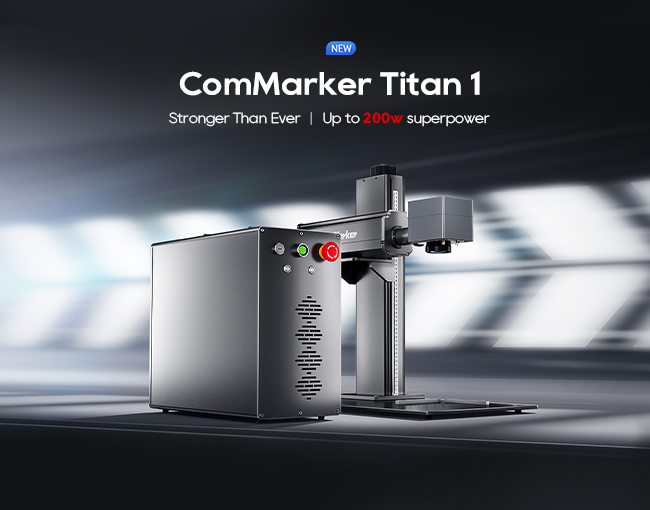
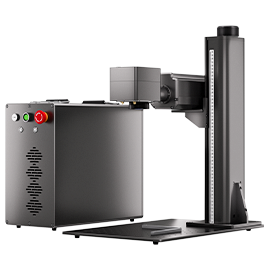
コムマーカー タイタン 1 JPT Mopa ファイバーレーザー彫刻機
これまで以上に強くなりました. 最大200週間の超大国電気リフティングの頑丈なために設計されています 2 オプションのレンズカラーマーキング能力スーパー3D彫刻 & 切断能力15,000mm/s speedmax™engraving 8k hd精度EzcadとLightburnと互換性
よくある質問: Blurry Laser Engraving Troubleshooting
Q: My engraving is blurry only on one side. なぜ?
→ Your gantry might be misaligned, or your table isn’t level. Check both with a spirit level or calibration square.
Q: Can engraving get blurry even if my preview looks sharp?
→ Yes! The beam and motion system are physical—what you see on screen doesn’t always match if your machine isn’t clean or calibrated.
Q: Do I need to recalibrate focus for different materials?
→ Absolutely. Even 1mm of height difference can throw off your focus point.
Q: Is LightBurn better for solving clarity issues?
→ Yes. LightBurn gives you full control of speed, 力, DPI, and even beam overlap, helping you fine-tune precision.
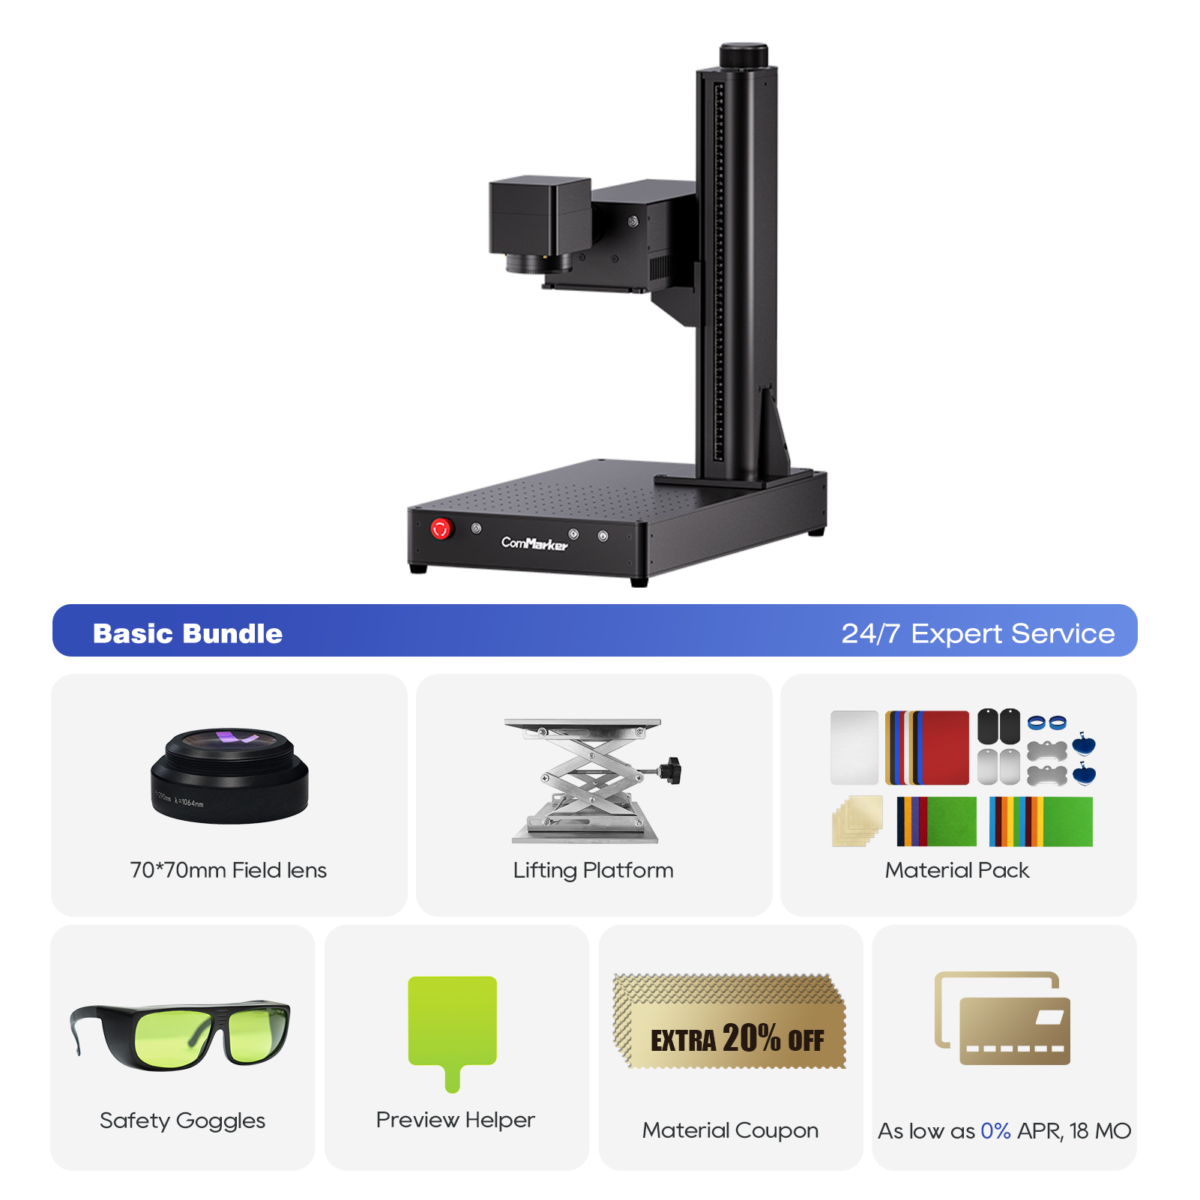
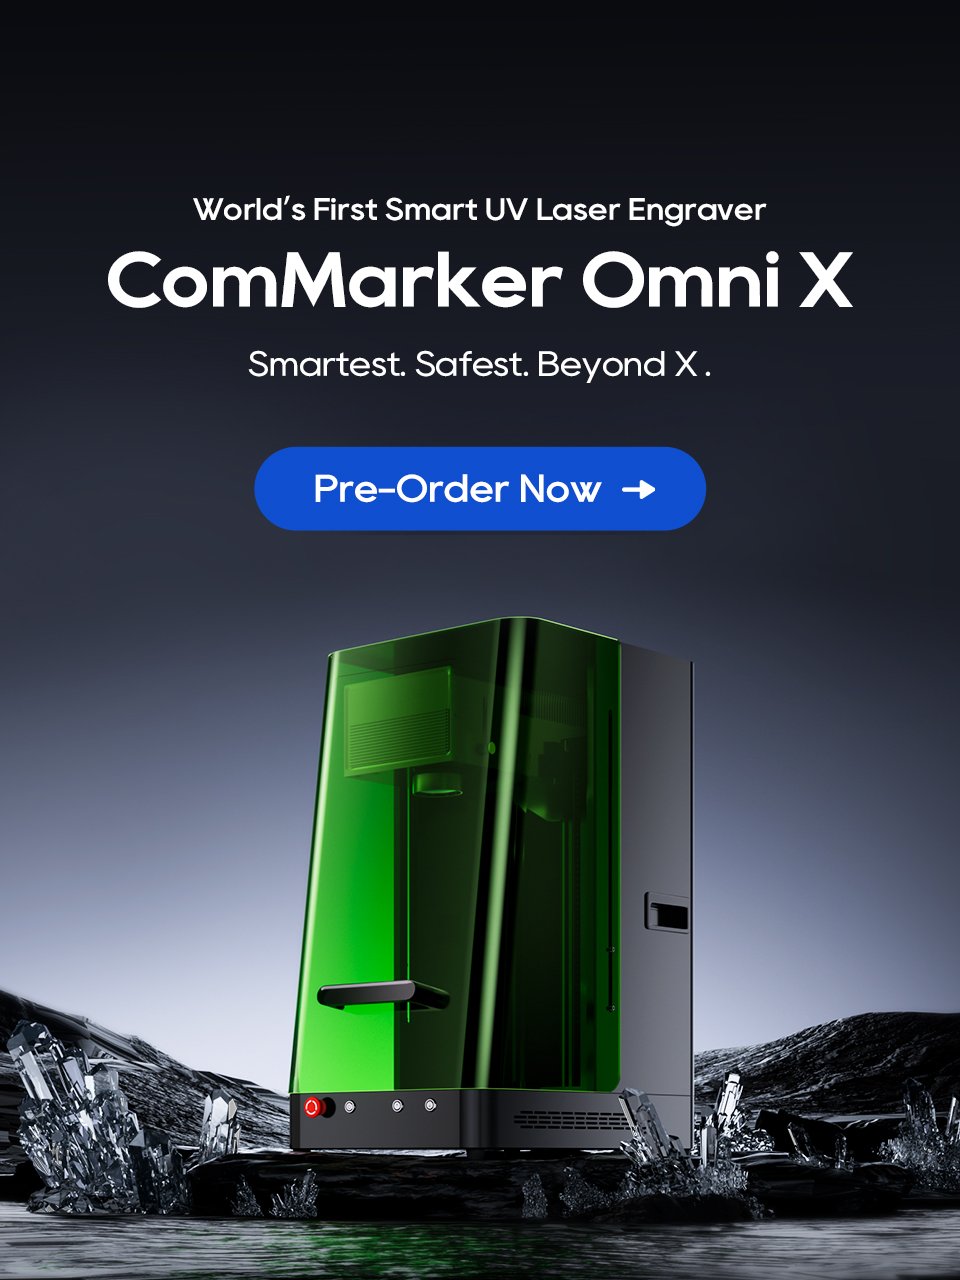
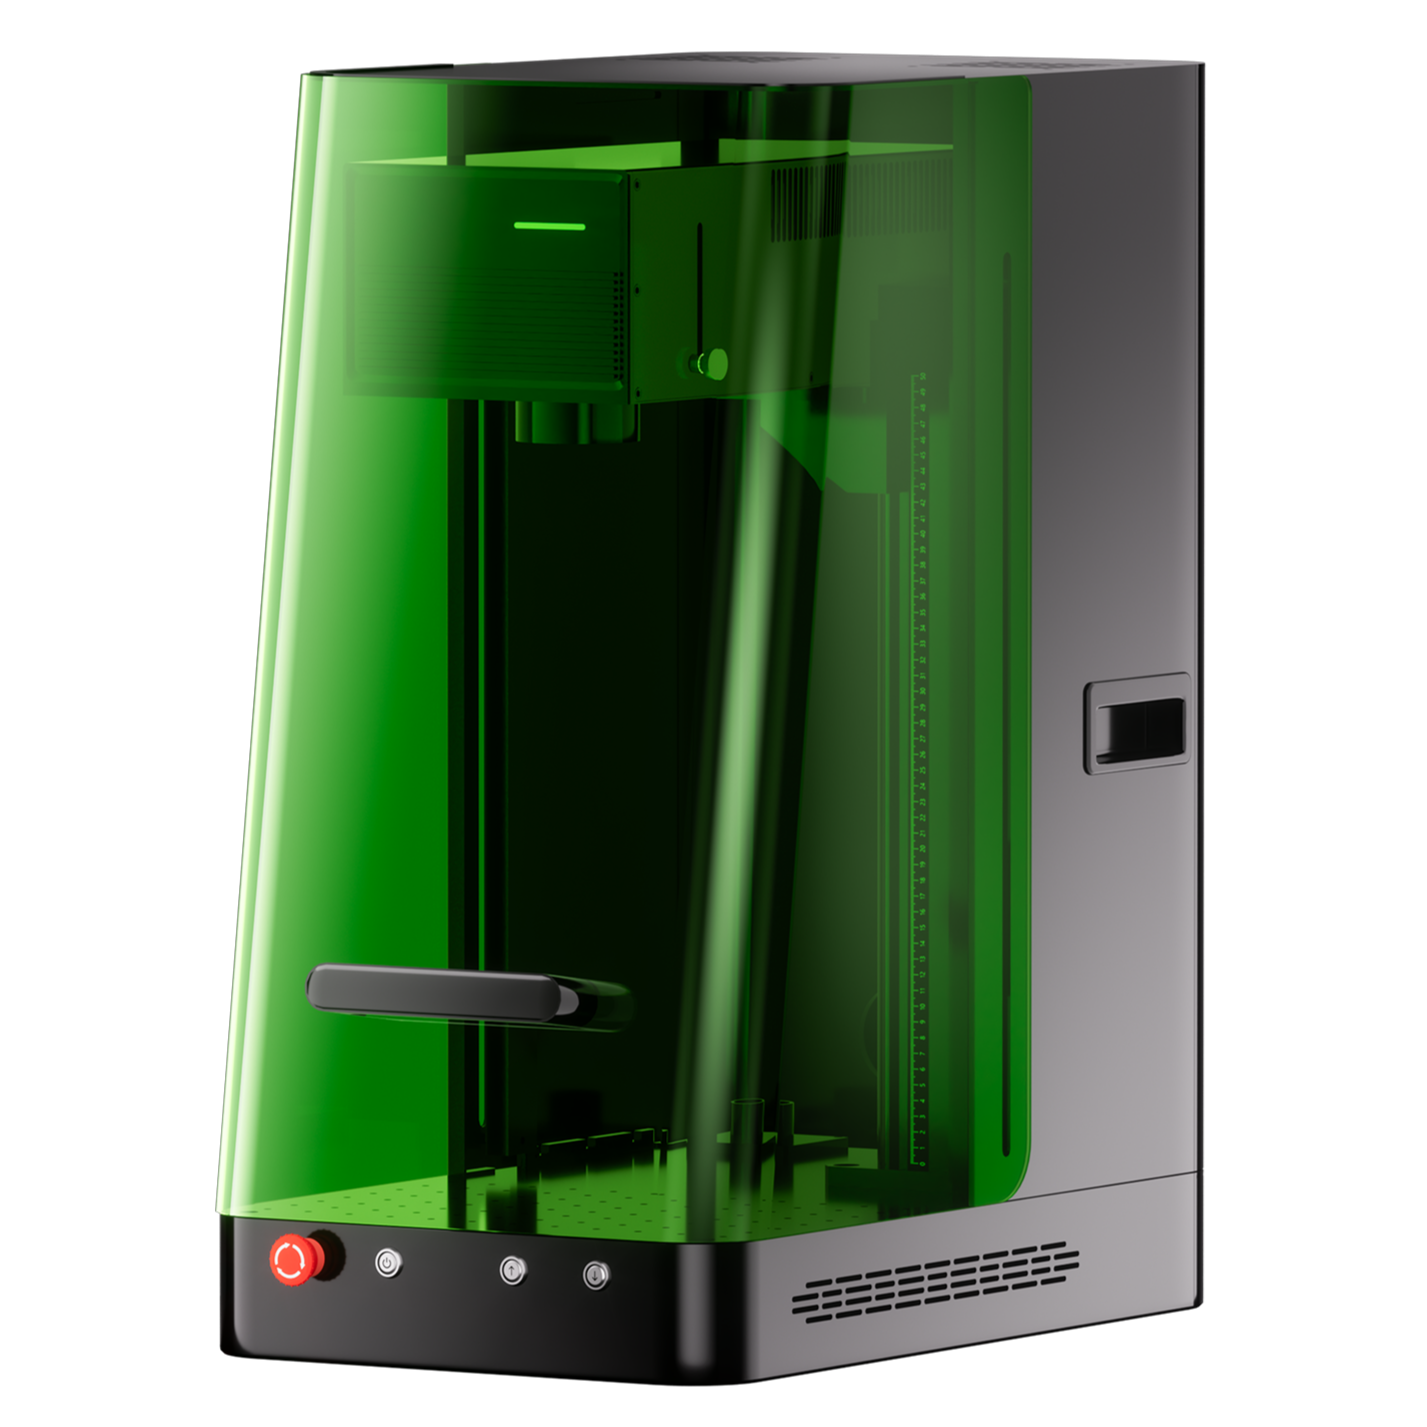
コムマーカーオムニ 1 レーザー彫刻機
あらゆる素材を解き放つ次世代レーザー. ZeroBurn™ 彫刻テクノロジー 世界初の 16K HD レーザー彫刻機 10,000mm/s SpeedMax™ 彫刻システム UV レーザーですべての素材のロックを解除 ColdFront™ サーマルテクノロジー 電動リフティング 2 EZCADおよびLightBurn 360°回転彫刻システムと互換性のあるオプションのレンズ
結論: Say Goodbye to Blurry Laser Engraving
あ blurry laser engraver isn’t broken—it’s just calling for a tune-up. With some basic care, setup tweaks, and file prep, even hobbyist machines can achieve professional-grade clarity.
Clean your optics
Dial in the right focus
Secure your materials
Test and save your best settings
Need precision you can count on?
Check out the コムマーカーオムニ 1 for delicate, high-res work—or go big with the タイタン 1 ファイバーレーザー for ultra-sharp metal engraving.