


When I first decided to build my own pinball machine, I thought, “Why not do it all myself?” From the circuit design to the glowing lights, I wanted it to be 100% handmade—and that meant using my 레이저 조각사 to make it happen.
이 게시물에서, I’ll walk you through how I used my 섬유 레이저 조각사 to design and fabricate custom PCB boards, how I handled the lighting system, and how laser technology gave me the precision I needed for such a detailed project.
Why I Used a Laser Engraver for My DIY Pinball Project
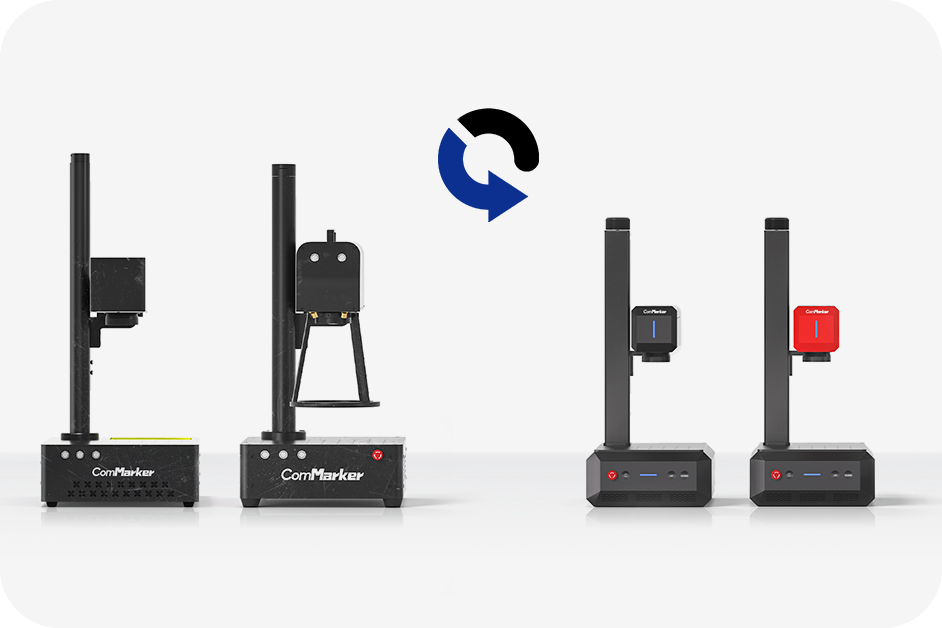
확신하는, you could order prefab circuit boards or outsource engraving, but if you’ve ever worked with a 레이저 조각사, you’ll know the magic of having total control over your design. 나는 ComMarker B6 60W MOPA fiber laser, which gave me sharp, precise lines for my PCB layout.
The laser engraver made it easy to etch my PCB patterns directly onto copper-clad boards, even without using a double-sided layout. And even though I didn’t have a CNC for drilling at the time, I managed the holes by hand—and the results were surprisingly clean.
💡 팁: For delicate electronics like PCB patterns, use lower power and higher speeds to avoid damaging the copper layer.

From Schematics to Reality – Designing My Light Control Board
I started with a simple setup: two 74HC595 shift registers driving 16 outputs through opto-isolators. This board controls the programmable lights on the pinball machine. Using my 레이저 조각사, I marked the tracks and component positions directly onto the blank PCB.
Even with tight spaces between traces, the laser engraving gave me sharp boundaries and consistent depth. I placed the chips in reverse to avoid crossing traces unnecessarily—just another little tweak you can test when you have your own 레이저 조각사 at home.
🛠️ Recommended Gear: If you’re doing similar work, make sure your laser has a spot size under 0.05mm for fine details.

Real Talk: Engraving vs. Drilling
Here’s the thing—a laser engraver isn’t a drill. 확신하는, it can mark your drilling points, but unless you’re using a hybrid CNC-laser combo, you’ll still need to do mechanical drilling.
그 말은, I saved hours of layout time by using the laser to test and revise my PCB layout. The laser also helped me debug the circuit—by marking visible traces, it was easier to test continuity with a multimeter.
✅ 팁: Use your laser engraver to prototype boards before committing to full production—especially for one-off or experimental designs.

Assembling the Components – One Solder at a Time
Once the board was engraved, it was time to assemble. I soldered 220-ohm resistors, TLP281 opto-isolators, and all the IC sockets by hand. 예, even with a baby trying to crawl onto the table—parenthood and pinball builds can coexist!
And here’s where my 레이저 조각사 came in clutch again: I added reference text and component outlines directly on the board. No stickers, no markers—just clean, durable markings that won’t rub off.
✍️ Why It Matters: Laser-engraved labels on your PCB eliminate guesswork when assembling or troubleshooting later.

Why Laser Engraving Beats Silkscreen for DIY Boards
Let’s talk benefits. Compared to traditional silkscreen printing, ㅏ 레이저 조각사:
- Doesn’t require chemical processing
- Offers real-time design edits
- Gives high-contrast, high-durability markings
- Works on various materials—FR4, 구리, 양극산화 알루미늄, and even wood
And if you’re only doing a few prototypes, it’s just not worth sending the design to a fab house. Laser engraving lets you stay flexible, make mistakes, and iterate fast.

Lighting Up the Build – One Bit at a Time
Controlling the lights was the fun part. I used a 64-bit memory system controlled by Arduino, with each bit representing a light state. By toggling bits in memory and sending them through shift registers, I could control which lights were on.
The key here is low-latency communication—and having an engraved layout helped ensure wiring was clean and traceable. 다시, this is where laser engraving helped my design stay compact and reliable.
🧠 Bonus: If you’re planning a light-based project (like cosplay, robotics, or even interactive art), laser-engraved boards can really streamline your workflow.

What I Learned from Using a Laser Engraver for Electronics
사용하여 레이저 조각사 for this project taught me a lot:
- Precision beats speed. Slower passes gave me cleaner lines, especially on copper.
- Test first. Do a test burn before committing your final board.
- Laser engraving isn’t just decoration—it’s functionality. When you engrave traces, 라벨, and outlines, you’re setting yourself up for an easier build process.
If you’re a maker or DIYer wondering whether a 레이저 조각사 is worth the investment—this project is proof that it absolutely is.
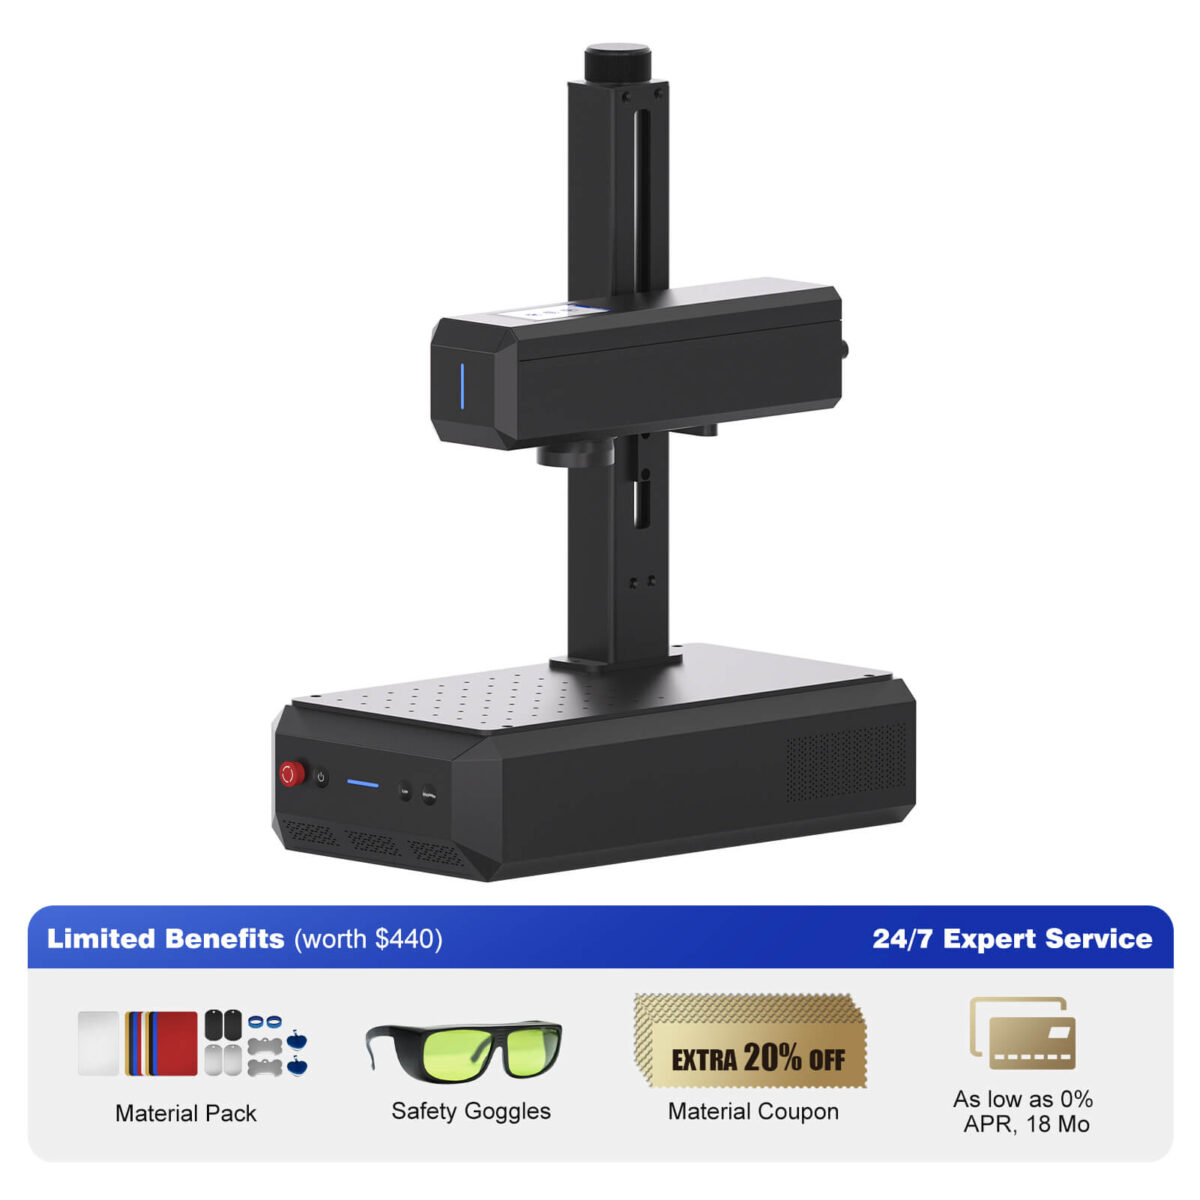
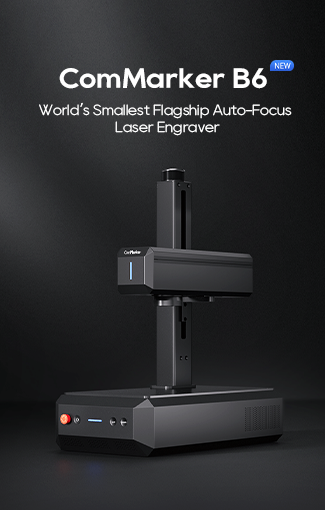
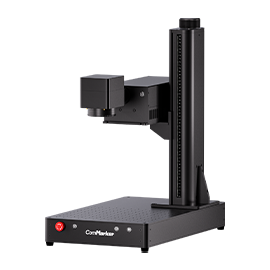
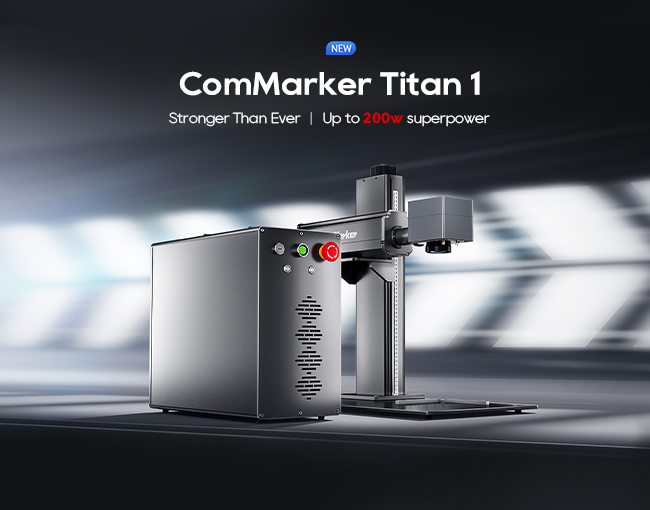
ComMarker B6 파이버 레이저 조각기
어디서나 정확하면서도 스마트한 레이저. 레코드 브레이크 컴팩트 크기 2-in-1 디자인 자동 초점 기술 15,000mm/s speedmax ™ 조각 8K HD 정확도 스마트 LED 터치 스크린 콜드 프론트 ™ 열기 기술 클래스 1 안전 레이저 기계
Should You Use a Laser Engraver for Your DIY Builds?
Absolutely yes.
Whether you’re making PCBs, custom control panels, or just adding flair to your 3D-printed projects, ㅏ 레이저 조각사 opens up new levels of creativity. It gives you professional-level results at a hobbyist price—and makes the whole process way more fun.
And trust me—once you engrave your first working PCB or backlit acrylic panel, you’ll never go back.
Ready to start your laser engraving journey?
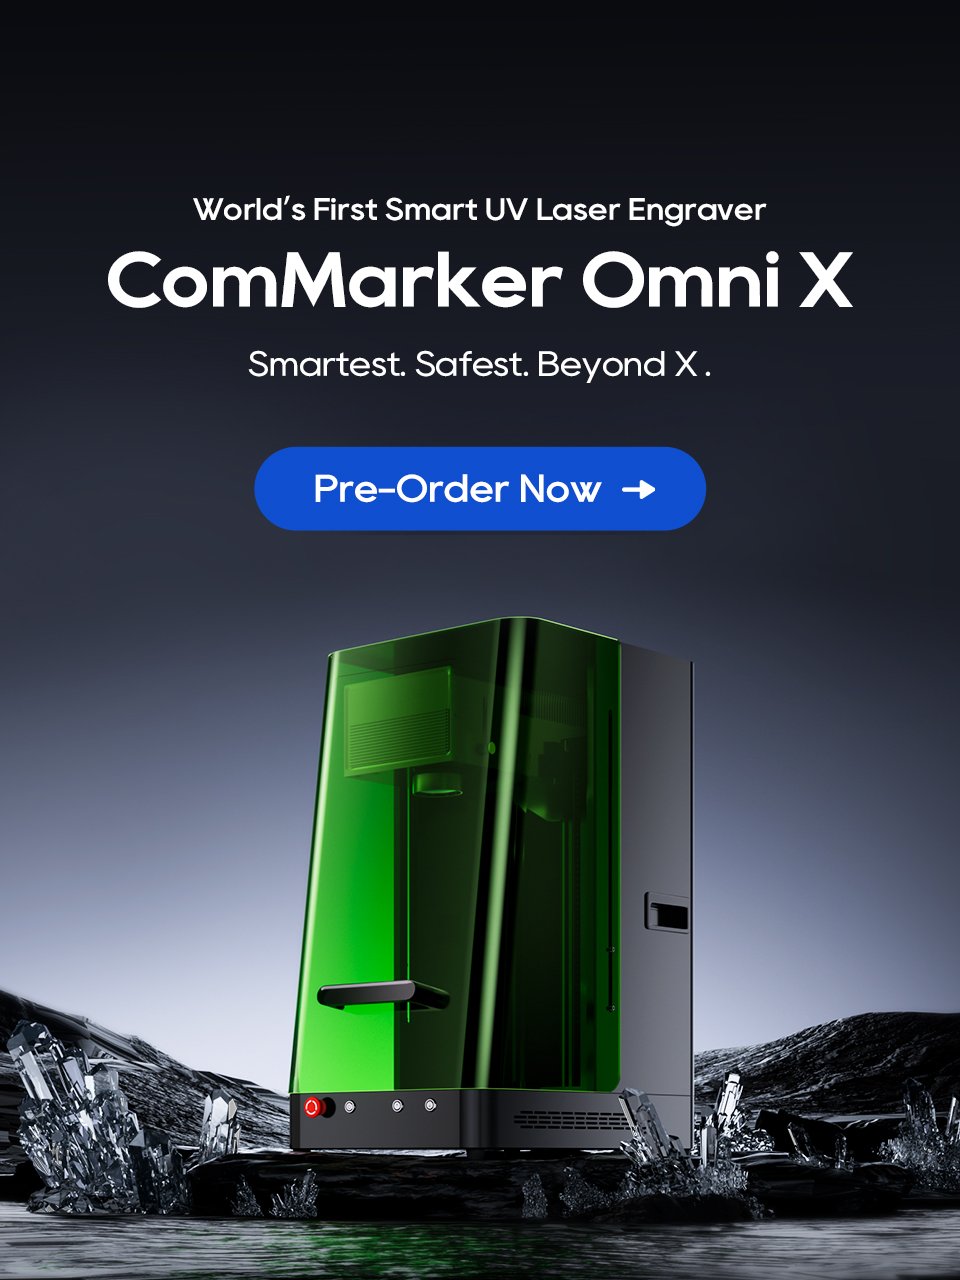
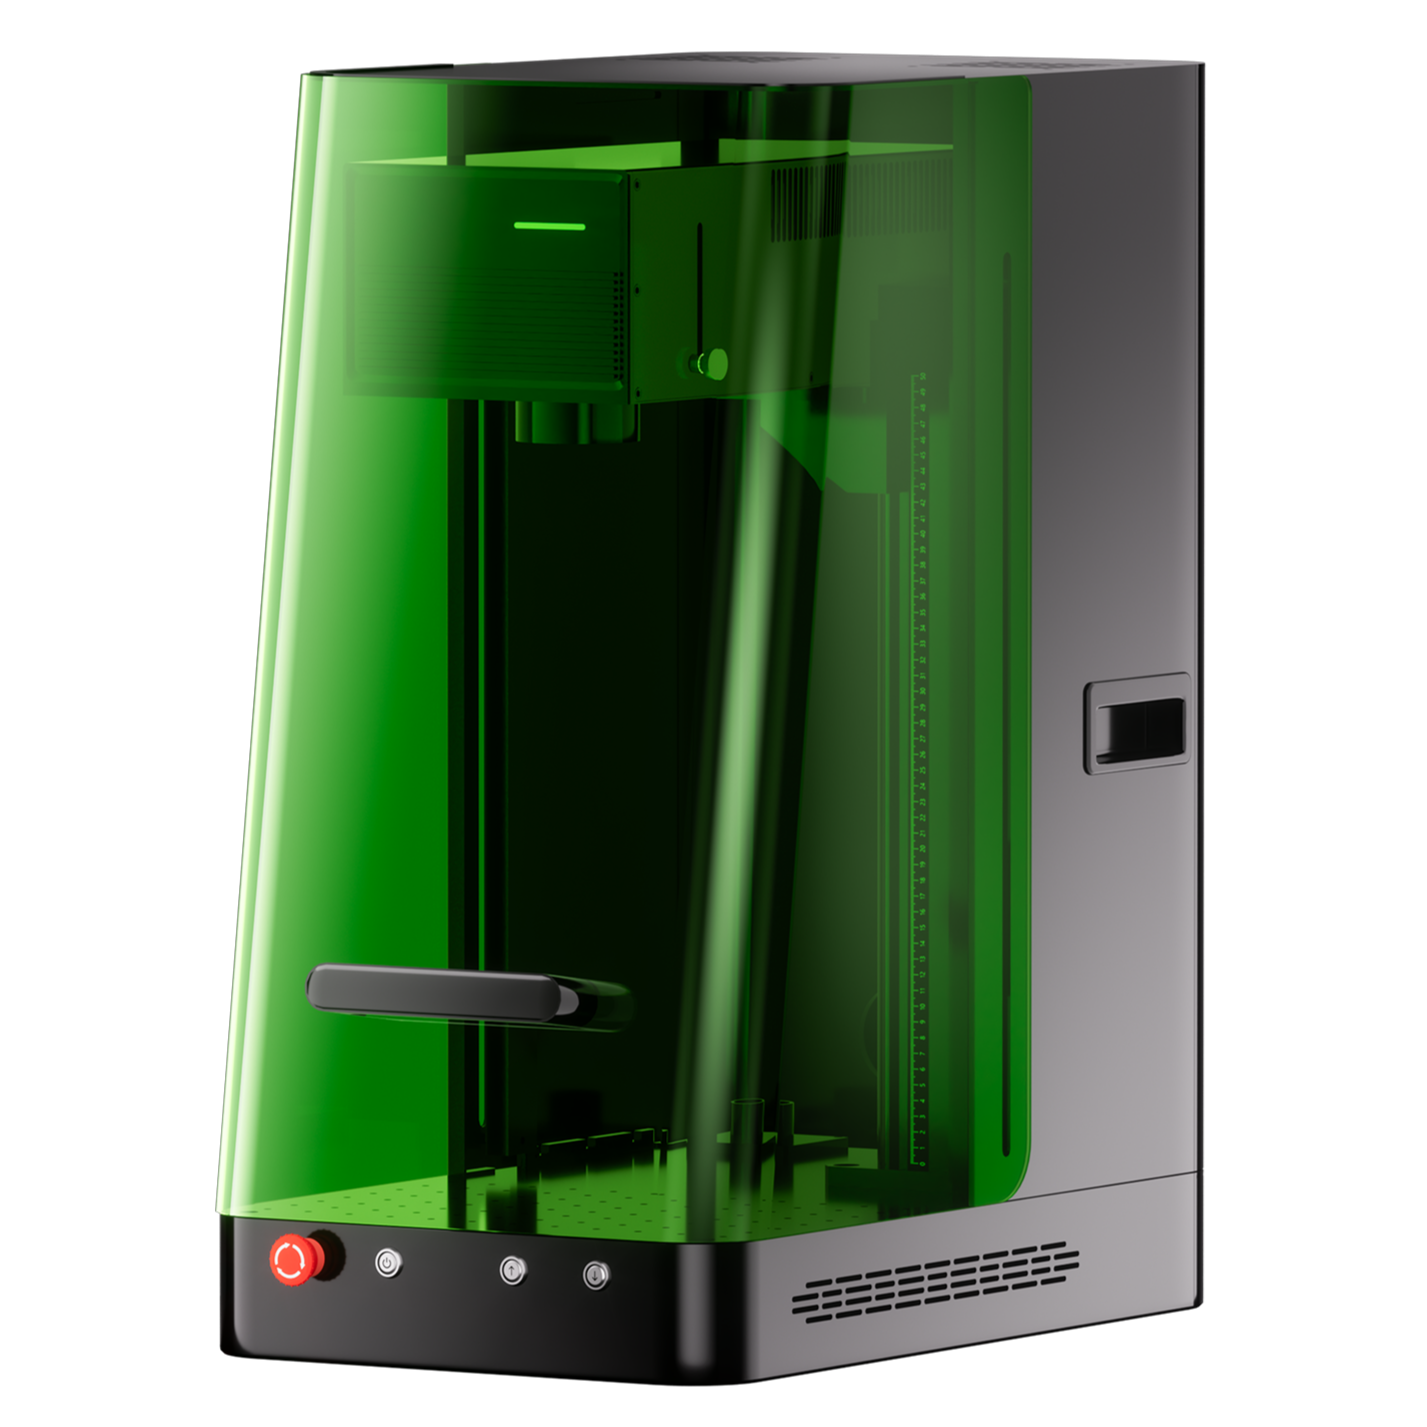
Check out the 컴마커 B6 또는 옴니 1 UV 레이저 for powerful, precise machines perfect for electronics, hobby builds, 그리고 더.