


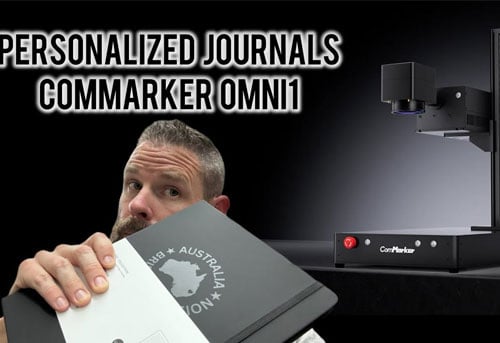
빨리 찾고 있습니다, 고급, and profitable project with your 레이저 조각사? Faux leather journals offer a perfect canvas for UV laser engraving—and they’re surprisingly easy to customize.
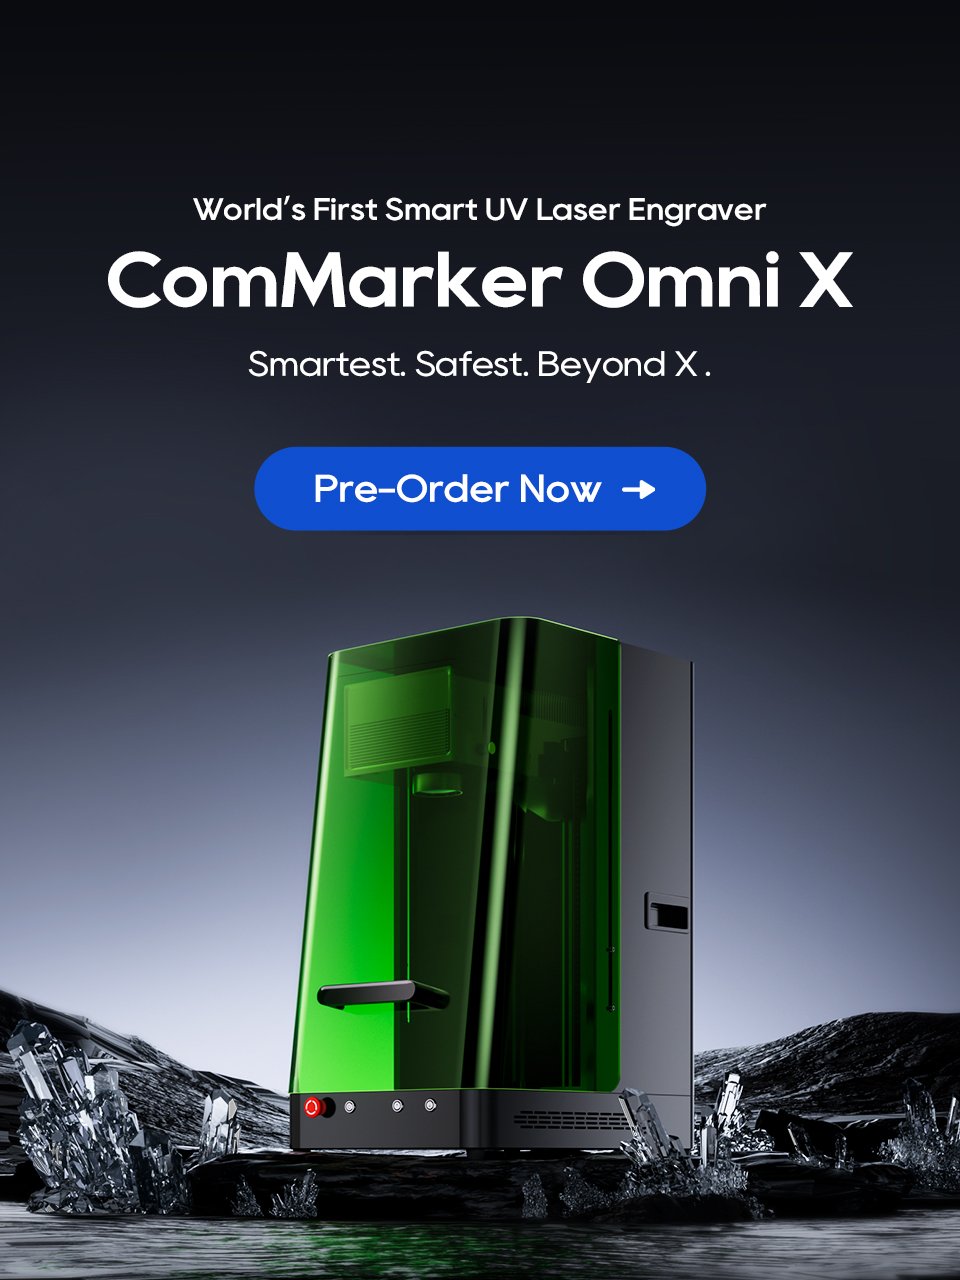
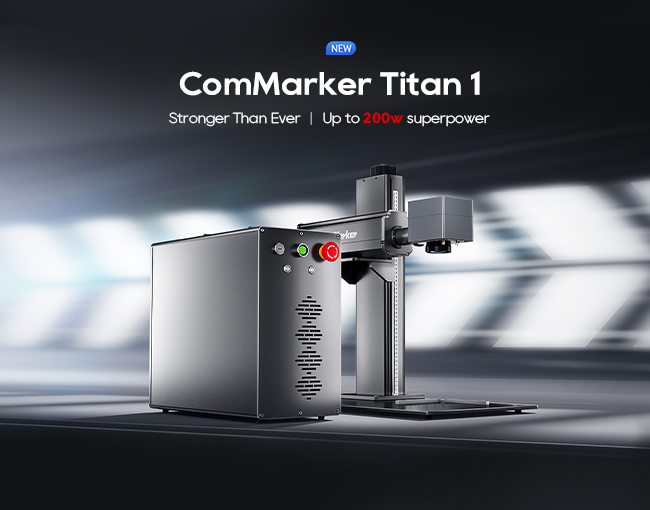
In this project walk-through, we’ll show you how to personalize Amazon-sourced leather-style journals using the 컴마커 옴니 1 UV 레이저 조각사, complete with exact settings, positioning tips, and real-world pricing advice.

Why UV Lasers Work So Well for Journal Covers
Unlike CO2 or fiber lasers that tend to ablate or dig into material, UV lasers like the Omni 1 are ideal for 표면 수준의 조각. That makes them perfect for projects where a 깨끗한, glossy, and non-destructive mark is preferred—like journal covers, 가짜 가죽, 플라스틱, or coated surfaces.
결과? A smooth, subtle glaze that adds a personalized, professional touch—without damaging the material.
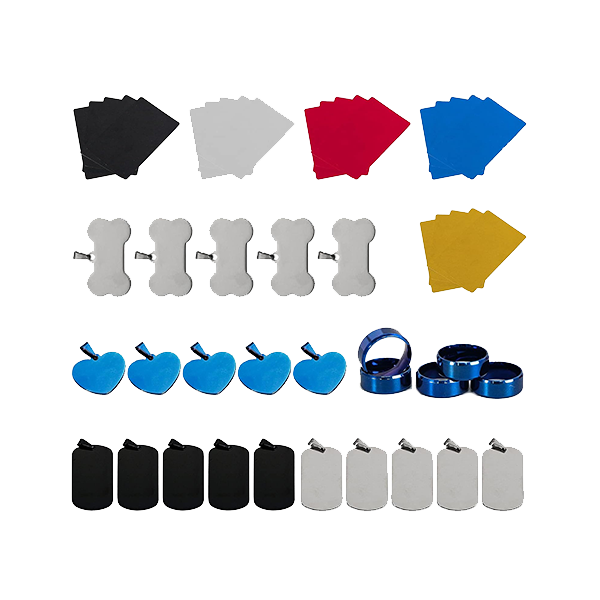
재료 & Tools Needed
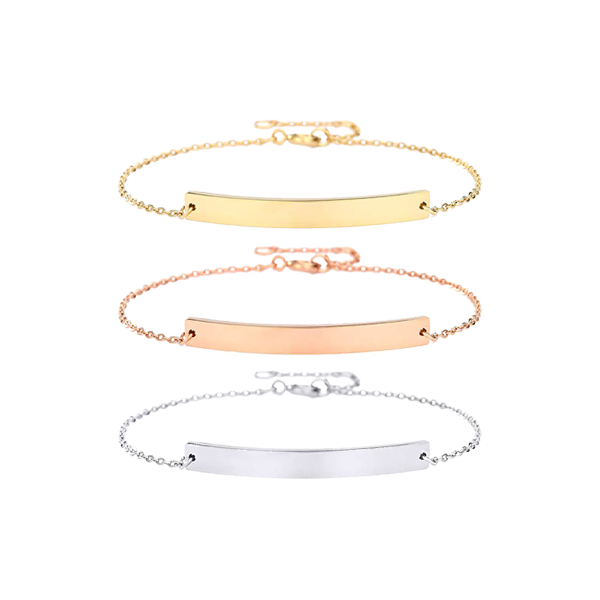
- Faux leather journal (easily sourced from Amazon or Alibaba)
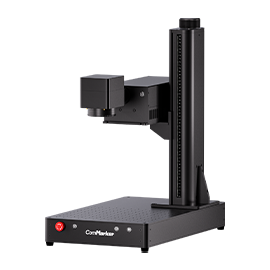
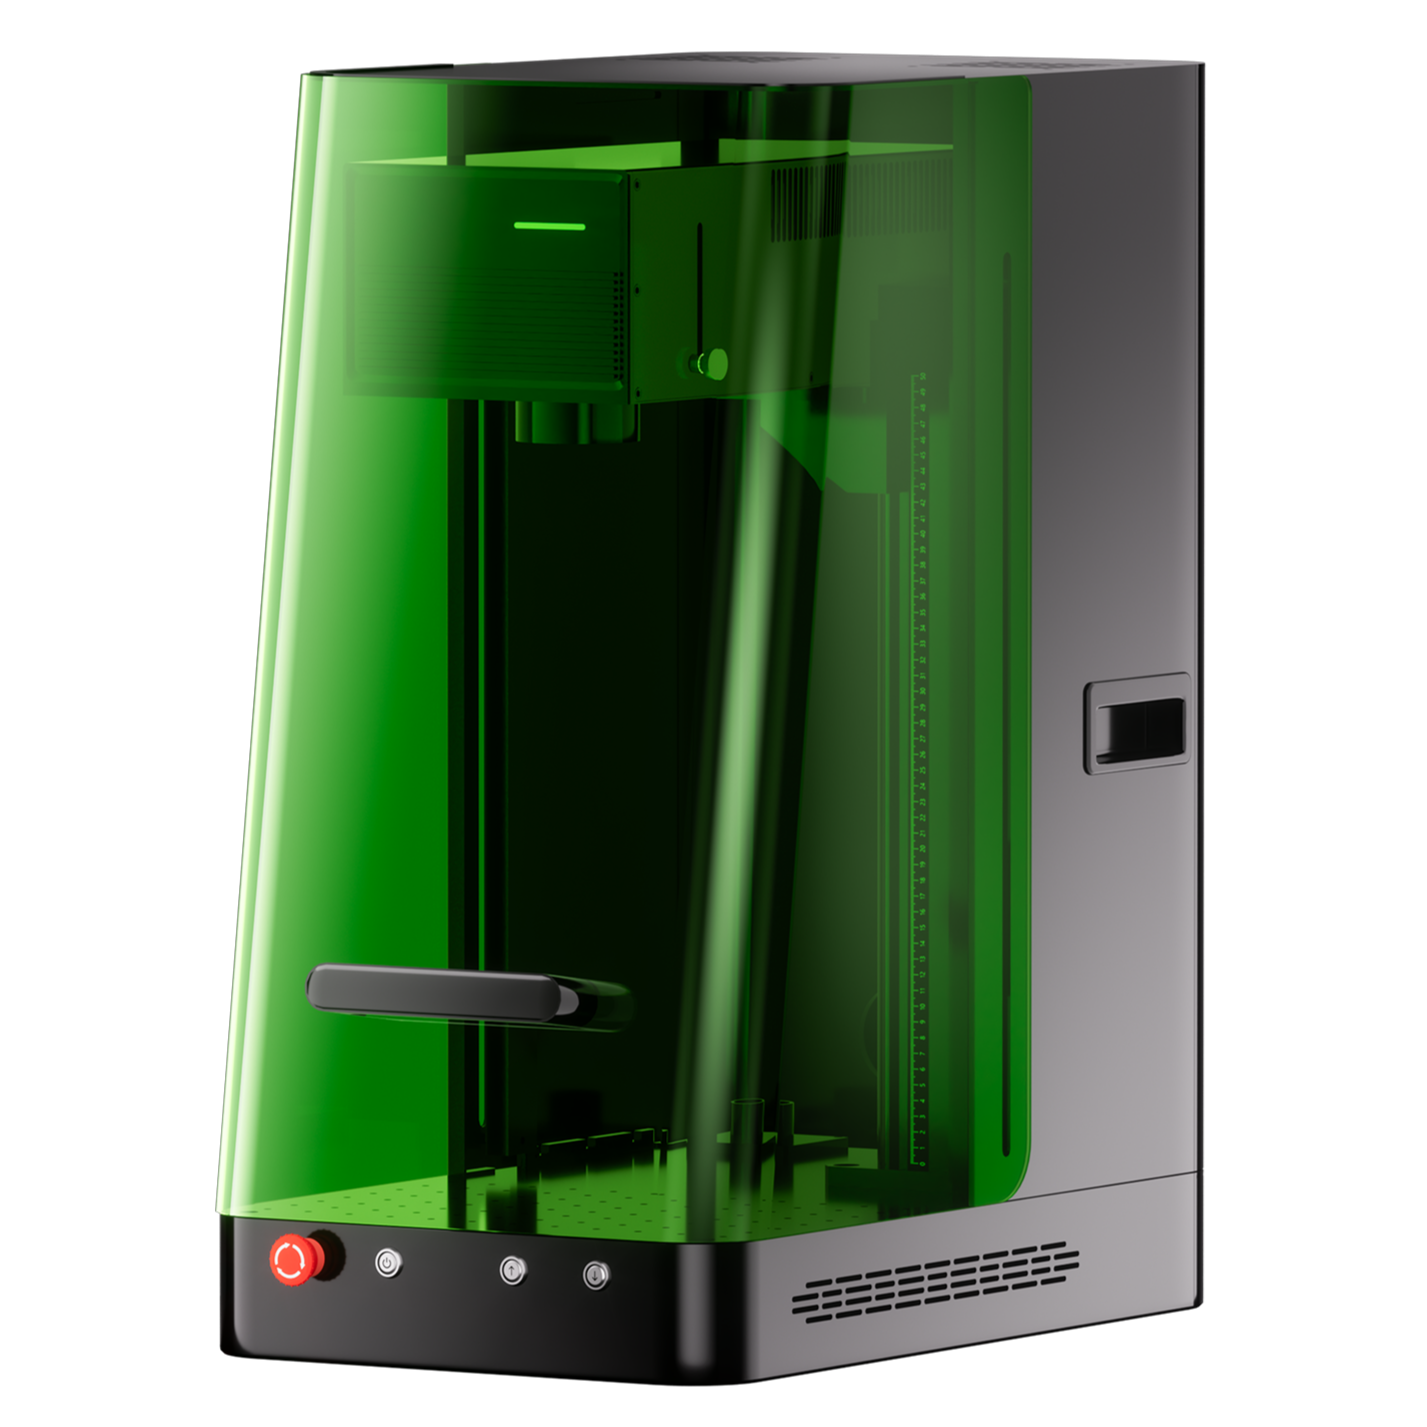
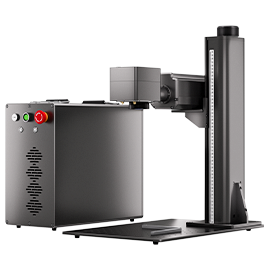
- 컴마커 옴니 1 UV 레이저 조각사
- Focus stick or tool
- LightBurn 소프트웨어
- Masking tape for alignment marks

Engraving Setup and Alignment
1. Journal Placement
Mark your laser bed or baseplate with masking tape to create repeatable alignment for batch jobs. The creator in the video aligns the journal to a specific mark and uses a simple backstop for consistency.
2. Design Positioning
Instead of center-placing the design, it’s positioned toward the upper section of the journal for a balanced aesthetic.

Recommended UV Laser Engraving Settings
These LightBurn settings were used with the ComMarker Omni 1 UV 레이저:
| 매개변수 | 값 |
|---|---|
| 속도 | 1000 밀리미터/초 |
| 빈도 | 30 kHz |
| Q-펄스 | 200 |
| 라인 간격 | 0.05 mm |
| 각도 | 45° (no crosshatch) |
| 힘 | N/A (grayed out for UV) |
🛠️ Tip: UV lasers don’t use a power slider in LightBurn—your main control variables are 속도, 빈도, and pulse width.

Framing and Focusing
Using the included green paddle (framing filter) Omni와 함께 1, you can easily see where the laser will engrave. Just press F1 to activate the framing and make sure your design fits your intended space.
또한, use a focus stick to get your focal distance perfect. Being off by even 1–2mm can ruin the engraving on faux leather surfaces.

First Pass Only – Keep It Classy
In this project, the engraving was completed in just one pass, no crosshatching. The result is a subtle, glossy design that blends beautifully with the leather grain.
Too many passes or deeper etching might damage the surface or create a cheap, overburnt look. Keep it clean and minimal for best results.

일괄 처리 & Productivity Tips
This project was completed in batches. Once your alignment is dialed in, you can knock out 3+ journals in under 5 분. That makes it an ideal candidate for:
- Corporate gifting
- Church or missionary journals
- Weddings or bridesmaid gift sets
- Personalized retail products
How Much to Charge?
Here’s a quick breakdown:
| Journal Cost (아마존) | 조각 시간 | Suggested Price |
|---|---|---|
| $3–5 (bulk) | ~1 minute | $10–20 |
Depending on the market, level of customization, and perceived value, many laser shops price these between $12–25 per unit.
💡 Bonus Tip: Repackage the journal in its original wrapper to give it a “factory finished” feel.
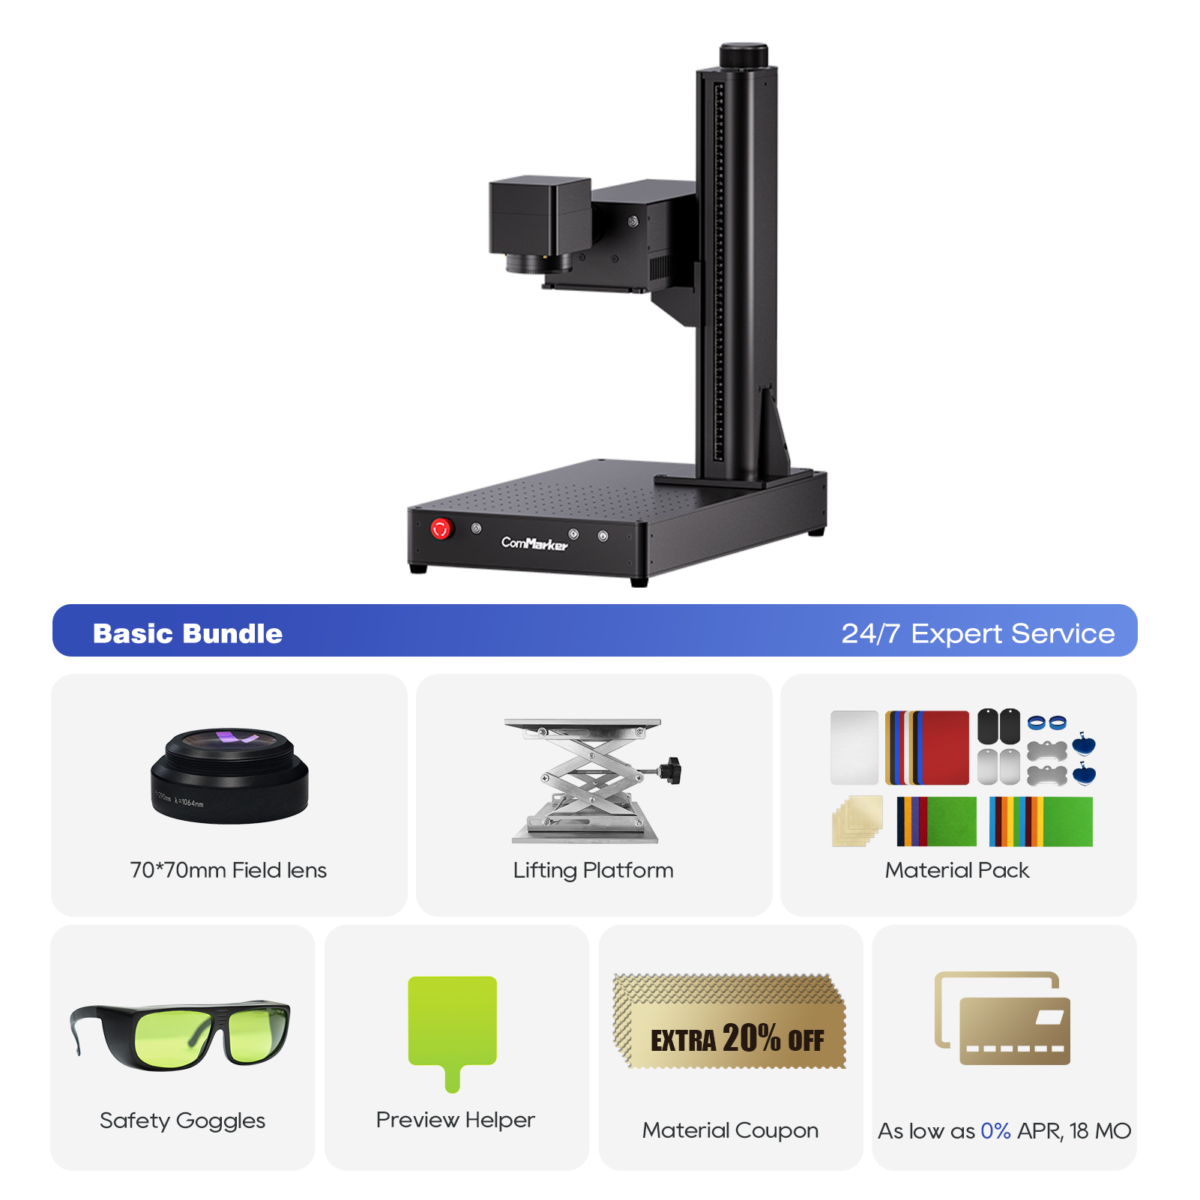
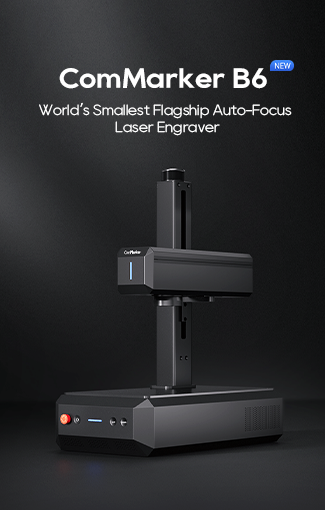
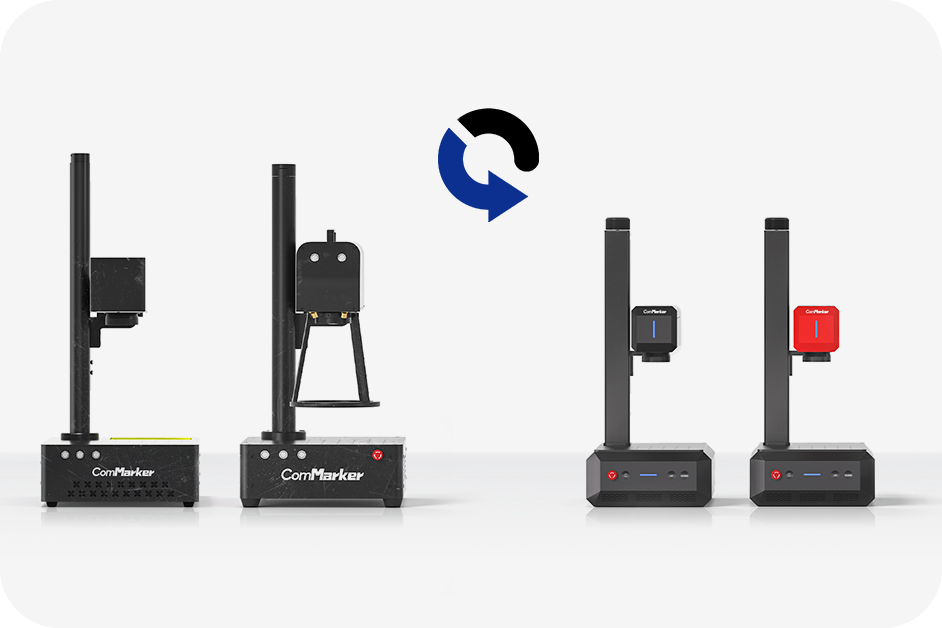
컴마커 옴니 1 레이저 조각사
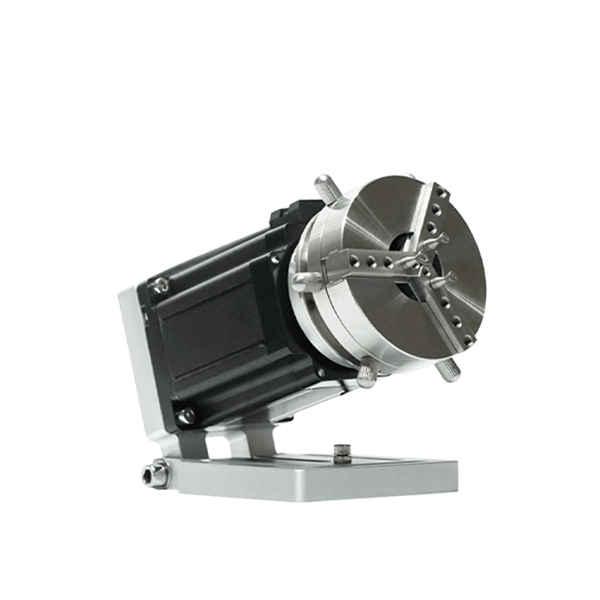
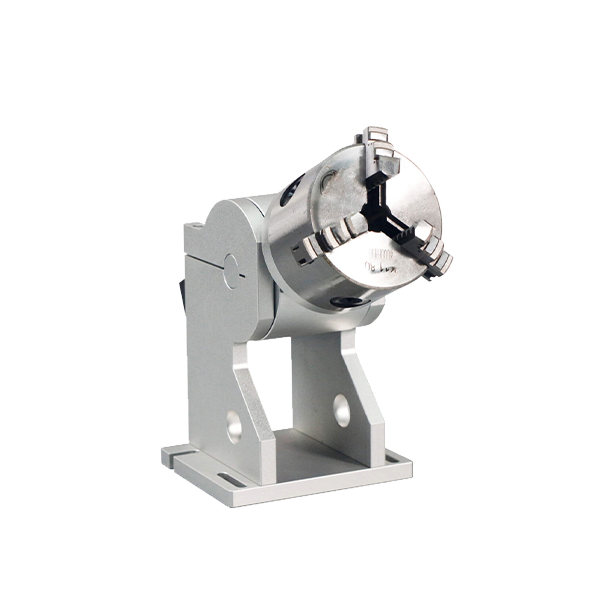
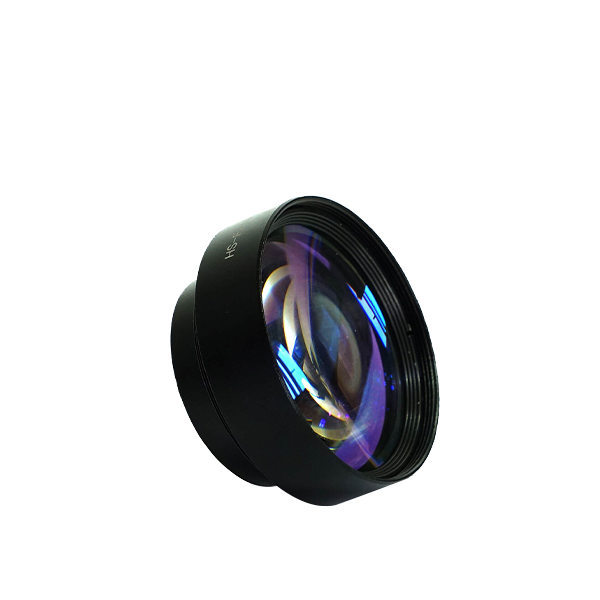
모든 재료를 잠금해제하는 차세대 레이저. ZeroBurn™ 조각 기술 세계 최초의 16K HD 레이저 조각기 10,000mm/s SpeedMax™ 조각 시스템 UV 레이저로 모든 재료 잠금 해제 ColdFront™ 열 기술 전기 리프팅 2 EZCAD 및 LightBurn 360°회전 조각 시스템과 호환되는 옵션 렌즈
Simple, Elegant, and Profitable
This journal engraving project is a fantastic example of how powerful the 컴마커 옴니 1 UV 레이저 조각사 can be—even for thin, coated, or synthetic materials.
✔ Subtle and professional finish
✔ Fast turnaround time
✔ High perceived value
✔ Easy to scale and batch