


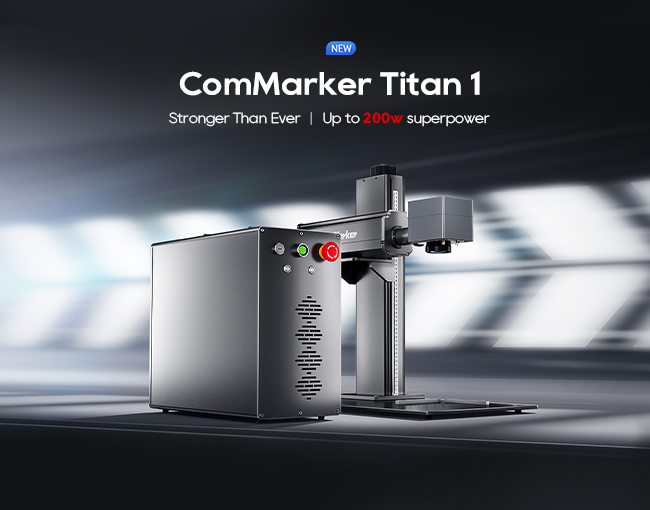
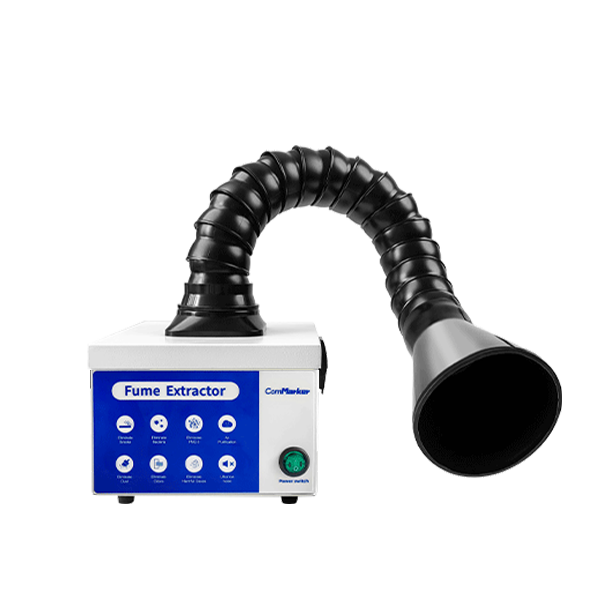
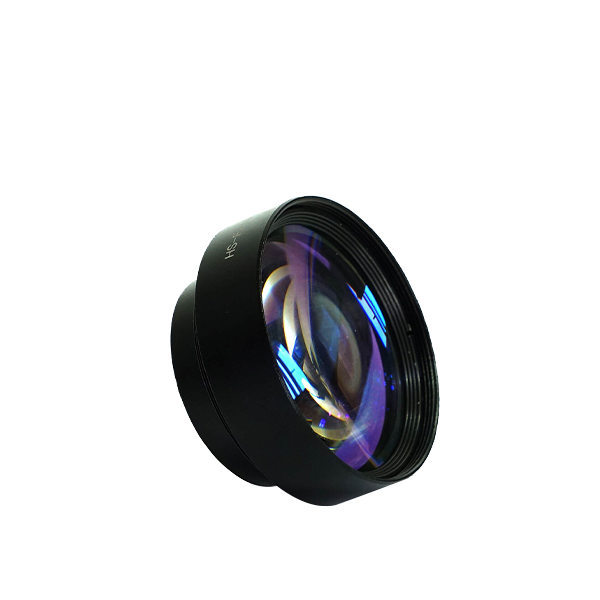


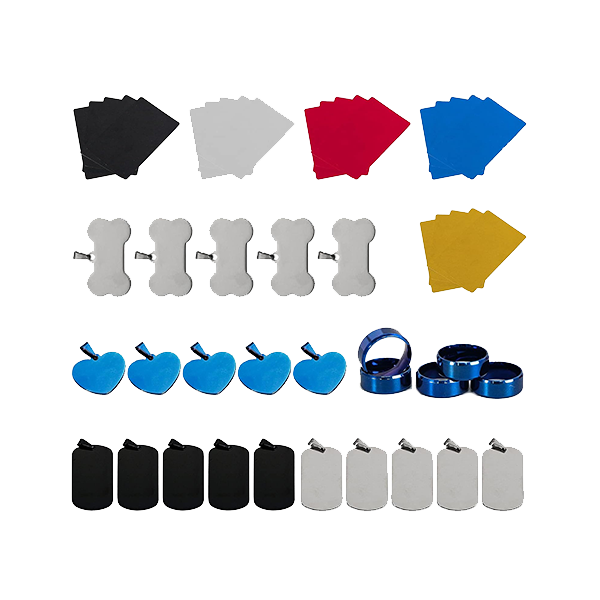


If you’ve ever worked with plastic parts and needed to add permanent serial numbers, you’ve probably wondered: Can a laser engraver do this accurately? The answer is yes—and in this project, I’ll walk you through how I used the ComMarker Omni 1 UV laser engraver to mark nearly 40 plastic key fobs with crisp, readable codes. This job also gave me a great opportunity to build a quick custom jig, streamline the workflow, and take full advantage of the laser engraver’s precision on plastic.

Why I Chose a UV Laser Engraver for Plastic Projects
Not all laser engravers handle plastic the same way. In my experience, diode or CO₂ laser engravers can melt or discolor certain plastics. That’s why I used the ComMarker Omni 1, a UV laser engraver that offers a clean “cold burn” ideal for delicate materials.
Best for: Plast, glass, akryl, lær, and coated materials
Settings used:
- Hastighet: 1000 mm/s
- Frekvens: 40 kHz
- Linjeintervall: 0.03 mm
- Q pulse: 15
- Crosshatch fill, 1 pass
You can check out the Omni 1 UV laser engraver here.
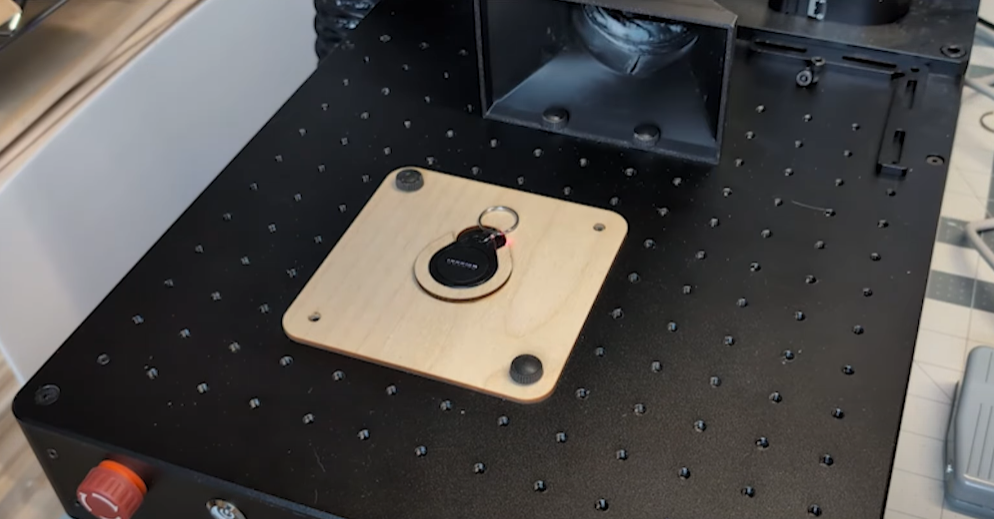
Steg 1: Trace the Object and Create a Jig for Your Laser Engraver
A reusable jig helps you place parts accurately every time you use your laser engraver. I started by tracing a key fob on white paper with alignment marks, took a top-down photo, and imported it into LightBurn. I scaled it using a 1-inch guide, then used the “Trace Image” tool to create a clean path around the shape.
For tipset: Make sure your traced image has clear lines and good contrast for LightBurn to pick up the edges accurately.
Steg 2: Add Alignment and Finger Access Features to the Jig
I used LightBurn’s “Offset” and “Node Edit” tools to trim the top of the cutout and added a finger hole using a simple circle tool. These small details ensure that the key fobs are easy to remove once the laser engraving is done.
Steg 3: Mount the Jig and Center It in Your Laser Engraver
Once the jig was cut out on a 3mm Baltic birch using a CO₂ laser, I glued the layers together and mounted it to the Omni 1’s working bed using the 5mm bolts. The jig held each key fob snugly and aligned perfectly with the laser engraver’s target area.
Steg 4: Add Serial Numbers Using LightBurn’s Variable Text Tool
Using LightBurn’s “Serial Number” feature, I created four-digit codes starting from 0030. This feature allows the laser engraver to automatically advance to the next number after each burn, saving time and minimizing errors.
Settings for numbering:
- Text type: Serial number
- Format: 0000
- Starting value: 0030
- Auto advance: ON
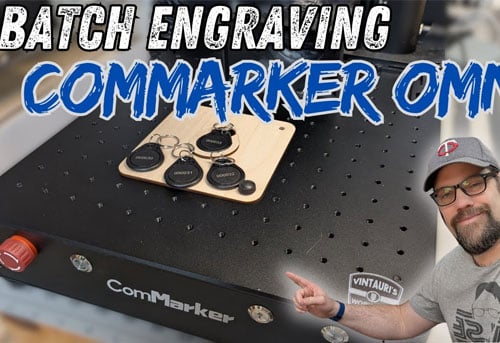
Steg 5: Burn and Batch Engrave Using the Laser Engraver
Once aligned, each key fob took about 4 seconds to engrave. I simply dropped in the next fob, pressed the button, and let the laser engraver do its thing. The UV laser produced a clean, high-contrast mark on every plastic surface.
Bonus tips: Keeping Serialized Items in Order
To organize all the engraved key fobs, I printed a DIY cable chain using PLA and TPU and loaded the fobs in reverse order. It’s not permanent, but a handy temporary solution while waiting for a steel cable version.
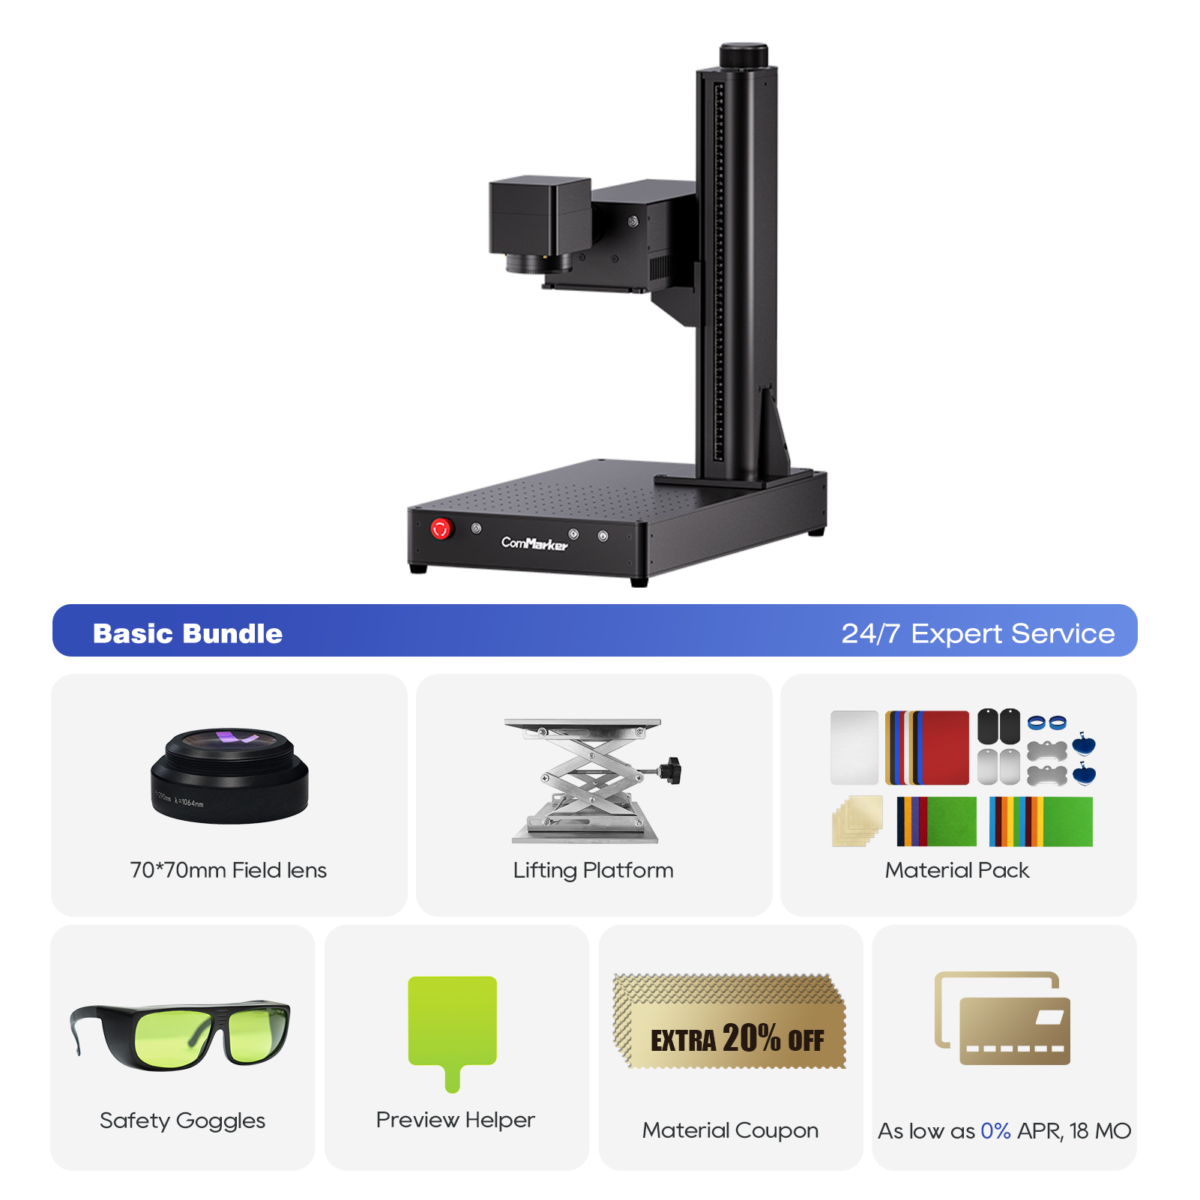
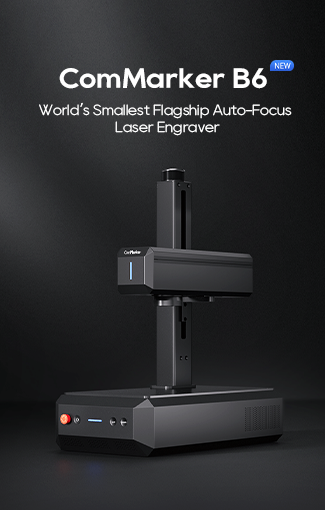
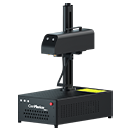
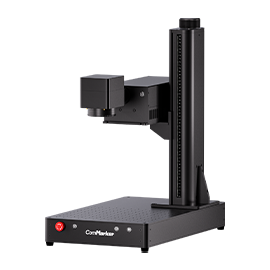
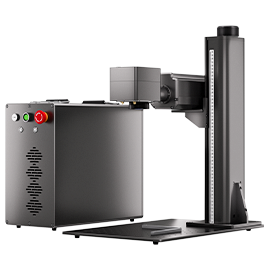
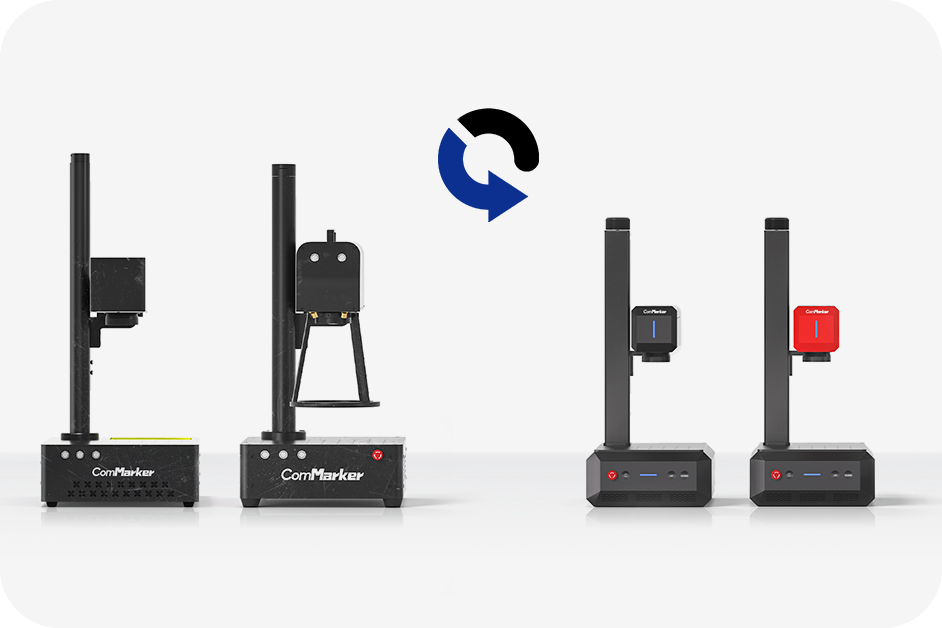
ComMarker Omni 1 Lasergravør
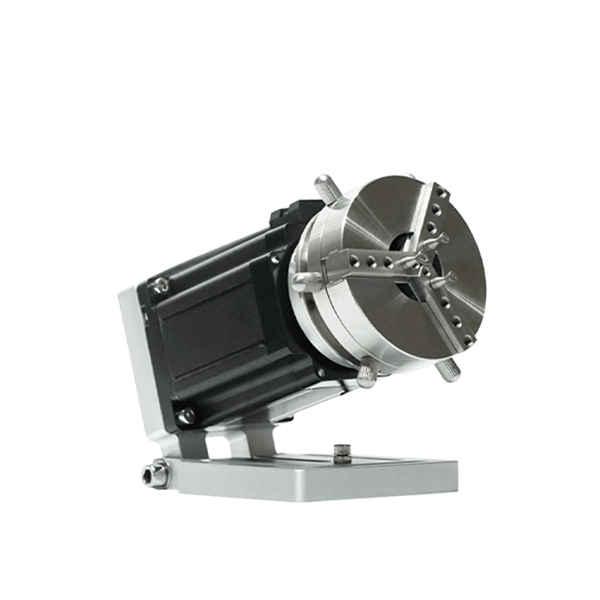
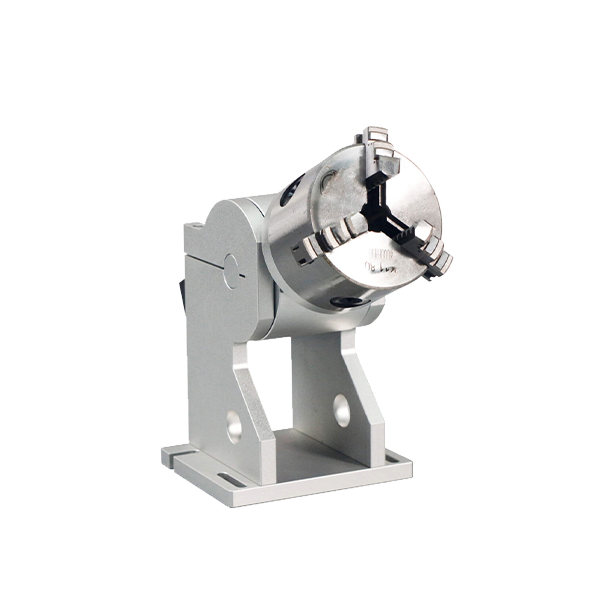
Neste generasjons laser for å låse opp alle materialer. ZeroBurn™ graveringsteknologi Verdens første 16K HD lasergravør 10 000 mm/s SpeedMax™ graveringssystem Lås opp alt materiale med UV-laser ColdFront™ termisk teknologi elektrisk løft med 2 Valgfrie linser kompatible med EZCAD og LightBurn 360° roterende graveringssystem
Why a UV Laser Engraver Was the Right Tool for the Job
This project reinforced just how useful a lasergraver like the ComMarker Omni 1 can be for small production runs, especially on tricky materials like plastic. The precision, hastighet, and ease of automation made it a no-brainer. Whether you’re doing serialized key tags, ID cards, or small parts, a UV laser engraver is a great investment.
Recommended machine: ComMarker Omni 1 UV lasergraver
Best for: Plast, glass, akryl, and precision batch jobs
Key takeaway: A good jig and serial-number automation can save you hours.