


If you’re just getting started with a лазерный гравер по металлу, you’ve probably asked questions like:
“Why does my engraving look too light?»
“What settings actually work on stainless steel?»
“Am I using the right laser for this material?»
Don’t worry—I’ve been through all of that, and this article is here to help you avoid the trial-and-error spiral. Whether you’re customizing a knife, marking tools, or making gift items like bottle openers or tags, here’s what actually matters when engraving metal.

What Metals Can I Engrave?
Not all metals behave the same under a laser. Some engrave like butter, others fight back with reflection, oxidation, or inconsistent results.
Here’s a quick breakdown based on actual experience:
| Материал | Engraves Easily? | Примечания |
|---|---|---|
| Нержавеющая сталь | ✅ Да | Great contrast, especially with black marking |
| Анодированный алюминий | ✅ Да | Sharp contrast, no prep needed |
| Raw Aluminum | ⚠️ Kinda | Light marks, better with multiple passes |
| Латунь / Медь | ⚠️ Tricky | Reflective—needs slower speed, higher power |
| Металлы с покрытием | ✅ Да | The coating helps laser absorb energy easily |
Кончик: If it’s shiny, plan to do more passes or lower your speed for deeper results.

Settings That Actually Work (Not Just What’s on Paper)
Forget generic charts. The real magic is in tweaking your settings based on what you’re engraving.
Here’s a tested baseline for нержавеющая сталь using a mid-power fiber laser (like 30W):
- Скорость: 1500 мм/с
- Частота: 80 кГц
- Q-Пульс: 5
- Dot Spacing: 800
- Фокус: Surface facing up, carefully leveled
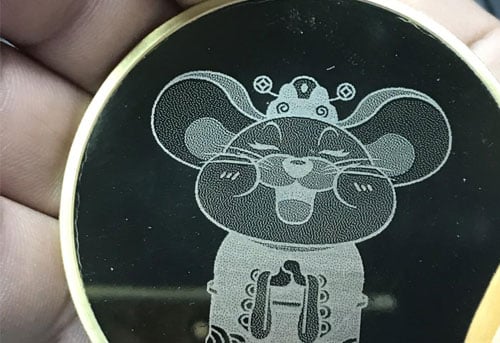
These settings give me dark black marks that are crisp and readable—perfect for ID tags, инструменты, или подарки.
💡 Pro tip: Always run a small test square first. Different finishes (brushed, polished) react differently, even if they’re the same metal.

Why Is My Metal Engraving Blurry or Weak?
Here are the most common reasons—and what I did to fix them:
1. Focus is Off
If your laser isn’t exactly at the right height, you’ll get fuzzy, underpowered marks.
Исправить: Run a ramp test or use an included focus tool. Even a 1mm error can blur the engraving.
2. Dirty Lens
A dusty or fogged lens will scatter the beam, killing power.
Исправить: Wipe gently with lens-safe cloth and alcohol. I do this every few jobs.
3. Too Fast or Not Enough Power
Speed and power go hand in hand. Быстрый + low power = no mark. Slow + too much power = burn or distortion.
Исправить: For metal, start slow and raise speed gradually until the mark weakens—then dial it back.
4. Material Moved Mid-Job
Бывает. Even a 0.5mm wiggle ruins alignment.
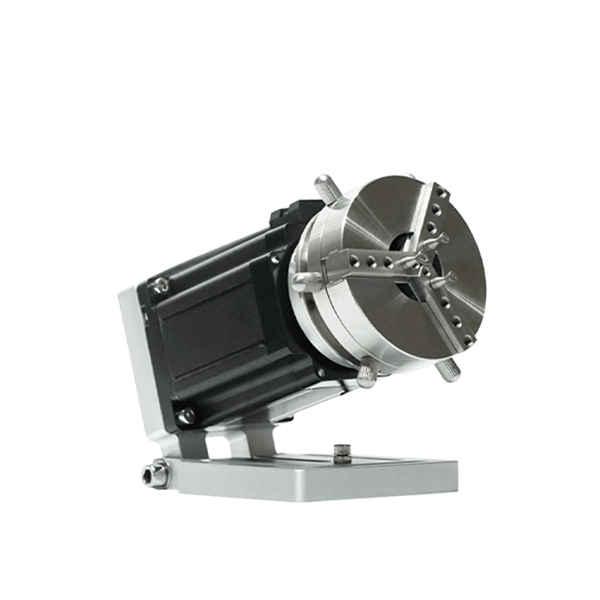
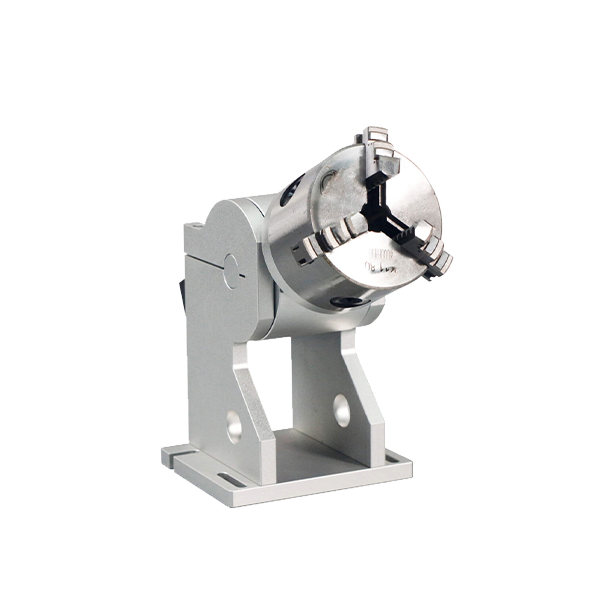
Исправить: Use magnets, jigs, or strong tape to lock metal in place. Especially critical for round objects like knives or rings.

Troubleshooting Table – Quick Fix Guide
| Problem | Likely Cause | Решение |
|---|---|---|
| Engraving is too light | Speed too fast / Power too low | Slow down or raise power |
| Blurry or doubled lines | Focus off / Material moved | Re-check focus, clamp securely |
| Burnt edges / smoke marks | Power too high / Медленная скорость | Increase speed or reduce passes |
| Ghost images | Loose belts / wobbly material | Tighten belts and stabilize material |
| Lines not crisp | Dirty lens or bad focus | Clean lens, re-align focus |

Best Practice for Clean, Repeatable Metal Engraving
Here’s my personal checklist when setting up any new engraving job on metal:
- ✅ Secure the workpiece: Always. Vibration ruins sharpness.
- ✅ Run a focus check: Especially when changing material thickness.
- ✅ Clean the lens: Каждый 10 часы, or after smoky materials.
- ✅ Use grayscale or vector art: High-quality images = high-quality results.
- ✅ Save your settings: Build a material library so you don’t start from scratch every time.
FAQs – Real Questions I Had (and You Probably Do Too)
вопрос: Can I use the same settings on copper as I do on steel?
А: No—copper reflects more and needs slower speed + higher power.
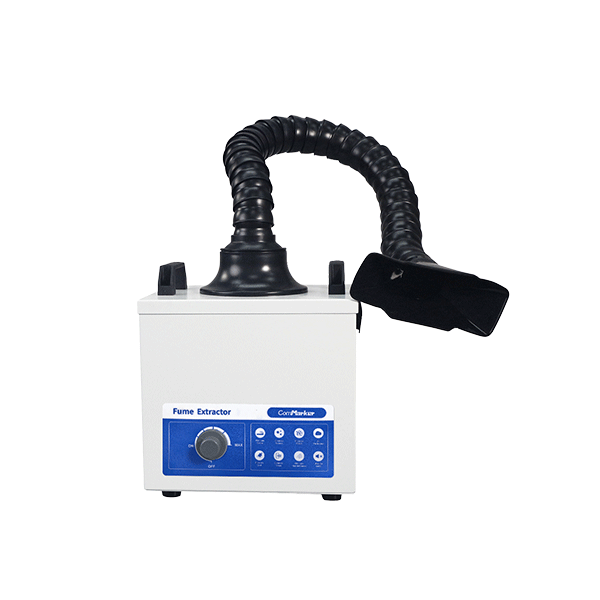
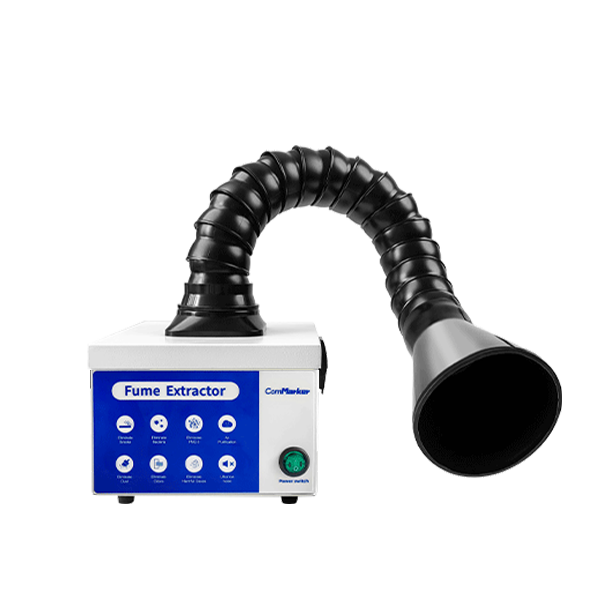
вопрос: Do I need air assist for metal engraving?
А: Not always, but a gentle air stream helps keep soot off the lens.
вопрос: Why does my engraving look different on the same type of metal?
А: Surface finish matters—matte, brushed, and polished all respond differently.
вопрос: Can I use the same machine to cut metal too?
А: Not typically—engraving and cutting are very different in power needs. Stick to engraving unless your laser is rated for cutting thin sheets.

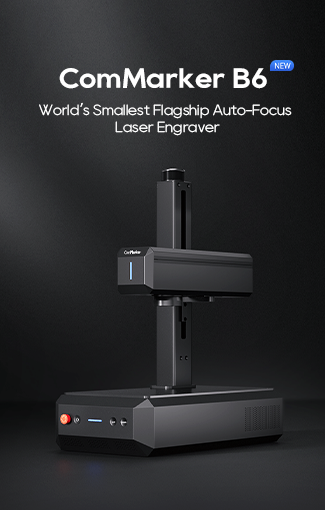
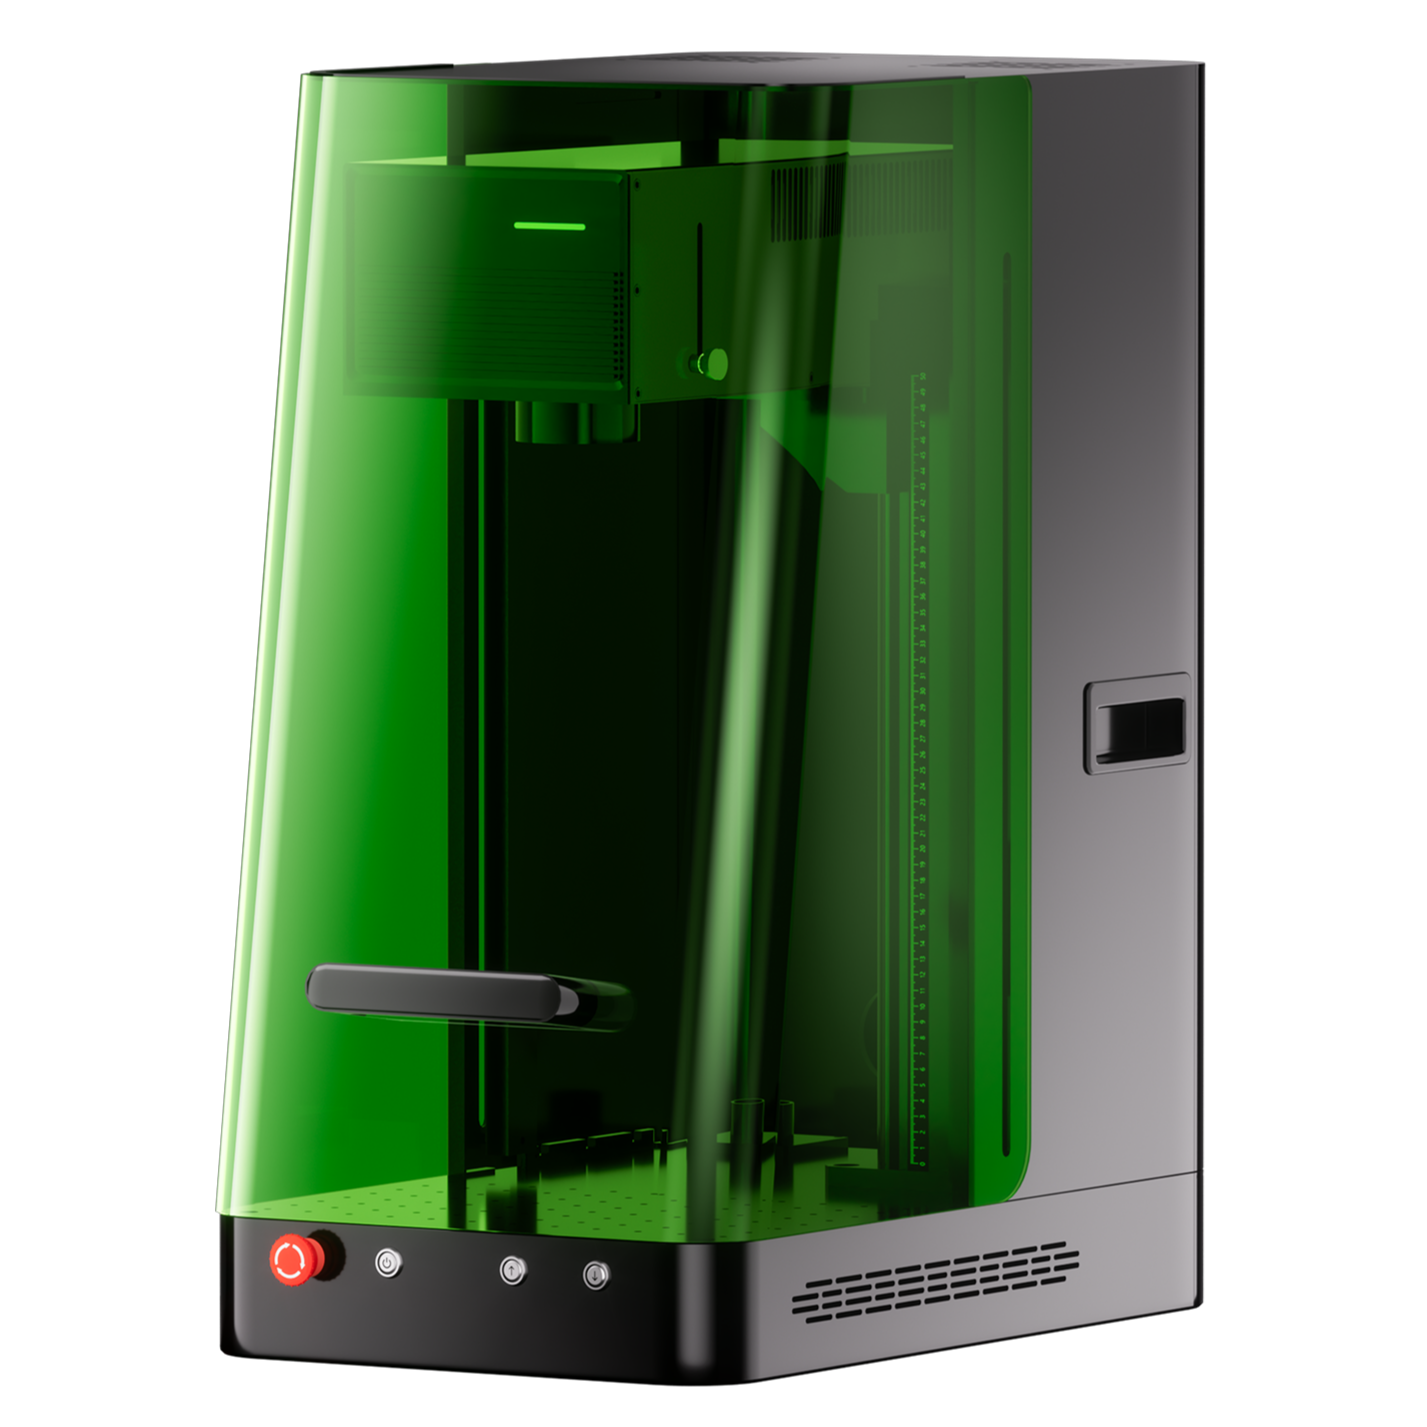
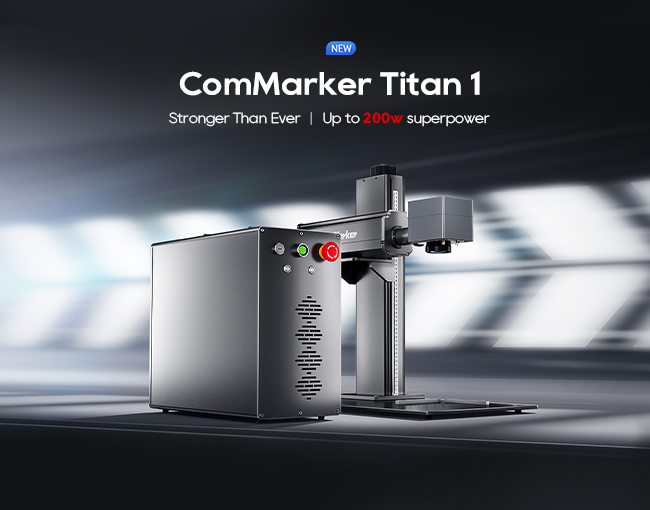
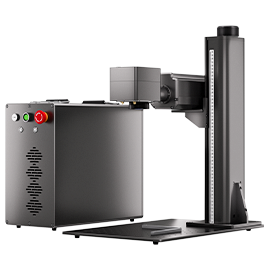
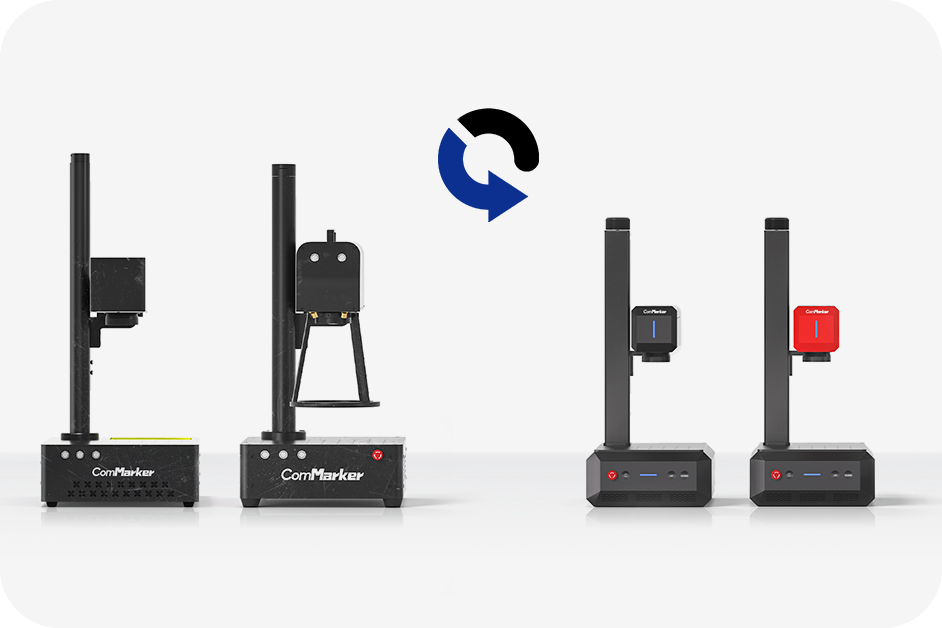
Волоконный лазерный гравер ComMarker B6 JPT MOPA
Добро пожаловать в эпоху умной цветной гравировки. Рекордный компактный размер Возможность цветовой маркировки Супер 3D гравировка & Режущая способность Конструкция «2 в 1» Технология автофокусировки Скорость гравировки SpeedMax™ 15 000 мм/с Точность 8K HD Интеллектуальный светодиодный сенсорный экран
Final Thoughts – Choosing the Right Laser Engraver for Metal Projects
If you’re serious about metal engraving—whether it’s for hobby use, персонализация, or even a side business—the right setup makes a huge difference.
Start small: pick one metal (like stainless), dial in your settings, and go from there. As you get more confident, try anodized aluminum, then experiment with copper or titanium if you’re using a MOPA-capable machine.
One machine, dialed in correctly, can do more than you think. Just don’t expect magic on Day 1—it takes a few test runs to hit that sweet spot.