


If you’re diving into laser engraving on metal for the first time—or looking to upgrade your old machine—here’s something I wish I had read earlier. After months of trial, test burns, and some frustrating setups, I’ve found my favorite: 这 CommMarker B6.
Let me walk you through why it became my go-to 金属激光雕刻机, especially if you’re working in a small space or just getting started.

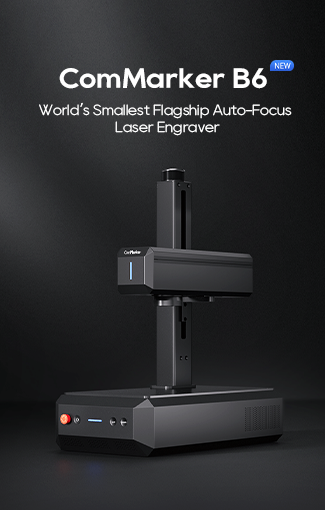
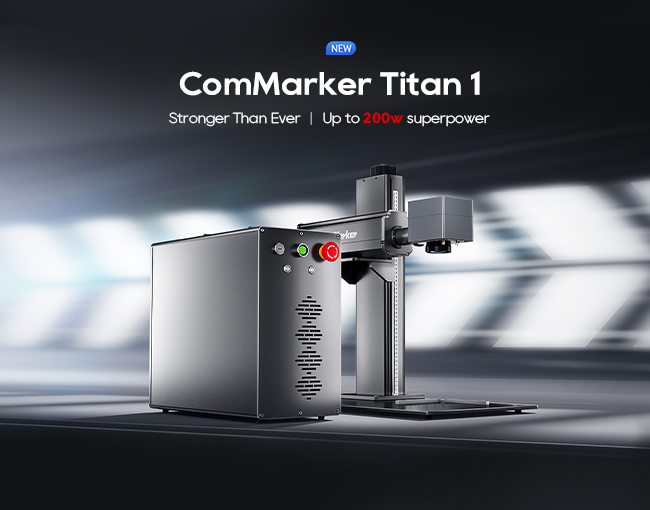
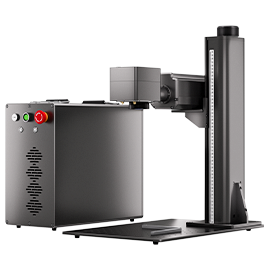
1. 尺寸紧凑, Big Power
One thing I really appreciate is how compact the B6 is. It doesn’t take over your entire desk. You can literally pick it up and move it around, which isn’t something you can say about most fiber lasers. I’ve tried the larger benchtop versions—they’re solid, sure—but unless you’re doing huge metal signs all day, the extra size isn’t worth the footprint.
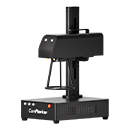
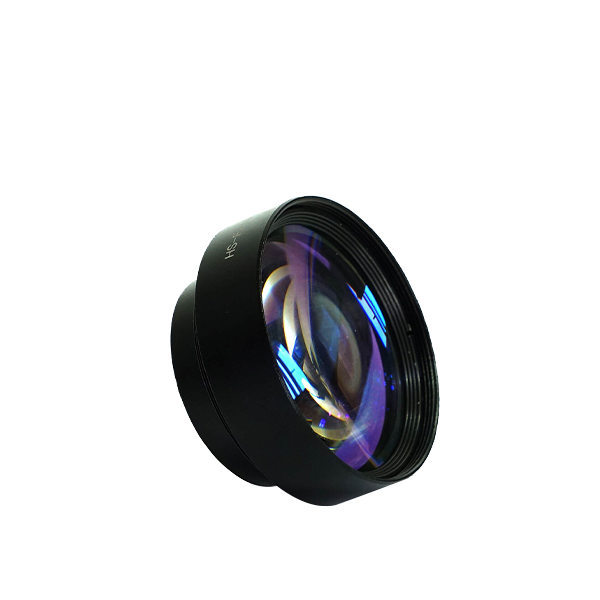
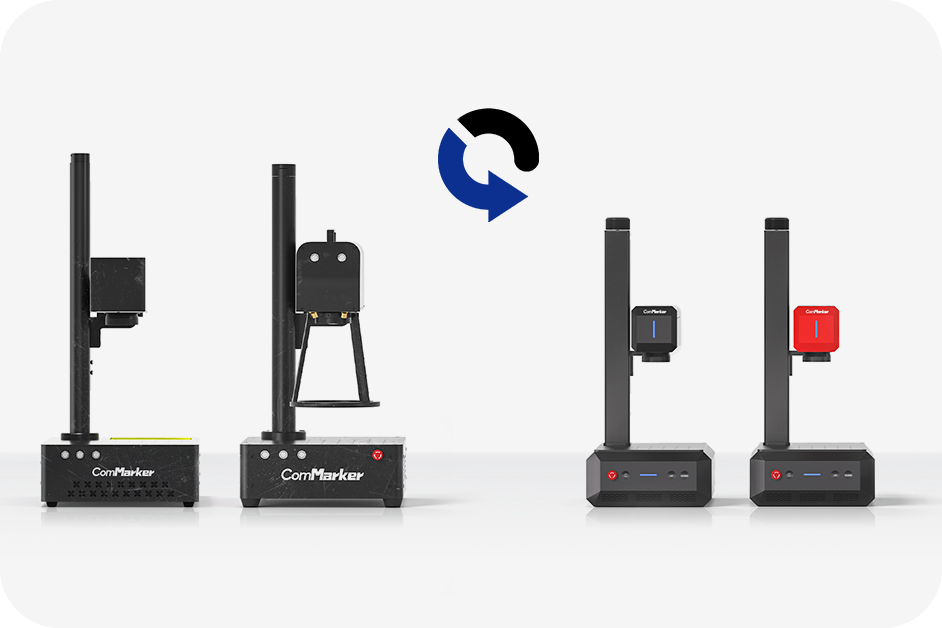
This machine runs a 150mm x 150mm lens, which is honestly the sweet spot for most of my metalwork like tags, 不倒翁, 刀, or serialized plates. 加, the B6 has a neat trick up its sleeve: it can be reconfigured into a split version if you need a more vertical layout to fit a rotary attachment. Two form factors in one? Big win.
My Tip: Small shop? B6 is perfect. It’s compact, but still delivers pro-level results.
Check it out on CommMarker.com

2. Autofocus = Time Saver (and Sanity Saver)
If you’ve ever spent 10 minutes fumbling with focus gauges, you’ll love this—autofocus is built-in. Just drop your material, hit the button, and the machine adjusts automatically. There’s even a camera/sensor combo to detect material height.
In my testing, autofocus worked great for standard aluminum and coated metals. But heads up—if you’re working with highly reflective or deep-black surfaces, the sensor might miss. In that case, you can still use the manual mode with the Z-axis buttons or old-school measuring tools.
My Tip: Use the touchscreen to tweak focus manually if you’re working with weird materials. 但 95% 时间, autofocus nails it.

3. Real-World Engraving Settings for Metal
Let’s talk settings, because that’s what most of us are really Googling.
For anodized aluminum tags, here’s a reliable starting point I use:
- 速度: 390 毫米/秒
- 力量: 100%
- 频率: 30 千赫
- 行距: 0.025 毫米
- Hatch Angle: 45°
- 通行证: 1
These give a clean, high-contrast mark without burning or charring the edges.
奖励提示: Use LightBurn’s “Material Test” feature to build your own speed/power grids. I did this on all my metals—titanium, 黄铜, coated steel—and saved hours of trial and error.

4. Is MOPA Worth It?
The B6 comes in standard fiber or 莫帕 版本. I picked the MOPA version because it uses a JPT LP or M7 laser source, which lets you control 脉冲宽度 and hit higher frequencies. If you’re doing colored stainless steel engravings or ultra-precise work on anodized aluminum, that flexibility makes a difference.
But honestly—if you’re just engraving logos, serials, or light duty cutting, the standard version is still great.
Price Tip: The MOPA model costs more, but future-proofs your setup. If you’re running a small shop or planning to take custom orders, go MOPA.

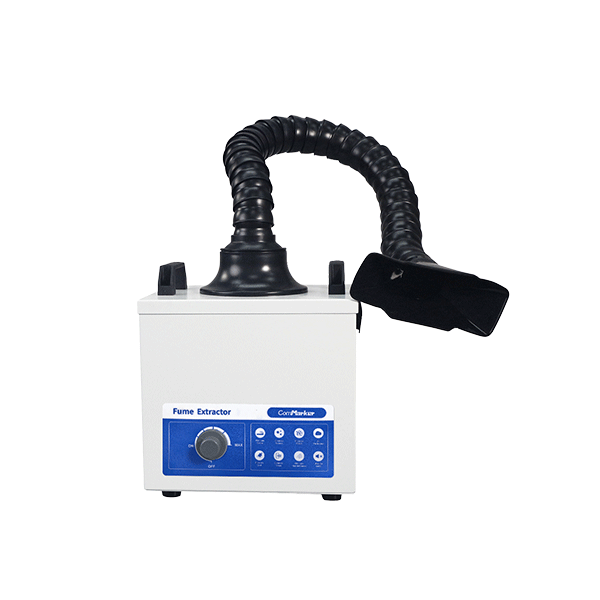
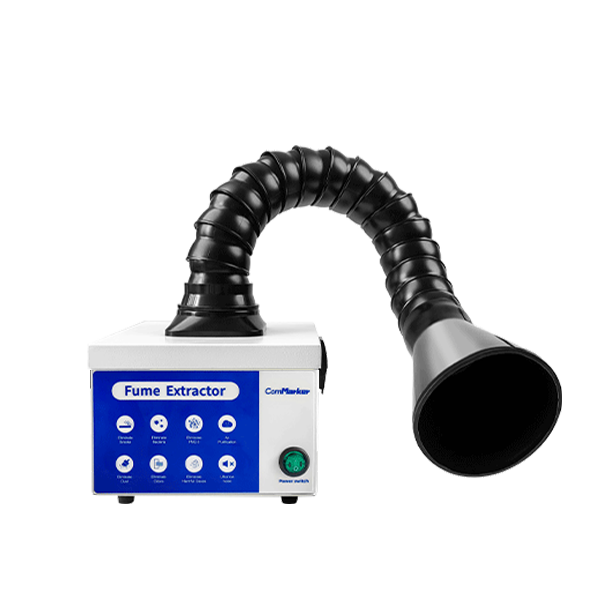
5. What About Safety and Accessories?
Unlike fully enclosed machines like the xTool F1 Ultra, the B6 is open-frame. That means more airflow, but you’ll want to wear laser safety glasses—and keep bystanders away during use.
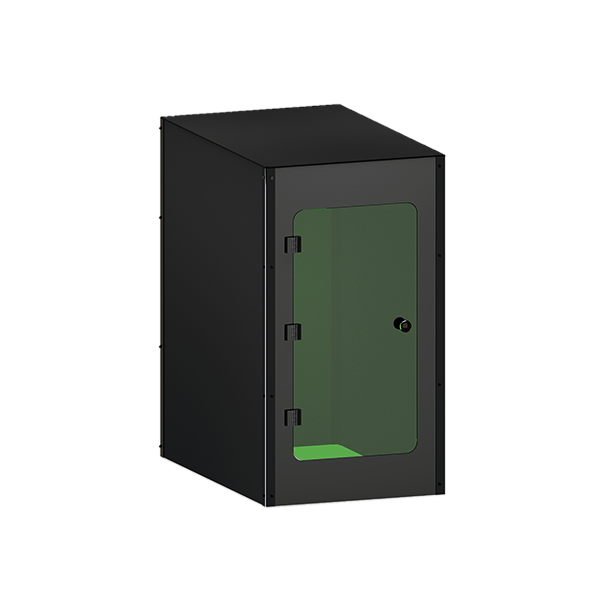
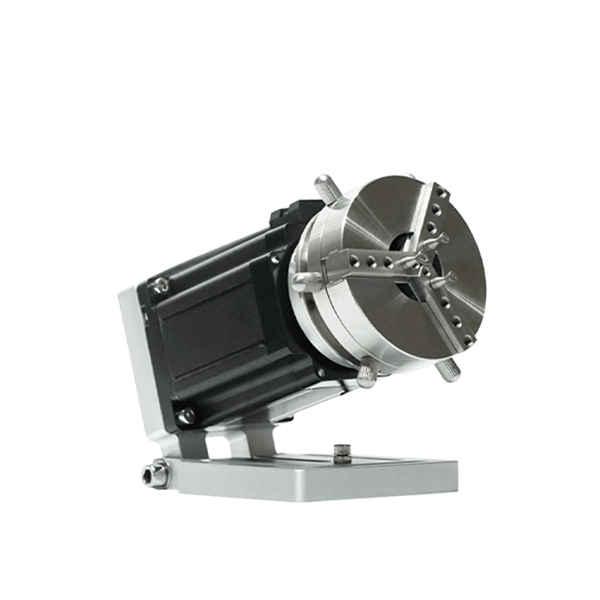
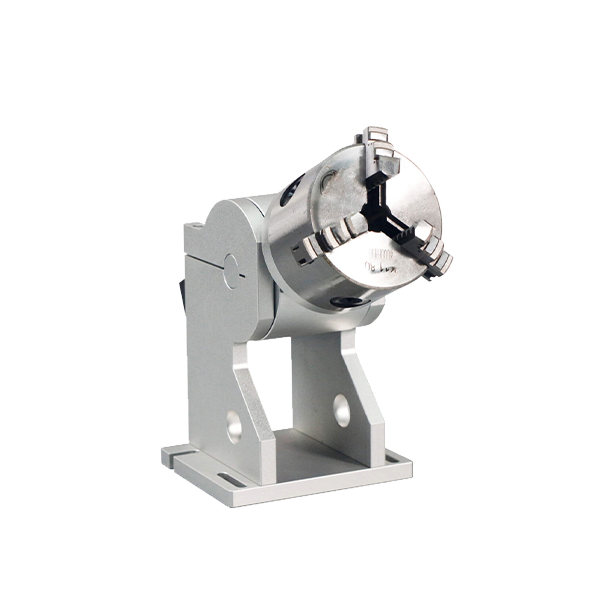
那就是说, CommMarker offers:
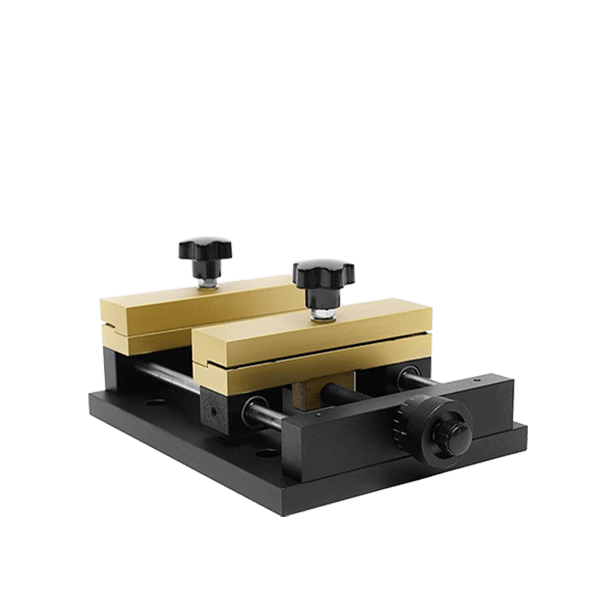
- 旋转附件 (用于戒指, 杯子, ETC。)
- Filter-ready enclosures
- Foot pedals for batch work
Everything integrates well, and honestly, their customer service has been responsive when I needed help setting up the rotary.
So… Is the CommMarker B6 the Best Laser Engraver for Metal in 2025?
For me—yes. Between the size, 自动对焦, solid laser source, and flexible software integration (it works perfectly with LightBurn), it checks every box.
Would I recommend it to a beginner? 绝对地—as long as you’re comfortable with a little software setup. If you’re coming from diode lasers, this is a big upgrade in capability without jumping to a $5,000+ industrial rig.
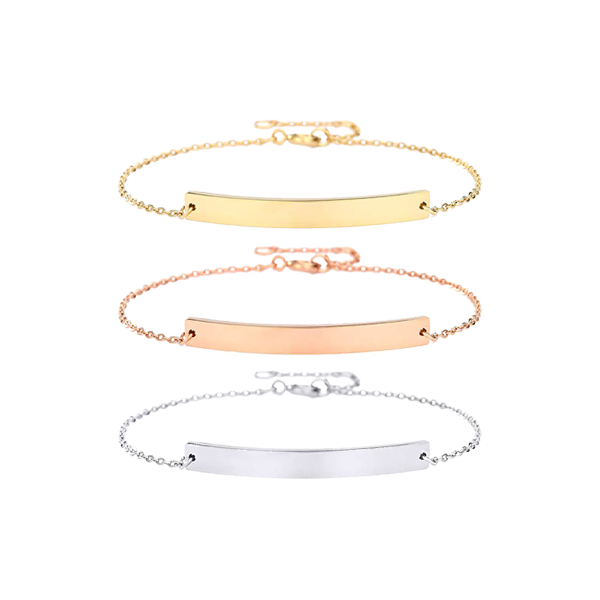
If you’re planning to engrave stainless steel, 铝, 钛, or any common metal blanks—this is a smart investment.
我的判决: The CommMarker B6 is one of the best-value laser engravers for metal you can buy in 2025.