


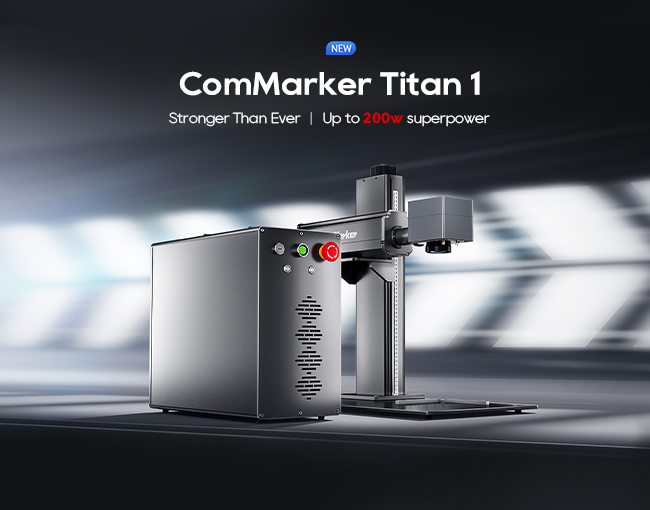
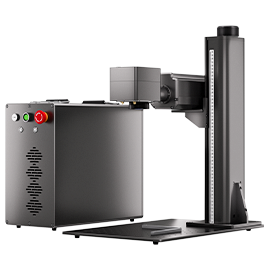


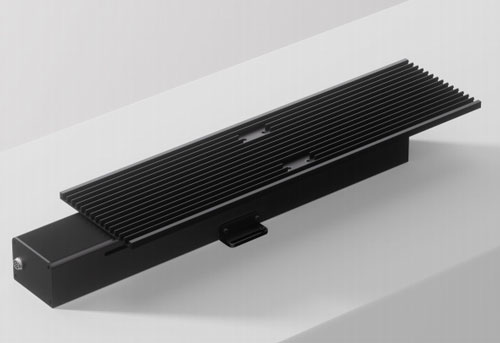
如果您想推动自己的极限 激光雕刻机 并使用较大的材料, 这 Commarker Slide扩展套件 正是您需要的. 专为与commarker机器无缝集成而设计, 此附件将您的最大雕刻区域扩展到 150×400mm, 解锁新的标志潜力, 长杯, 木板, 和更多.
在本指南中, 我们将引导您完成如何安装幻灯片扩展, 设置软件, 并通过此升级的设置安全地操作激光器.
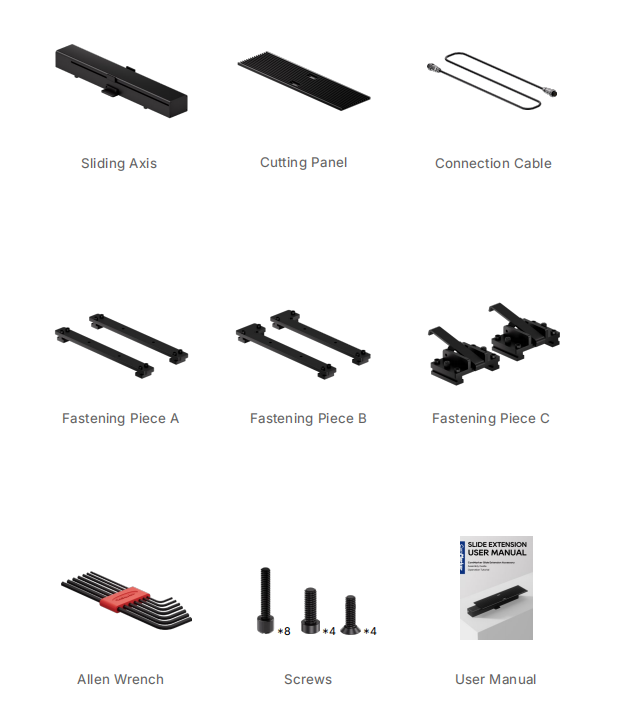
盒子里有什么?
幻灯片扩展套件包括快速安装所需的一切:
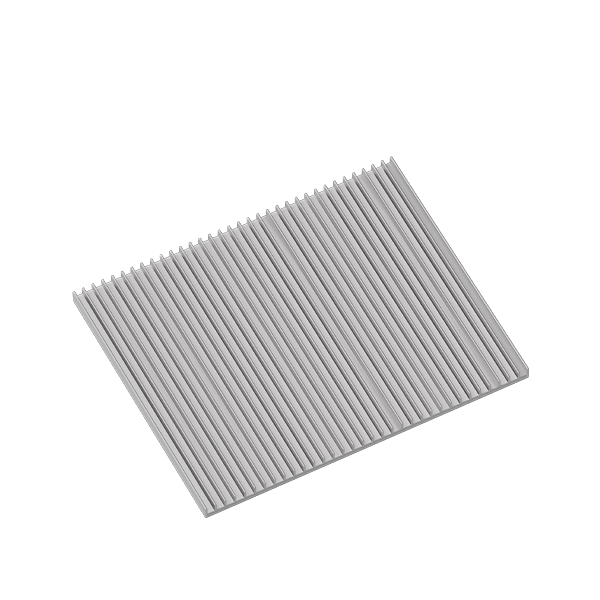
- 滑动轴
- 切割面板
- 连接电缆
- 固定件a, 乙, 和c
- 螺丝 (M410 & M58)
- 艾伦扳手
- 用户手册
一切都是精确工程的,可以与您的Commarker Laser雕刻师完美合作.

分步安装指南
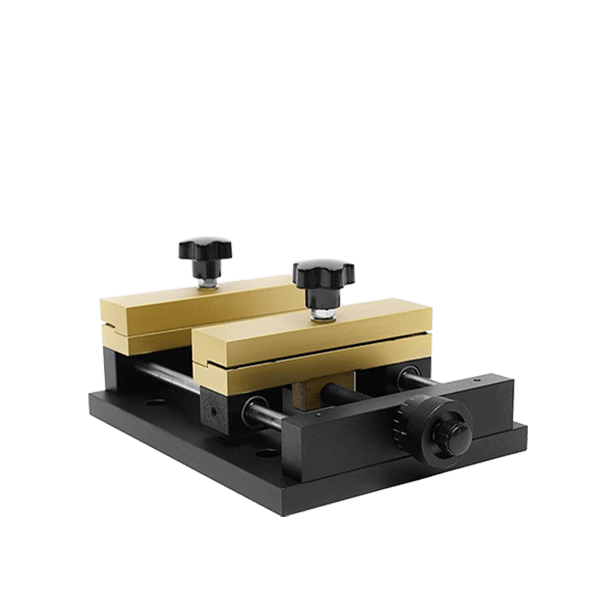
1. 安装幻灯片扩展
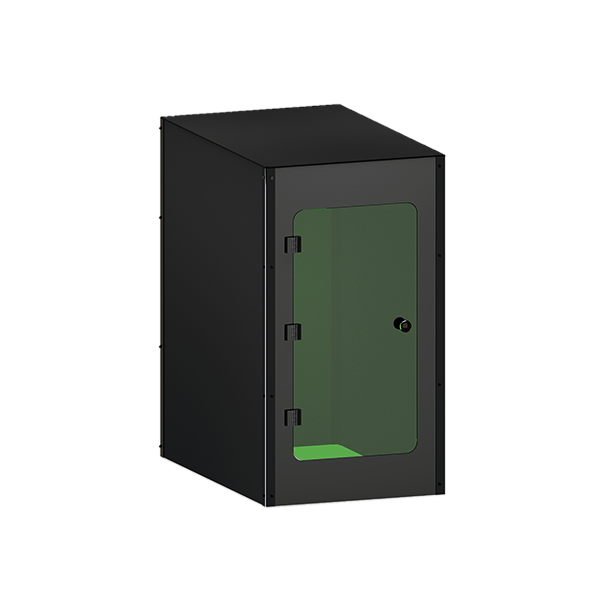
首先举起安全门,小心地接合 滑动轴 与机器的工作基础. 确保 连接电缆端口面.
使用 4PCS M4*10个倒数螺钉 连接 切割面板 在滑动轴上.
2. 连接电缆
附上 连接电缆 将幻灯片扩展与激光雕刻器联系起来.
如果您的材料需要自定义定位, 滑动 固定件a, 乙, 或c 到位并用提供的拇指螺钉将它们固定.

如何在软件中使用扩展模式
安装后, 使用幻灯片扩展套件同样容易:
步 1: 激活扩展模式
In the bottom-right corner of the laser software UI, select “Extension Mode.”
Input the required parameters:
- 速度
- 频率
- 脉冲宽度
- 行距
- 通行证
步 2: Place and Focus the Material
Place your material on the cutting panel and align it under the red laser sensing dot.
点击 “Focus” to activate auto-focusing.
提示: Make sure the material lies flat and is aligned within the new 150×400mm 工作区.
步 3: Preview and Start Marking
使用 preview helper to visualize the engraving area. Once confirmed, remove the helper and lower the safety door to within 5mm of the material.
点击 “Start (F2)” and let the laser engraver do the rest.

Why Choose the Slide Extension Kit?
✔ Boost Productivity: Engrave larger designs without repositioning.
✔ Perfect Alignment: Red sensing dot and auto-focus make setup effortless.
✔ Safe Operation: Integrated safeguards ensure worry-free engraving.
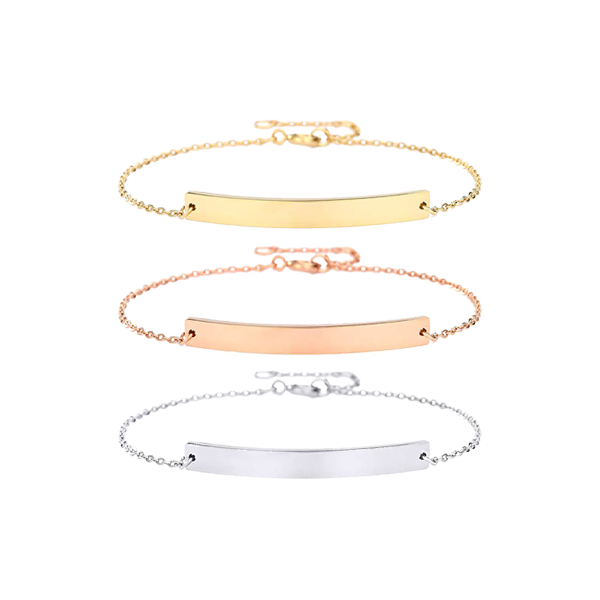
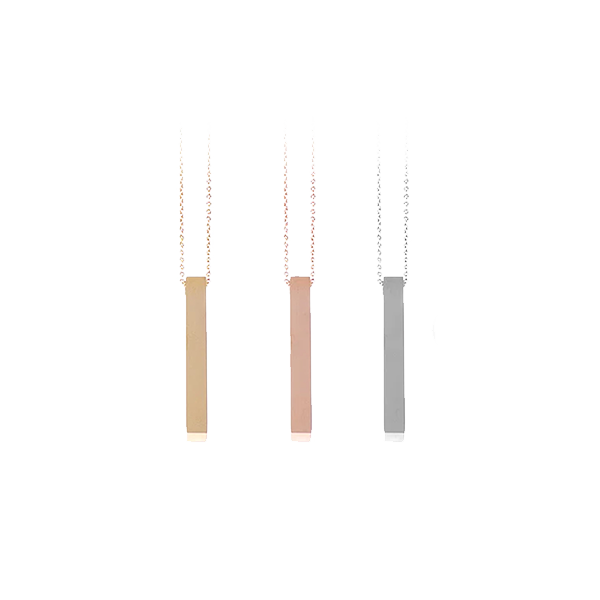
✔ Ideal for Long Projects: Wine boxes, 标牌, wood slats, 和更多.